Advertisement
Quick Links
Advertisement

Subscribe to Our Youtube Channel
Related Manuals for KTM 250 SX Series


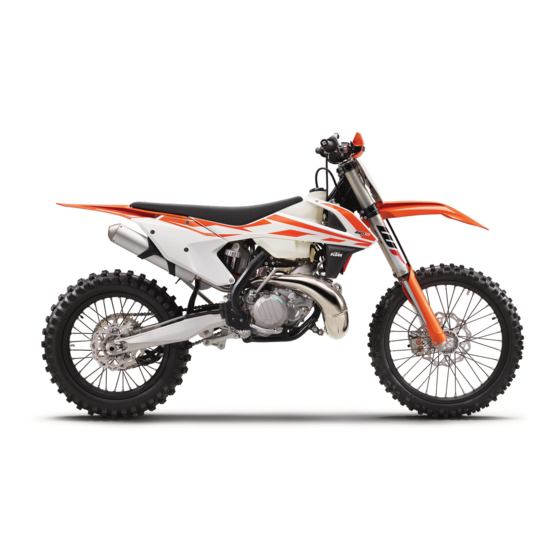
Summary of Contents for KTM 250 SX Series
- Page 1 SETUP INSTRUCTIONS 2018 250 SX 250 XC 300 XC Art. no. 3213726en...
- Page 3 KTM accepts no liability for delivery options, deviations from figures and descriptions, misprints, and other errors. The models portrayed partly contain special equipment that does not belong to the regular scope of supply.
-
Page 4: Means Of Representation
1 MEANS OF REPRESENTATION Symbols used The meaning of specific symbols is described below. Indicates an expected reaction (e.g. of a work step or a function). Indicates an unexpected reaction (e.g. of a work step or a function). Indicates a page reference (more information is provided on the specified page). Indicates information with more details or tips. - Page 5 2 SETUP Unpacking and setting up the vehicle Package 2 – Remove the box and the plastic packaging. Info To avoid damaging the motorcycle during the setup, leave the protective film on the vehicle until you have finished. – Remove the separate enclosure and unpack it. Check that the scope of supply is complete using the enclosed pack- E00851-10 ing list.
- Page 6 2 SETUP – Position the vehicle on a lift stand. – Check the vehicle for transport damage. 402051-01 – Remove the cardboard from around the shock absorber. – Position the angle lever and linkage lever. – Mount and tighten fitting Guideline Nut, linkage lever M14x1.5...
- Page 7 2 SETUP Info Make sure the cables and wiring are positioned cor- rectly. – Position the handlebar clamp. – Mount screws but do not tighten yet. – First bolt the handlebar clamp with screws onto the longer, higher side of the handlebar supports so that both parts touch. –...
- Page 8 2 SETUP – Mount the handlebar cushion. K00617-10 Left and right footrest (All SX models) – Position the new footrest and pin. Info Only insert the pin to the extent that the spring can still be mounted. R01229-10 – Position spring as shown. Spring engages in area K00621-10...
- Page 9 2 SETUP – Mount the washer and split pin – Repeat these steps on the opposite side. K00623-10 Left footrest (All XC models) – Raise the motorcycle with a lift stand. ( p. 10) – Position the new footrest and pin. Info Only insert the pin to the extent that the spring can still be mounted.
- Page 10 2 SETUP – Mount the washer and split pin – Remove the motorcycle from the lift stand. ( p. 10) K00626-10 Right footrest (All XC models) – Position the new footrest and pin. Info Only insert the pin to the extent that the spring can still be mounted.
- Page 11 Screw, frame protec- 3 Nm (2.2 lbf ft) K00937-10 – Mount cable tie(s). – Unpack and mount the KTM PowerParts included in the deliv- ery (optional). Info Read the accompanying KTM PowerParts fitting instruc- tions. – Apply the sticker included in the delivery (optional).
- Page 12 3 WORK Raising the motorcycle with a lift stand Note Material damage The vehicle may be damaged by incorrect procedure when parking. Significant damage may be caused if the vehicle rolls away or falls over. The components for parking the vehicle are designed only for the weight of the vehicle. –...
- Page 13 3 WORK Installing the fork legs Main work – Position the fork legs. Air release screw of the right fork leg is positioned to the front. Valve of the left fork leg faces the front. Info Grooves are milled into the side of the upper end of the fork legs.
-
Page 14: Tighten Screws 3 . Guideline
3 WORK – Check the wheel bearing for damage and wear. » If the wheel bearing is damaged or worn: – Change front wheel bearing. – Clean and grease shaft seal rings and contact surface of the spacers. Long-life grease ( p. - Page 15 3 WORK Recharging the battery (All XC models) Warning Risk of injury Batteries contain harmful substances. – Keep batteries out of the reach of children. – Keep sparks and open flames away from the batteries. – Only charge batteries in well-ventilated rooms. –...
- Page 16 3 WORK Alternative 4 Battery charger XCharge-professional CH (00029095053) Info Follow the instructions of the charger and the manual. – Disconnect the battery charger after charging the battery. Guideline The charging current, charging voltage, and charging time must not be exceeded. Charge the battery regularly 3 months when the motorcycle is not...
-
Page 17: Mount And Tighten Screw
3 WORK Installing the start number plate – Connect the brake line at the start number plate. – Position the start number plate. The holding lugs engage in the fender. – Mount and tighten screw F00013-10 Removing the seat – Remove screws –... - Page 18 3 WORK 3.11 Refueling Danger Fire hazard Fuel is highly flammable. The fuel in the fuel tank expands when warm and can escape if overfilled. – Do not refuel the vehicle in the vicinity of open flames or lit cigarettes. – Switch off the engine for refueling.
- Page 19 3 WORK 3.12 Opening the filler cap Danger Fire hazard Fuel is highly flammable. The fuel in the fuel tank expands when warm and can escape if overfilled. – Do not refuel the vehicle in the vicinity of open flames or lit cigarettes. –...
- Page 20 3 WORK 3.13 Closing the filler cap (All SX models) – Mount filler cap and turn it clockwise until the fuel tank is tightly closed. Info Run the fuel tank breather hose without kinks. F00003-11 (All XC models) – Mount filler cap and turn it clockwise until the release button engages.
-
Page 21: Technical Data
4 TECHNICAL DATA Chassis tightening torques Screw, E-starter button 1 Nm (0.7 lbf ft) Screw, kill switch 1 Nm (0.7 lbf ft) Screw, fixed grip 5 Nm (3.7 lbf ft) Loctite ® 243™ Screw, service hour counter 1 Nm (0.7 lbf ft) Spoke nipple, front wheel M4.5 6 Nm (4.4 lbf ft) - Page 22 4 TECHNICAL DATA Screw, side stand attachment (All 35 Nm (25.8 lbf ft) Loctite ® 2701™ XC models) Screw, subframe 35 Nm (25.8 lbf ft) Loctite ® 2701™ Screw, top steering stem 20 Nm (14.8 lbf ft) Loctite ® 243™ Screw, top triple clamp 17 Nm (12.5 lbf ft) Engine bracket screw...
- Page 23 5 SUBSTANCES Engine oil, 2-stroke Standard/classification – JASO FD ( p. 23) Guideline – Only use high grade 2-stroke engine oil of a reputable brand. Fully synthetic Recommended supplier Motorex ® – Cross Power 2T Super unleaded (ROZ 95/RON 95/PON 91) Standard/classification –...
-
Page 24: Auxiliary Substances
6 AUXILIARY SUBSTANCES Long-life grease Recommended supplier Motorex ® – Bike Grease 2000... - Page 25 7 STANDARDS JASO FD JASO FD is a classification for a 2-stroke engine oil that was specifically developed for the extreme demands of racing. Thanks to first rate synthetic esters and specially designed additives, superb combustion is achieved even under extreme operating conditions.
- Page 26 *3213726en* 3213726en 05/2017 KTM Sportmotorcycle GmbH 5230 Mattighofen/Austria Photo: Mitterbauer/KTM http://www.ktm.com...
Need help?
Do you have a question about the 250 SX Series and is the answer not in the manual?
Questions and answers