Advertisement
Quick Links
Instructions for
ALLIANCE, ONYX,
SILVER & ZEPHYR
I n s t r u c t i o n s b y O r i g i n l i v e 1 1 / 2 0 1 6 ©
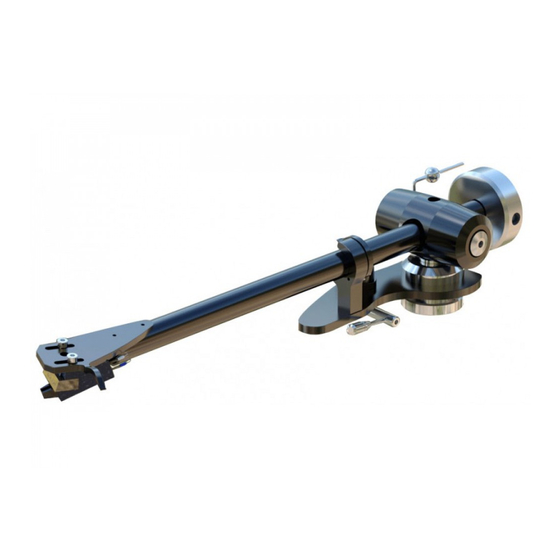
COUNTERWEIGHT
REAR STUB
INTRODUCTION
Thank you for ordering an Origin Live arm. We trust you
will enjoy getting closer to the original sound and
appreciating your music in a new way.
Please give special attention to underlined text in these
instructions.
Photos and diagrams cover a range of arms and illustrate
concepts – do not expect exact representations of your
specific arm.
Notes:
a) It may seem there is "play" in the bearings - this is a
design feature. The high grade bearings for horizontal
and vertical movement are "floated" inside their
housings to allow slight movement rather than rigidly
coupling them to the structure. These bearings are self
centering so you need not be concerned about apparent
movement.
b) The sound of new arms and rewires will improve
significantly over the first 40 to 100 hours of running
time as wires burn in.
Mounting Requirements
Arm mounting varies depending on the make of your
turntable. This section caters for various scenarios.
Page 1
***essential reading***
YOKE
LIFT LOWER CURVED REST
LIFT LOWER LEVER
ARM CLIP
ARM
ARM
PLATE
TUBE
Geometry & dimensions
You do not need a mounting template.
For standard Origin Live arms with effective
length of 9.5 inch (240mm)
The arm mounting hole diameter should be 23mm
to 24.5 mm.
Centre of mounting hole to centre of platter should
be 222mm (plus or minus 1mm tolerance).
For 12 inch arms (309mm)
Dimensions are same as above, but mounting hole
to centre of platter is 295.6mm
HEADSHELL
Advertisement


Need help?
Do you have a question about the ALLIANCE and is the answer not in the manual?
Questions and answers