Table of Contents
Advertisement
Quick Links
Studio Series
Installation Instructions
Handcrafted, Fog-free Vanity Mirrors
Models 19100-2436, 2436H and Custom
June 2018
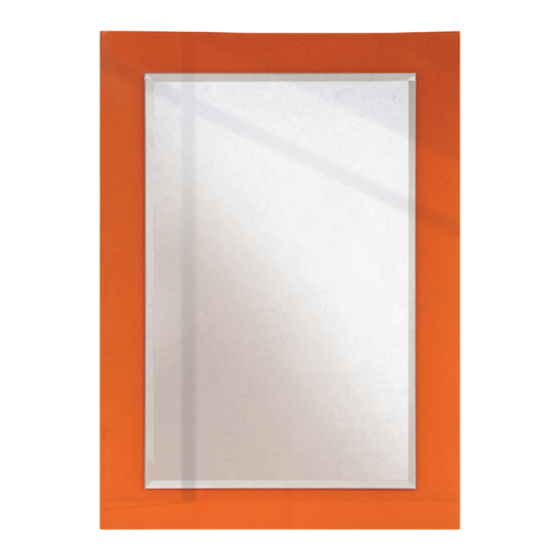
Studio Series vanity mirrors with attached ClearMirror
by a switched circuit. A 15A or 20A fuse or circuit breaker at the electrical box should protect
the circuit. Read all instructions before using the Studio Series.
®
Defogger is designed to be powered
Advertisement
Table of Contents

Summary of Contents for ClearMirror Studio Series
- Page 1 Studio Series vanity mirrors with attached ClearMirror ® Defogger is designed to be powered by a switched circuit. A 15A or 20A fuse or circuit breaker at the electrical box should protect the circuit. Read all instructions before using the Studio Series.
- Page 2 General Guidelines Install the Studio Series with heater to a junction box in accordance with all applicable safety, national and local electrical codes. All wiring between the mirror heater and the bathroom light junction boxes must be installed per local and national electrical codes using wire system identified by the National Electrical Code.
- Page 3 MEASURE FOR CLEARMIRROR INSTALLATION With mirror removed, mark junction box location on the wall where the sink’s center meets the top edge of the ClearMirror heater. Normally 2 inches higher than the tallest user as shown in Figure 1. INSTALL ELECTRICAL BOX Shut off power to the circuit where heater is to be connected at the disconnect means.
- Page 4 4. Replace light fixture onto base. 5. Turn on circuit breaker and switch for overhead light. 6. Test ClearMirror by placing hand on surface of mirror. It should heat in two minutes. NOTICE: Ensure leads are not stuck between the mirror and the wall...
- Page 5 • Original ClearMirror must be properly installed before it is used. • Install Original ClearMirror over a bathroom vanity sink with wiring fed from behind the full, wall-mounted assembly. • Be certain that the controls are operational per the instructions above in that the bathroom light, ceiling fan or alternate switch power on and power off the Original ClearMirror.
- Page 6 GROUNDING This Original ClearMirror heater is for use with 120 volt power supply. The cord (leads) exiting the back of the mirror assembly are 18-gauge and are not required to be grounded.


Need help?
Do you have a question about the Studio Series and is the answer not in the manual?
Questions and answers