Advertisement
Quick Links
Advertisement

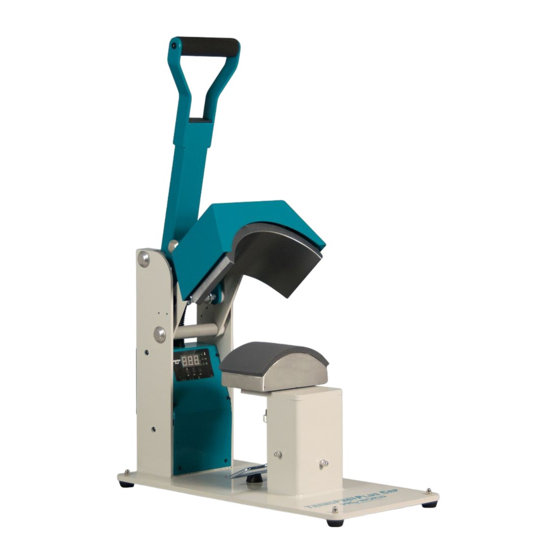
Summary of Contents for Pro World TransPro Plus Cap
- Page 1 961 Bethel Ave.
- Page 2 1. Connecting the System 2. Turn On The System 1.1 Connect the power cord into a 2.1 Switch The System On properly grounded electrical outlet with a su cient amperage rating. 1.2 VOLTAGE: 120 Volt – The GS-601 requires a full 20 amp grounded circuit for 120 volt operation.
- Page 3 REMEMBER: To allow for the thickness of 4. Adjusting The Time your garment when adjusting the pressure. 4.1 Once you have adjusted the temperature, press the Mode Select button again. “Time” lights and “set” lights 6. Printing And Pressing located in the display will illuminate indicating you are in the adjust time •...
- Page 4 7.3 Press “set” button to select “F-C” mode 8.3 Press “set” button to select “Pb” mode press up and down button to make (see image below), press “set”button to temperature calibration. (see 8.4) enter then press “up” and “down” button to set F or C, C for celsius, F for Fahrenheit 7.4 After setting,press “set”...
-
Page 5: Technical Parameters
Technical Parameters Model: MP353 Heating Up 15minutes Time (180) Lower Platen Size: 3.5’’*6.5’’ (with machine) Time Range$ 0~999S 3’’*5.75’’ (choosable) Machine Size (open 40% 31% 59cm 2.75’’*6.5’’ (choosable) size) 4’’*6.5’’ (choosable) Packing Size: 46% 38% 35cm 4’’*8’’ (choosable) Packing Weight: 15kg Pressure Display: Certificate:... - Page 6 Part Name(English) Part No. Qty. Circuit breaker 8A 1800348 washer 2000260 socket 1800344 Steel pin On/off switch 1800346 1600151 Terminal block 1800345 washer 2000589 Triac 1800951 Steel pin 1800147 1800317 Bridge link 1600091 Foot Pad- XD2512-148 Bridge link 1600092 Machine base 1600401 Thread pin 1300225...
- Page 7 www.proworldinc.com...
- Page 8 OUT-OF WARRANTY machines will be charged at the repair rates in effect at the time the machine is received. Pro World shall not be liable for loss of use of TransPro equipment or other inciden- tal or consequential costs, expenses, or damages incurred by the original purchaser or any other user.
- Page 9 961 Bethel Ave.


Need help?
Do you have a question about the TransPro Plus Cap and is the answer not in the manual?
Questions and answers