
Related Manuals for CoolGear USB-8COMi-RM


Summary of Contents for CoolGear USB-8COMi-RM
- Page 1 8 Port USB to RS- 232/422/485 Octal Adapter Product Manual Coolgear, Inc. Version 1.1 April 2018 Model Number: USB-8COMi-RM www.coolgear.com...
- Page 2 Coolgear New Manual About this document This product manual outlines installation and features of the USB-8COMi-RM 8 Port USB to RS-232/422/485 Octal Adapter. Scope The scope of this manual is to give the user of the product an understanding of its use with detailed diagrams and verbiage.
-
Page 3: Table Of Contents
USB-8COMi-RM – Product Manual Table of Contents 1. Introduction ......................4 Features ........................4 2. Hardware Installation ................... 5 3. Windows 7 / Vista / 2003 / XP / 2000 Driver Installation ........7 4. Check Installation ....................8 Change COM Port Properties & COM Port Number ..........8 Uninstalling Windows 2003 / XP / 2000 Drivers ............. -
Page 4: Introduction
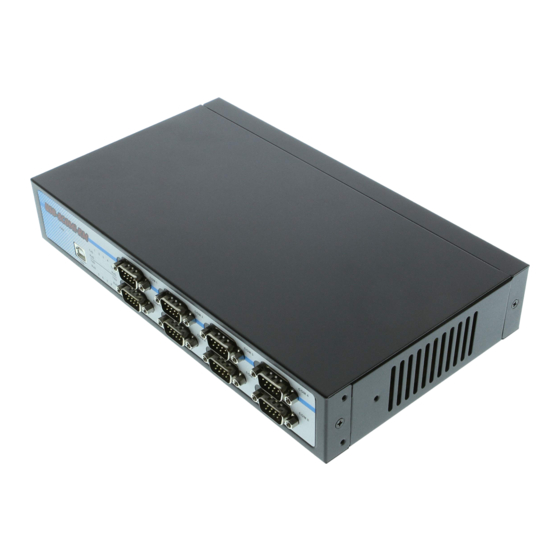
USB-8COMi-RM – Product Manual 1. Introduction The USB-8COMi-RM USB to Octal Serial Adapter is designed to make serial port expansion quick and simple. Connecting to a USB port on your computer or USB hub, the USB Serial Adapter instantly adds eight RS-232/422/485 multi-electrical interface serial communication ports to your system. -
Page 5: Hardware Installation
USB-8COMi-RM – Product Manual 2. Hardware Installation Outside the unit, there are eight 4-pin DIP switches which are set to select the mode of operation. You will need to set the switch settings to RS-232 mode, or RS-422 or RS-485 mode as per the requirements of your application. - Page 6 USB-8COMi-RM – Product Manual Settings are listed as follows: Jumper Function Tx Termination of 120 Ohm. This jumper should always be populated for RS-485 mode. Pull-up Tx+ to VCC by 750 Ohm Bias resistor. This jumper should be populated for pull-up Tx+.
-
Page 7: Windows 7 / Vista / 2003 / Xp / 2000 Driver Installation
USB-8COMi-RM – Product Manual 3. Windows 7 / Vista / 2003 / XP / 2000 Driver Installation You need to have administrator privileges to install any new drivers under Windows 7/ Vista / 2003 / XP / 2000. To install the driver or update the configuration please log onto Windows as "Administrator"... -
Page 8: Check Installation
USB-8COMi-RM – Product Manual 4. Check Installation You can now verify the installation has been completed successfully by looking under Device Manager of the System Properties screen. (Go there by Start-Setting- Control Panel-System Properties-Hardware-Device Manager. The device should have installed as a "USB Serial Port (COMx)" attached to "USB Serial Converter (A/B or A/B/C/D)". -
Page 9: Figure 2, 3, 4, 5, 6, 7 - Uninstalling 2003/Xp/2000 Windows Drivers
USB-8COMi-RM – Product Manual Figure 2 5. You need to disconnect all USB to Serial Adapters from your PC, when the message below appears. Double click “OK” to start uninstalling Windows 2003/XP/2000 USB to Serial drivers. Figure 3 6. Double click “Yes” to confirm it. - Page 10 USB-8COMi-RM – Product Manual 8. When the message “Status: System clean completed” appears, double click “Exit” to complete the USB to serial drivers uninstall. Figure 6 9. Press “Start” button and select “Control Panel”. 10. Open the Add or Remove program.
-
Page 11: Uninstalling Windows 7 Or Vista Drivers
USB-8COMi-RM – Product Manual 5. Uninstalling Windows 7 or Vista Drivers Windows 7 and Vista have many new security features. You need to proceed with the following steps to uninstall the Vista driver: 1. The USB to serial devices must connect to the PC. - Page 12 USB-8COMi-RM – Product Manual 6. Select uninstall and be sure to click the box for “Delete the driver software for this device” in the next window and press “OK”. Figure 10 Note: if you have more than one USB Serial Port (COMx) installed in your PC, you need to repeat from step 5 to step 6 to delete the driver software for each port.
- Page 13 USB-8COMi-RM – Product Manual 8. Select uninstall and be sure to click the box for “Delete the driver software for this device” in the next window and press “OK”. Figure 12 Note: if you have more than one USB Serial Converter installed in your PC, you need to repeat step 7 and step 8 to delete the driver software for all devices.
-
Page 14: Signal Pin-Outs & Wiring
USB-8COMi-RM – Product Manual 6. Signal Pin-outs & Wiring RS-232 Signal Pin-outs of DB-9 Male Pin 1 Pin 2 Pin 3 Pin 4 Pin 5 Pin 6 Pin 7 Pin 8 Pin 9 RS-422 Signal Pin-outs of DB-9 Male Pin 1... -
Page 15: Rs-422 Signal Wiring
USB-8COMi-RM – Product Manual 6.1 RS-422 Signal Wiring Point-to-Point 4 Wire Full Duplex Figure 13 RS-422 with Handshaking Figure 14 RS-485 4-Wire (Full duplex) Signal Pin-outs of DB-9 Male Pin 1 Tx- (A) Pin 2 Tx+ (B) Pin 3 Rx+ (B) Pin 4 Rx–... -
Page 16: Rs-485 Signal Wiring
USB-8COMi-RM – Product Manual 6.2 RS-485 Signal Wiring Point-to-Point 4-Wire Full Duplex Figure 15 Multi-drop RS-485 2-Wire Half-duplex Figure 16 www.coolgear.com... -
Page 17: Notes, Tips, And Warnings
USB-8COMi-RM – Product Manual 7. Notes, Tips, and Warnings Note: You need to install driver first, prior to hardware installation. After the setting of DIP switches and connecting power cord to the adapter, you then plug the adapter to USB port to start driver installation. - Page 18 USB-8COMi-RM – Product Manual • If this product is not functioning properly, email our support team at support@coolgear.com. www.coolgear.com...
-
Page 19: Supporting References
© 2017 Coolgear, Inc. All Rights Reserved. All products and accompanying digital documentation including images are the property and / or trademarks of Coolgear Inc. Coolgear Inc. are continuously improving upon its products. Product specifications are subject to change without notice.
Need help?
Do you have a question about the USB-8COMi-RM and is the answer not in the manual?
Questions and answers