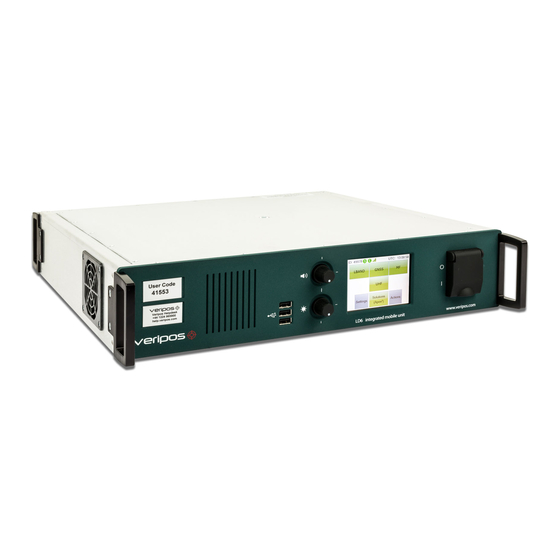
Veripos LD6 Quick Manual
Hide thumbs
Also See for LD6:
- Installation manual (62 pages) ,
- Operation manual (88 pages) ,
- Operation manual (87 pages)
Table of Contents
Advertisement
Quick Links
VERIPOS LD6 Quick guide
VOSS:
http://help.veripos.com
1.
Use cables & adaptors supplied:
1 x RJ45 patch cable
1 x AC power lead
RJ45 – DB9 female serial
converters
1 x RJ45 crossover module
2.
Antennas: - see LD6 Installation manual for more information.
GNSS
(GPS and GLONASS),
V460*
also capable of MF
beacon reception
L-Band & MF
V86*
beacon
UHF
FCU/6*
*Current standard supply. Other antenna models may have been supplied
previously
3.
Connecting the LD6 - make connections on the rear of the LD6 as shown;
Note: At (3) - when not in use the L-band card 50Ω TNC terminator MUST be secured to TNC on
card.
AB-V-MA-00535_Rev L3
4.
Turn on power and wait until unit has initialized (2 -3 mins.);
Key
1
LD6 Unit ID (5 digits)
S – LBand beam Synch
2
Green = yes
Red = not synched with beam
E – VERIPOS corrections Green = enabled Red = not enabled
3
4
LBand signal strength indicator
5
Touch screen buttons to access LBand card, GNSS card, optional MF
(Beacon SBX receiver) and UHF ADL cards, information and controls. Buttons
provide access to each receiver (as fitted).
6
LD6 time display (UTC)
7
Buttons in red indicates the cards have a configuration or fault condition and
are not working to correct limits
Actions – Shut down, Log Off, Reboot, Factory Reset, Screen(s) calibration,
8
Launch Orion Or Verify-QC software (option)
Solutions – Status including current position, select the required PPP solution,
9
config of solution and NMEA output selection
Settings –Set up of position output ports and network configuration
10
5.
Beam Selection
A detailed description is in the LD6 Operations Manual.
Select a Veripos correction satellite beam for your vessel work area:
For beam selection go to LBand/Config/Beams/Edit. Use the up/down arrows to
select the required beam for the vessels' work area.
6.
Enable for Veripos Corrections
On the Home page check the Sync indicator is Green
You will need to contact the Veripos Helpdesk to request an Access Code and
quoting your Unit ID, Service Access Licence (SAL) number and services
required.
Navigate to LBand/AccessCode to view the current status:
Advertisement
Table of Contents

Related Manuals for Veripos LD6


Summary of Contents for Veripos LD6
- Page 1 *Current standard supply. Other antenna models may have been supplied required. previously Navigate to LBand/AccessCode to view the current status: Connecting the LD6 - make connections on the rear of the LD6 as shown; LD6 Unit ID (5 digits) S – LBand beam Synch Green = yes Red = not synched with beam E –...
- Page 2 You can view or amend baud rates, etc. by navigating to Settings/I/O and use the Connecting data outputs from the LD6 onscreen controls. Position data is output from the LD6 from the RJ45 serial ports or the 2 LAN Port(s). Upper LAN port address is 192.168.2.2. Lower LAN port address is 192.168.3.3. COM port...
Need help?
Do you have a question about the LD6 and is the answer not in the manual?
Questions and answers