Epson LQ-680Pro User Manual
Epson lq-680pro: user guide
Hide thumbs
Also See for LQ-680Pro:
- Specifications (3 pages) ,
- User manual (181 pages) ,
- Reference manual (34 pages)
Table of Contents
Advertisement
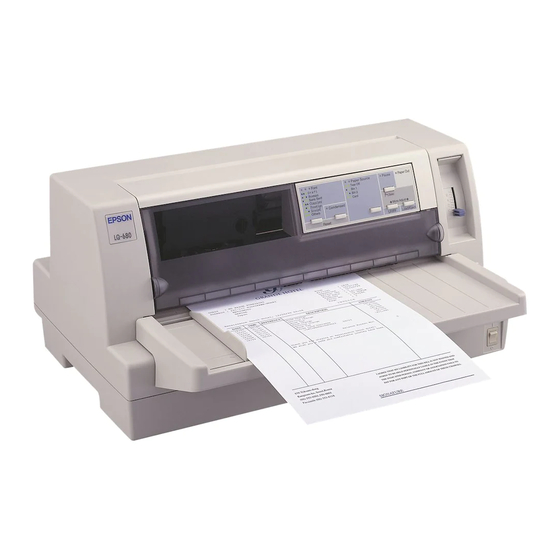
control panel
ribbon
cartridge
print head
edge guide
paper guide
paper thickness lever
paper support
sprocket units
parallel interface
printer cover
power switch
Options
Paper Handling Options
High-capacity cut-sheet feeder (C806871)
Feeds up to 150 single sheets of paper, 40 single-sheet multipart
forms, 25 plain bond envelopes, or 50 postcards into the printer
without reloading. If you also install the single-bin cut-sheet
feeder, you can use both feeders as a double-bin cut-sheet
feeder.
Single-bin cut-sheet feeder (C806791)
Feeds up to 50 sheets of ordinary single-sheet paper and is used
in conjunction with the high-capacity cut-sheet feeder to create
knob
a double bin.
Roll paper holder (#8310)
Allows you to use your printer with 8.5-inch roll paper like that
used with telex machines.
Optional Interface Cards
You can install an optional interface card to supplement your
printer's built-in parallel interface and provide added network
compatibility. The EPSON interface cards in the table below
are compatible with your printer.
Model number
C823051
C823071
C823121
C823141
C823151
C823452
C823622A
C823642A
* If you install the C823051 optional serial interface card, be sure to
set the transfer speed to one of the following: 300, 600, 1200,
2400, 4800, 9600, or 19200 bps.
11/00
EPSON LQ-680Pro
Card type
Serial Type B interface card
32KB Serial Type B interface card
LocalTalk interface card
Coax Type B interface card
Twinax Type B interface card
IEEE-1284 (Type B bidirectional)
parallel interface card
EpsonNet 10 Base T type B print
server
EpsonNet 10/100 Base TX type B
print server with AC adapter
EPSON LQ-680Pro
1
-
Advertisement
Table of Contents

Related Manuals for Epson LQ-680Pro


Summary of Contents for Epson LQ-680Pro
- Page 1 Optional Interface Cards You can install an optional interface card to supplement your printer’s built-in parallel interface and provide added network compatibility. The EPSON interface cards in the table below are compatible with your printer. Model number C823051...
-
Page 2: Printer Specifications
Width 19.6 inches (497 mm) Depth 15.2 inches (387 mm) Weight LQ-680: approx. 19.8 lb (9.0 kg) LQ-680Pro: approx. 20.7 lb (9.4 kg) Ribbon Black ribbon cartridge (S015016) Ribbon life 2 million characters (LQ, 10 cpi, 48 dots/character) 11/00 The total thickness of the paper stack can be up to 0.59... - Page 3 EPSON Sans Serif 10.5, 8 to 32 pt (every 2 pt) EPSON Roman T 10.5, 8 to 32 pt (every 2 pt) EPSON Sans Serif H 10.5, 8 to 32 pt (every 2 pt) Barcode fonts EAN-13, EAN-8, Interleaved 2 of 5,...
- Page 4 Length 3 to 22 inches (76.2 to 558.8 mm) Copies 1 original up to 5 copies 4 - EPSON LQ-680Pro Thickness Weight (not multipart) Weight (1 multipart sheet) 10 to 15 lb (40 to 58 g/m Binding The ratio of the cut/uncut length at the perforation should be between 3:1 and 5:1.
-
Page 5: Printable Area
Safety standards 230 V Safety standards CE Marking 230 V Low Voltage Directive 73/23/EEC EMC Directive 89/336/EEC 11/00 EPSON LQ-680Pro printable area UL 1950 CSA C22.2 No. 950 FCC part 15 subpart B class B CSA C108.8 class B EN 60950 EN 55022 (CISPR pub. -
Page 6: Error Indicators
When pressed for 3 seconds, turns on micro adjust mode. 6 - EPSON LQ-680Pro Pause light On when the printer is paused. Flashes when the printer is in micro adjust mode or when the print head has overheated. LF/FF button Feeds paper line by line when pressed quickly. -
Page 7: Status Monitor
Status Monitor The EPSON Status Monitor 3 utility comes with the printer but is available only for use with Windows 95, 98, 2000, or NT 4.0. It allows you to monitor your printer’s status, alerts you when printer errors occur, and provides troubleshooting instructions. -
Page 8: Using Tear-Off Function
Press the button on the control panel Tear Off Use the default setting mode or the EPSON Remote! utility to select auto tear-off. (See “Changing the Default Settings” on page 14 for more information.) If the perforation between pages is not aligned with the tear-off edge, you can adjust the tear-off position using the micro adjust feature. -
Page 9: Removing Continuous Paper
Using Auto Tear-off Mode When you turn on the auto tear-off function in the printer’s default-setting mode or the EPSON Remote! utility, the printer advances continuous paper to the tear-off position when you finish printing. The printer advances paper to the tear-off position only when it receives a full page of data or a form-feed command and then receives no more data for three seconds. -
Page 10: Using Labels
10 - EPSON LQ-680Pro Using Single-Sheet Multipart Forms Your printer can use single-sheet multipart forms with up to six parts including the original. You can use carbonless multipart forms, or carbon-backed multipart forms using the paper guide. -
Page 11: Using Postcards
Adjusting the Loading Position The loading position is the position of the paper after the printer loads it. If your printing appears too high or low on the page, you can change the loading position with the micro adjust feature described below. -
Page 12: Clearing Paper Jams
Your printing position setting is in effect only until the next time you load paper or turn off the printer. 1. Make sure that the printer is not printing. If it is, press the button to stop printing. Pause 2. -
Page 13: Installing Or Replacing The Ribbon Cartridge
If it is not, close the printer cover and turn the printer on to move the print head to the ribbon replacement position. Wait a few seconds, then turn the printer off again and open the printer cover. -
Page 14: Changing The Default Settings
1. Make sure paper is loaded and the printer is turned off. Whenever you turn off the printer, wait at least 5 seconds before turning it back on; otherwise you may damage the printer. -
Page 15: Bidirectional Alignment
6. When you finish, turn off the printer to exit the default setting mode. The current settings remain in effect until you change them again. Bidirectional Alignment If you notice that the vertical lines in your printout are not properly aligned, you can use the printer’s bidirectional adjustment mode to correct this problem. -
Page 16: Cleaning The Printer
Do not use a hard or abrasive brush. Do not spray the inside of the printer with lubricants; unsuitable lubricants can damage the printer mechanism. Contact an EPSON dealer if you think lubrication is needed. 16 - EPSON LQ-680Pro Transporting the Printer...
Need help?
Do you have a question about the LQ-680Pro and is the answer not in the manual?
Questions and answers