Table of Contents
Advertisement
Quick Links
Advertisement
Table of Contents

Related Manuals for Trikke DEFENDER


Summary of Contents for Trikke DEFENDER
-
Page 2: Specifications And Features
DEFENDER Owner’s manual Specifications and Features Page 2... -
Page 3: Main Parts
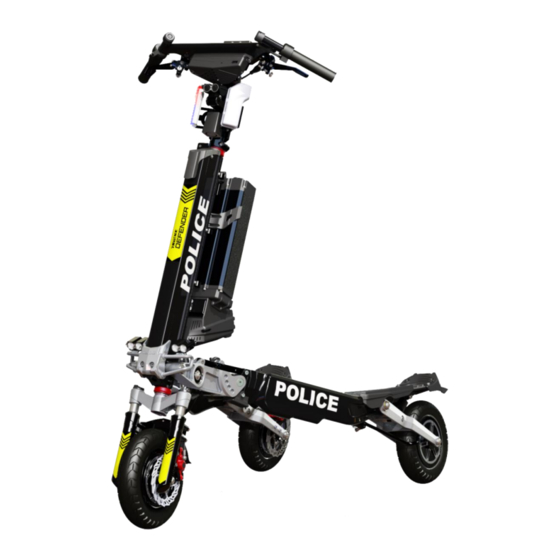
DEFENDER Owner’s manual TRIKKE Defender is a professional grade light electric vehicle for personal mobility. It was developed to offer quick and efficient transport of an individual in a wide range of terrain: street, sidewalk, walk paths, on and off-road, indoor and outdoors. - Page 4 DEFENDER Owner’s manual Specs and Features...
-
Page 5: First Assembly
DEFENDER Owner’s manual FIRST ASSEMBLY (watch assembly video) 1) Remove the unit from the packing box 2) Unfold the frame, lock the folding levers. 3) Attach handlebar, align with front wheel, tight handlebar clamp bolts. 4) Install the foam protector 5) Locate and connect the 4 wires of the front lights and horn. - Page 6 DEFENDER Owner’s manual...
- Page 7 DEFENDER Owner’s manual...
- Page 8 DEFENDER Owner’s manual...
-
Page 9: Operation
DEFENDER Owner’s manual OPERATION (watch operation tutorial video) Turn On the battery power: press in the on-off switch. The battery LCD will light up showing the % of remaining charge. Push [M] button on Display to turn ON the drive system. -
Page 10: Lcd Display Operation
DEFENDER Owner’s manual LCD Display Operation: Turning Display ON-OFF and sleep. After switching the battery power ON you will have to press M button to turn the display ON and start the system. To turn the system OFF press and hold M button. You may also switch the battery power OFF. - Page 11 DEFENDER Owner’s manual PARKING Lock parking brakes (both sides) Lock: squeeze lever Push-in the plunger and release lever Unlock: Squeeze lever Set the kick-stand Lean the vehicle over the kick-stand side...
-
Page 12: Steering Lock
DEFENDER Owner’s manual Steering lock Useful for transport and maintenance, as well as theft deterrent. Handlebar Height Adjustment Useful for transport and maintenance, as well as theft deterrent. Headlight Push button: low-high-strobe-off... - Page 13 DEFENDER Owner’s manual Folding Mechanism – adjusting lock tension Keep a good tension to eliminate any play. Reduce the tension for easy operation. Rear Suspension – Adjusting air shock pressure Use proper air shock pump High pressure air pump Air spring/shock Rider’s weight / recommended pressure:...
-
Page 14: Tires Pressure
DEFENDER Owner’s manual TIRES PRESSURE Check and inflate every 3 weeks 50psi 65psi FRONT REAR... - Page 15 DEFENDER Owner’s manual Removing/installing FRONT wheel Removing/installing REAR wheel...
-
Page 16: Safe Riding
SAFETY EQUIPMENT: ALWAYS USE SAFETY EQUIPMENT, ESPECIALLY A HELMET. A helmet is essential when riding a Trikke EV or any exposed wheeled vehicle. We also recommend that you wear gloves, elbow and knee pads, especially children and inexperienced riders. Although it is a stable platform, there are always conditions that vary with the environment, which may surprise you, such as cracks in the pavement, sand, gravel, potholes, tree branches, people or other vehicles. -
Page 17: Warranty Conditions
Subject to the following limitations, terms and conditions, Trikke Tech, Inc. ("Company") warrants to the original owner of each new vehicle Trikke ™ Trikke EV ("Vehicle") that the vehicle when new is free from defects in material and workmanship. This warranty is valid for 12 months from the date of purchase from the Company or an authorized dealer or representative. - Page 18 DEFENDER Owner’s manual Product Life Cycle The Trikke ™ Trikke EV vehicle has a lifecycle. The duration of this cycle varies with the maintenance and care received during their time of use, and the type and amount of use that the vehicle is subjected. The vehicle must be inspected periodically by observing indicators of fatigue and other indicators of potential problems.
- Page 19 DEFENDER Owner’s manual Page 11...
Need help?
Do you have a question about the DEFENDER and is the answer not in the manual?
Questions and answers