Table of Contents
Advertisement
Quick Links
Leave this manual with party responsible for use and
operation.
CAUTION! Risk of Cuts or Abrasions. Wear protective
gloves and safety glasses during installation.
CAUTION: Logs are fragile, handle with care.
Kit Components:
• Burner Port Fixture
• Ceramic Logs (7)
• Shoulder Screws (12)
• Self-tapping Screws (6)
INSTALLATION
1. Remove decorative front. Remove fi xed glass assem-
bly by unlatching the four top spring latches. Allow the
fi xed glass assembly to tilt away from the fi replace and
lift the fi xed glass assembly up and out of the opening.
2. Remove any existing media from appliance.
3. Lift burner rails out of appliance.
For Natural Gas appliances, the air shutter should be ad-
justed for optimal fl ame appearance. If LOGS-48 is being
installed on a Propane appliance, proceed to step 8.
NG Appliances Only:
4. Remove the media tray. It is attached to the interior
fi rebox bottom with ten screws.
5. Remove the two screws that attach the pilot to the
burner.
6. Remove the four screws securing the burner to the fi re-
box sides and disengage burner from orifi ce. Remove
burner.
7. Adjust shutter setting on NG burner to 1/4 in. Reinstall
burner, pilot and media tray. For more information, see
the appliance installation manual.
NG and Propane Appliances:
8. Install twelve shoulder screws into pilot holes in media
tray. Locations are indicated in Figure 1.
Hearth & Home Technologies • LOGS-48 Installation Instructions • 2300-948 Rev. C • 9/14
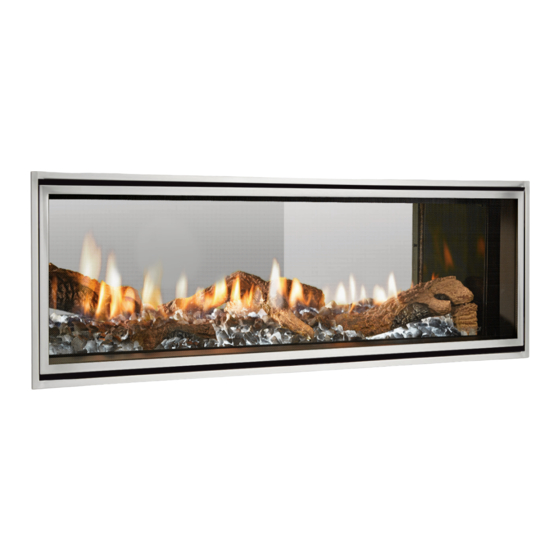
LOGS-48
MODELS: MEZZO1300, MEZZO 1300ST
• Installation Instructions •
2 2
1 1
LOCATING SCREWS
Figure 1. Location of Shoulder Screws
9. There are 6 burner port holes that must be plugged in
order to prevent sooting. Place burner port fi xture over
shoulder screw #7 as shown in Figure 2.
"UP" marking is in the correct orientation. The corner cut
out will fi t around a media tray screw as shown in the
detail of Figure 2.
BURNER PORT FIXTURE
Figure 2. Location of Burner Port Fixture
4 4
5 5
7 7
9 9
10
10
3 3
6 6
8 8
Ensure the
11
11
12
12
1
Advertisement
Table of Contents

Related Manuals for Hearth & Home LOGS-48


Summary of Contents for Hearth & Home LOGS-48
- Page 1 8. Install twelve shoulder screws into pilot holes in media tray. Locations are indicated in Figure 1. BURNER PORT FIXTURE Figure 2. Location of Burner Port Fixture Hearth & Home Technologies • LOGS-48 Installation Instructions • 2300-948 Rev. C • 9/14...
- Page 2 #3 and #6 by lining up shoulder screws with holes in bottom of log. Figure 4. Log Placement Holes Figure 7. Log #3 (SRV2300-705) Hearth & Home Technologies • LOGS-48 Installation Instructions • 2300-948 Rev. C • 9/14...
- Page 3 For the location of your nearest Hearth & Home Technologies dealer, please visit www.hearthnhome.com. Hearth & Home Technologies 7571 215th Street West, Lakeville, MN 55044 www.hearthnhome.com Figure 10. Log #6 (SRV2300-708) Hearth & Home Technologies • LOGS-48 Installation Instructions • 2300-948 Rev. C • 9/14...
Need help?
Do you have a question about the LOGS-48 and is the answer not in the manual?
Questions and answers