Table of Contents
Advertisement
Quick Links
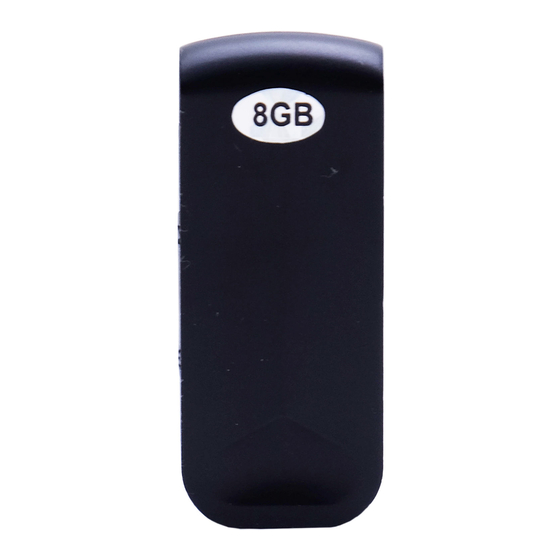
VR Clip 8GB
SKU: VRCLIP8GB
THANK YOU FOR PURCHASING THE VRCLIP8GB
Please read this manual before operating the VRCLIP8GB, and keep it
handy.
The VRCLIP8GB is a device that allows you to take discrete audio
recordings. It offers the option of taking either a "long time
recording" with a rate of 128Kbps or a "super high fidelity" recording
with a rate of 192Kbps. The device comes equipped with a set of
earphones, which allow you to hear a playback of the recording
immediately.
Other features include:
The ability to set the time for the device so the time of each
recording can be taken.
Automatic saving of recorded files
The ability to back up files on your computer using the
accompanying USB cord
Your purchase should include:
1 X Microphone
1 X USB cord
1 X Earphones
GET FAMILIAR WITH YOUR VRCLIP8GB
Advertisement
Table of Contents

Related Manuals for Mini Gadgets VRCLIP8GB


Summary of Contents for Mini Gadgets VRCLIP8GB
- Page 1 Please read this manual before operating the VRCLIP8GB, and keep it handy. The VRCLIP8GB is a device that allows you to take discrete audio recordings. It offers the option of taking either a “long time recording” with a rate of 128Kbps or a “super high fidelity” recording with a rate of 192Kbps.
- Page 2 OPERATING THE VRCLIP8GB PRECAUTIONS TO TAKE 1. Do not handle the recorder in high temperatures or in damp or dusty areas. 2. Be sure to regularly back up files onto your computer. HOW TO TURN THE DEVICE ON AND OFF 1.
- Page 3 In “long time recording” mode, the light will blink RETRIEVE THE FILES TO YOUR PC slowly. 1. Plug the device into your PC using the USB cable 3. The default mode when the device is turned on is the “long 2.
- Page 4 TROUBLESHOOTING IF THE MEMORY IS FULL 1. When the memory is full, the blue light will blink for about 5 seconds and then the recorder will stop recording. 2. Connect the device to your computer (see “Retrieve Files” above) and then either move files to your computer or delete some of the files to free up more space.
Need help?
Do you have a question about the VRCLIP8GB and is the answer not in the manual?
Questions and answers