
Related Manuals for Clarke CBO9-12


Summary of Contents for Clarke CBO9-12
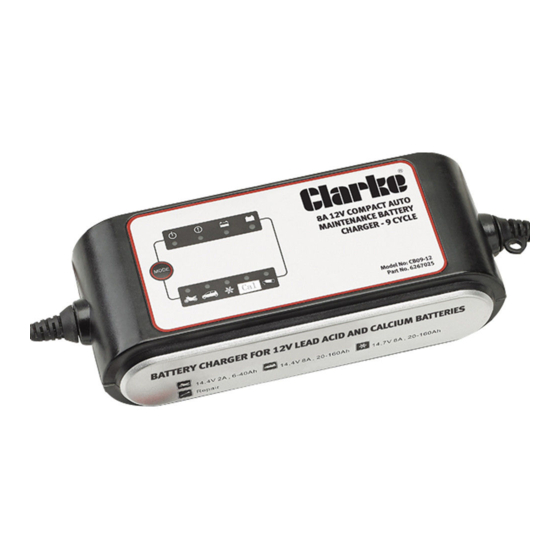
- Page 1 AUTOMATIC BATTERY CHARGER / MAINTAINER MODEL NO: CBO9-12 PART NO: 6267025 OPERATION & MAINTENANCE INSTRUCTIONS ORIGINAL INSTRUCTIONS LS0321 - ISS 5...
-
Page 2: Environmental Recycling Policy
INTRODUCTION Thank you for purchasing this CLARKE product. Before attempting to use this product, please read this manual thoroughly and follow the instructions carefully. In doing so you will ensure the safety of yourself and that of others around you, and you can look forward to your purchase giving you long and satisfactory service. -
Page 3: Safety Instructions
SAFETY INSTRUCTIONS WARNING: DO NOT USE ON ANY OTHER BATTERIES APART FROM THOSE MENTIONED IN THE SPECIFICATION TABLE ON PAGE 12 . WARNING: DISCONNECT THE CHARGER FROM THE MAINS POWER BEFORE MAKING OR BREAKING DC CONNECTION, SERVICING OR PERFORMING ANY MAINTENANCE. WARNING: ENSURE THERE ARE NO SOURCES OF IGNITION NEAR THE WORK AREA I.E. -
Page 4: Personal Precautions
• DO NOT operate the charger if there is any visible damage. • DO NOT try to modify or open the charger. • DO NOT charge the battery with the engine running. • DO NOT charge a frozen battery. • When not in use disconnect the charger from the power supply and keep in a safe, dry area. -
Page 5: Electrical Connections
ELECTRICAL CONNECTIONS WARNING: READ THESE ELECTRICAL SAFETY INSTRUCTIONS THOROUGHLY BEFORE CONNECTING THE PRODUCT TO THE MAINS SUPPLY. Connect the mains lead to a standard, 230 Volt (50Hz) electrical supply through an approved BS1363/A plug fitted with a BS1362 fuse. If the plug has to be changed because of damage, it must be removed and a replacement fitted, following the wiring instructions shown below. -
Page 6: The 9-Stage Charging Process
THE 9-STAGE CHARGING PROCESS The diagnostic function detects the condition of the battery. Diagnosis If the voltage is over 7.5V ± 0.5V the charger begins to pulse & charge with a small current until the voltage reaches 10.5V ± Recovery 0.5V. - Page 7 ATTACHMENTS 1. The charger should be connected to the battery or the vehicle accessory (cigar lighter) socket, before connecting it to the mains supply. IMPORTANT: Check the vehicle handbook and note whether the vehicle has a positive earth or negative earth. 2.
-
Page 8: Operation
INDICATORS Power ON Gereen LED Chaging Red LED Fault Condition Red LED Fully Charged Green LED Modes (see page 10) OPERATION CONNECT THE CHARGER TO THE BATTERY CONNECTING A NEGATIVE EARTHED BATTERY 1. Make sure that the black clamp is not touching the battery or the fuel line. 2. -
Page 9: Connect Charger To Mains Power Supply
CONNECT CHARGER TO MAINS POWER SUPPLY 1. Insert the plug into the mains power supply. 2. Switch on the power supply. • The “POWER” LED will illuminate. CHARGER SETUP 1. Press the MODE button repeatedly to select the mode you want to use (See “Charging Modes”... -
Page 10: Charging Modes
CHARGING MODES This mode is suitable for charging small batteries with a capacity of 6-40Ah. 1. Press the MODE button until the LED adjacent to the motorcycle symbol is illuminated. • Charging will start and the 'charging' LED will illuminate. •... -
Page 11: Maintenance
MAINTENANCE WARNING: DISCONNECT THE CHARGER FROM THE MAINS POWER BEFORE SERVICING OR PERFORMING ANY MAINTENANCE. Other than cleaning, this charger does not require any specific maintenance. CLEANING Only use a dry cloth to clean the charger. DO NOT use solvents or cleaning agents on the casing. -
Page 12: Specification
SPECIFICATION Input Voltage 230V Battery Voltage Compatible Battery Types Calcium, Lead acid: SLA, WET, AGM, VRLA Charging Current Input Power / Current 130W / 0.57 Amp Charge Type 9-Cycle Ambient Temperature -20°C to +50°C Dimensions (L X W X H) 215 x 95 x 60 mm Weight 1.2 kg... -
Page 13: Declaration Of Conformity
DECLARATION OF CONFORMITY Parts & Service: 020 8988 7400 / E-mail: Parts@clarkeinternational.com or Service@clarkeinternational.com... - Page 14 Parts & Service: 020 8988 7400 / E-mail: Parts@clarkeinternational.com or Service@clarkeinternational.com...
- Page 15 Parts & Service: 020 8988 7400 / E-mail: Parts@clarkeinternational.com or Service@clarkeinternational.com...
Need help?
Do you have a question about the CBO9-12 and is the answer not in the manual?
Questions and answers