Advertisement
Available languages
Available languages
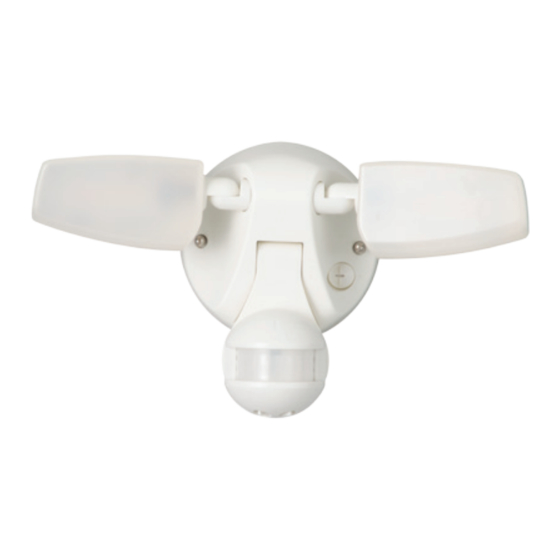
PACKAGING CONTENTS/ CONTENU DE L'EMBALLAGE/ CONTENIDO DEL PAQUETE
MST18VCW
MST28VCW
(White/Blanc/Blanco)
MST18VCB
MST28VCB
(Bronze /Bronze/
Bronce)
ENGLISH
ITEMS REQUIRED
(Purchase separately)
• Phillips screwdriver
• Outdoor weatherproof silicone caulking
IMPORTANT SAFETY INSTRUCTIONS
When using product, basic precautions should always be followed, including the following:
• Heed all warnings, including below warnings AND those included on product.
• Save these instructions and warnings.
• For outdoor use only.
• cULus LISTED for wet location.
• Disassembling your fixture will void the warranty.
• Your fixture is prewired and preassembled for easy installation.
• Read and follow these instructions.
• Risk of fire/electric shock. If not qualified, consult an electrician.
• Disconnect power at fuse or circuit breaker before installing or servicing.
CAUTION
• Connect fixture to a 120 volt, 60 Hz power source. Any other connection voids
the warranty.
• Fixture should be installed by persons with experience in household wiring or by a
qualified electrician. The electrical system, and the method of electrically connecting
the fixture to it, must be in accordance with the National Electrical Code and local
building codes.
• Fixture designed for wall or eave mount to a junction box only. Mount fixture to a
grounded, recessed-mounted standard junction box marked for use in wet locations.
• Do not mount below 5 feet.
• This device complies with Part 15 of the FCC Rules. Operation is subject to the
following two conditions: (1) This device may not cause harmful interference, and (2)
this device must accept any interference received, including interference that may cause
undesired operation.
WARNING: FCC Regulations state that any unauthorized changes or
modifications to this equipment not expressly approved by the manufacturer
could void the user's authorization to operate this equipment.
SAVE THESE INSTRUCTIONS.
A. Light fixture
Appareil d'éclairage
Accesorio
D. (2) Decorative cap nuts
(2) Écrous borgnes décoratifs
(2) Tuercas decorativas
Questions?/ ¿Preguntas? 1-800-334-6871 ConsumerProducts@eaton.com
B. Mounting bracket
Support de montage
Soporte de montaje
E. (3) Wire nuts
(3) Serre-fils
(3) Tuercas para cables
FOR BEST RESULTS
• Install the motion sensor/transmitter 8-12 feet
above the ground. (Motion sensor is less sensitive
above 12 feet.)
• Locate motion sensor so motion moves across
detection zone (Fig. 1).
• Locate sensor away from heat producing sources to
prevent false triggering. Also be very careful not to
include objects such as windows, white walls and
water in the detection zone.
• Locate sensor away from moving objects such as
trees, large shrubs and street traffic.
• Do not install more than one motion activated
floodlight on one wall switch.
MOUNTING AND WIRING YOUR FIXTURE
WARNING: Risk of electric shock. Disconnect
power at fuse or circuit breaker before installing
or servicing.
NOTE: Fixture can be wall or eave mounted (Fig. 2).
NOTE: Coverplate mounts to recessed mounted
standard junction boxes (Fig. 3). Junction box must be
at least 1-1/2 inch in depth for proper installation for
recessed mount application.
1. Line up the slotted holes on the mounting bracket (B)
with the holes on your junction box. Using either (2)
#6 screws or (2) #8 screws (D) (depending on size of
the holes in your junction box), attach the mounting
bracket (B) to your junction box (Fig. 4).
2. Connect house ground wire to mounting bracket
ground wire using a wire nut (E) provided (Fig. 4).
3. Connect fixture black wire to house black wire, and
fixture white wire to house white wire, using the wire
nuts (E) provided (Fig. 5).
4. Level and secure the mounting bracket arm by
tightening the rotation clamp screws and attach
fixture (A) to the mounting bracket (B) using (2)
decorative cap nuts (D). Be sure no loose wires
remain sticking out from underneath the coverplate
(Fig. 5).
5. Move the heads to aim light where desired.
6. Apply silicone caulk around the edge of the
coverplate to provide a watertight seal from rain
and moisture.
7. Turn on power at main fuse/breaker box.
1
Instruction Manual/ Instrucciones
C. (2) #6-32 x 3/4 in. and (2) #8-32 x 3/4 in. junction box screws
(use the size that fits your junction box)
(2) vis nº 6 de 32 x 3/4 po et 2 vis nº 8 de 32 x 3/4 po pou
boîtier de jonction (choisissez la dimension convenant
à votre boîtier de jonction)
(2) Tornillos #6-32 x 3/4 pulg. y (2) tornillos #8-32 x 3/4
pulg. para montaje de la caja de conexiónes (utilice el
tamaño que mejor se adecue a su caja de conexiónes)
1
2A
2B
3
4
Wall mount
Eave mount
1-1/2 in.
1-1/2 in.
Round
Octagonal
B
Advertisement
Table of Contents

Related Manuals for Eaton Halo MST18VCW


Summary of Contents for Eaton Halo MST18VCW
- Page 1 Instruction Manual/ Instrucciones Questions?/ ¿Preguntas? 1-800-334-6871 ConsumerProducts@eaton.com PACKAGING CONTENTS/ CONTENU DE L’EMBALLAGE/ CONTENIDO DEL PAQUETE A. Light fixture B. Mounting bracket C. (2) #6-32 x 3/4 in. and (2) #8-32 x 3/4 in. junction box screws (use the size that fits your junction box) Appareil d’éclairage...
-
Page 2: Troubleshooting
TIME range. within 3 seconds. Eaton warrants to customers that, for a period of five years from the date of purchase, Eaton at dusk and then reset to products will be free from defects in materials and workmanship. The obligation of Eaton the Auto Setting. - Page 3 également bien attention à ce que la zone de détection MODIFICATION OF EATON PRODUCTS, OR SUPPLY OF ANY REPLACEMENT PARTS THEREFORE, EXCEED THE PURCHASE PRICE OF EATON PRODUCTS GIVING RISE TO A CLAIM. NO LABOR ne comprenne pas d’éléments comme des fenêtres, CHARGES WILL BE ACCEPTED TO REMOVE OR INSTALL FIXTURES.
-
Page 4: Dépannage
TOUTEFOIS S’Y LIMITER, TOUTE GARANTIE DE QUALITÉ MARCHANDE ET POUR UN USAGE crépuscule puis revenir en mode PARTICULIER. Automatique. Eaton garantit à ses clients, pendant une période de cinq ans à compter de la date d’achat, Mode Test TEST Mettre le luminaire sous que ses produits Eaton sont exempts de tout défaut de matériaux et de... - Page 5 1. Alinee los orificios ranurados sobre el soporte de ESPAÑOL 1-1/2 in. 1-1/2 in. montaje (B) con los orificios de su caja de derivación. Use (2) tornillos N.° 6 o (2) tornillos N.° 8 (D) (de acuerdo con el tamaño de los orificios ARTÍCULOS NECESARIOS en su caja de conexiones), coloque el soporte (se compran por separado)
-
Page 6: Diagnostico Y Solucion De Problemas
“TIME” (“TIEMPO”). para Eaton. Esto es necesario para la ejecución de la garantía. Esta garantía no se aplica a los productos de Eaton que hayan sido alterados o reparadoso que estuvieron sujetos a negligencia, abuso, mal uso o accidente (incluso los daños durante el envío). Esta garantía...
Need help?
Do you have a question about the Halo MST18VCW and is the answer not in the manual?
Questions and answers