Table of Contents
Advertisement
Quick Links
Advertisement
Table of Contents

Related Manuals for Denver IPO-1320MK2


Summary of Contents for Denver IPO-1320MK2
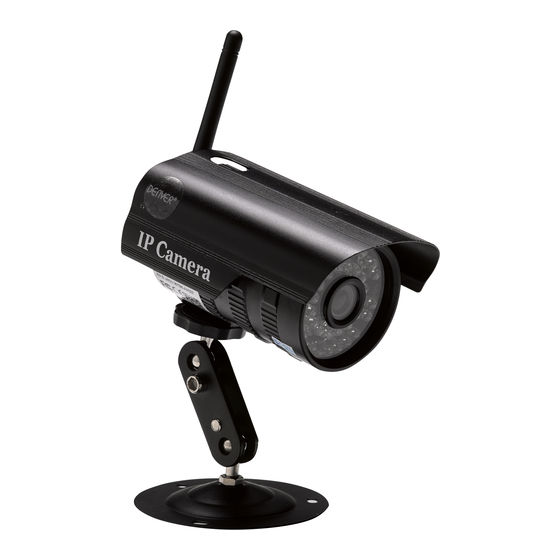
- Page 1 DENVER IPO-1320MK2 DENVER IPC-1030MK2...
- Page 2 Packing list: IP camera Mounting bracket Antenna Power Adaptor Lan cable Screws Installation guide Some models don’t have a separate antenna. Note: Installation procedure: Start Connect the Hardware Install the Search Tool Login the IP Camera into LAN Wireless Settings Login the IP Camera to the PC Client Access by Mobile...
- Page 3 IP Camera Internet Router Internet Cable Power Internet Router Internet Cable Power Connect the camera with Internet cable to the router, and with the power cord to the mains, like shown above.
- Page 4 Next Insert the CD and install the following software: Open the File “IPO-1320MK2 & IPC-1030MK2”, click on “OCX setup” — “Next” — “Install” — “Finish” Open the File “Search Tool”, Copy the “Search Tool” to the desktop and launch it.
- Page 5 Double click the camera IP address in the search tool. In your default browser a login screen like shown below will be displayed: Note: Both the username and password are “admin” (Please change the account user name and password for safety later) After entering the correct user name and password, the Login screen will be displayed.
-
Page 6: Wireless Setting
Live video 3. Wireless Setting 1. Click on the button to access the “Wireless” settings. 2. Search for the WIFI signals and choose the desired SSID. 3. Make sure that all parameters are the same like in your router, enter the WIFI network key. - Page 7 Checking the WIFI signal connection status 4. Device information Setting Click on the icon to access the “ Device information” settings You will see all information for the IP camera...
-
Page 8: Time Settings
5. Time Settings Click on the icon to access the “Time” settings You may choose any NTP server, then click on “Apply” Choose the desired time and click on “Apply” to activate it 6. Record settings 6.1.Recording in TF card 1) Click on the icon to access the “Record”... - Page 9 6.2 Recording to computer disk 1) The main interface into the machine, as shown below; 2) Click on ,select the recording path; 3) Click on ,Start recording. Note :If you can not change the recording path , please follow these steps: First,please open search tool,Find the camera's ip address and copy it :...
- Page 10 Then,Run IE browser as administrator : Finally, Paste IP address of the camera in IE browser, Click “Enter”,then you can modify the video path as below :...
- Page 11 7. Alarm Settings & Motion Detection Configuration First, you should activate the “Motion detection” and choose the display detail that should be monitored (you may alter the detail as require). You may choose the “Alarm trigger ringtone” and time schedule, then click on ”Apply”, If the motion detect detects a motion in the configured display detail the alarm bell will ring (The model without audio function is not provided with this alarm ring tone notification)
- Page 12 8. Alarm Notification Setting & Email, FTP 1) The email configuration screen serves for the preparation of the alarm function. If the motion detect activates your camera is triggered, you will receive an email containing photos. Precondition for this is the correct setup and test of the service. Here the configuration of a Gmail account as example: This function only works if the IP camera is connected to the network.
- Page 13 1.Go to the “Less secure apps ”section in my account. 2.Next to “Access for less secure apps”,select Turn on.(Note to Google Apps users :This setting is hidden if your administrator has locked less secure app account access) 3.More details about allow less secure apps ,please refer to this link : https://support.google.com/a/answer/6260879?hl=en.
-
Page 14: Ddns Setting
9. System log & Net work setting System log is intended for administrators to monitor the system operation In "Network Settings" you may modify the IP address, gateway and port number 10. DDNS Setting Click on the icon and the choose “DDNS Service Settings”. Choose the DDNS server, enter the DDNS user name and password. - Page 15 11. PTZ Setting & User Setting Here you may configure some PTZ options...
-
Page 16: Multiple Settings
Modification of the user password 12. Multiple Settings Refresh the device in the LAN search, then you will find other cameras connected to the same LAN Click on the “2 device” Click on the desired the camera to add it as the 2 device , enter the correct user name and password Click on “Apply”... - Page 17 13. Maintainance & ONVIF With this option you may restore the camera to its factory settings, and perform firmware updates. ONVIF Support...
-
Page 18: Image Setting
14. Auto Snap & Video Mark Capturing of images to the SD card and FTP upload Select the screen detail (you can change the size of the window), click on "Apply" and an obscured screen area appears 15. Image setting 1) Click on apply to modify the brightness, saturation, sharpness, exposure, contrast 2) Click on the application to modify the exposure mode, infrared lamp, 3) Click on applications to change the value of the IR-cut... - Page 19 FAQ: A. Password forgotten 1) Reset your camera. While the power is on, you must press the RESET button for 10 seconds. The button you will find at the bottom of the camera. With outdoor cameras the white reset button is located at the end of the power cord. 2) After the reset is completed, the camera is reset to the factory settings, then the username and the password is "admin".
- Page 20 Enable: Run ActiveX controls and plug-ins...
- Page 21 Omega 5A Soeften DK-8382 Hinnerup Denmark facebook.com/denverelectronics Hereby,Inter Sales A/S declares that the radio equipment type IPO-1320MK2 ,IPC-1030MK2 is in compliance with Directive 2014/53/EU.The full text of the EU declaration of conformity is available at the following internet address: http://www.denver-electronics.com/denver-ipo-1320mk2/ http://www.denver-electronics.com/denver-ipc-1030mk2/...
Need help?
Do you have a question about the IPO-1320MK2 and is the answer not in the manual?
Questions and answers