Table of Contents
Advertisement
Quick Links
Advertisement
Table of Contents

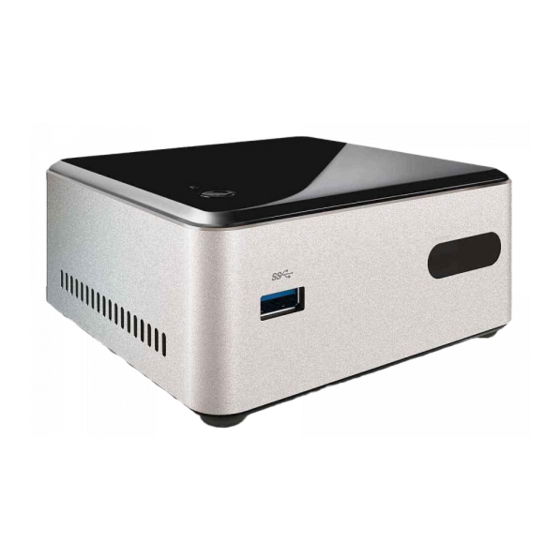
Summary of Contents for Intel NUC DN2820FYKH
- Page 1 Intel NUC Kit DN2820FYKH User Guide Intel® NUC Kit DN2820FYKH User Guide...
-
Page 2: Before You Begin
If such a station is not available, you can provide some ESD protection by wearing an antistatic wrist strap and attaching it to a metal part of the computer chassis. Installation Precautions When you install and test the Intel NUC, observe all warnings and cautions in the installation instructions. To avoid injury, be careful of: ... - Page 3 Install an operating system • Install the latest drivers • Open the Intel NUC Chassis To open the Intel NUC chassis, follow these steps: 1. Unscrew the four corner screws on the bottom cover of the chassis and lift the cover.
-
Page 4: Installing And Removing Memory
2. Lift up the hard drive bracket and set it over the edge of the chassis to expose the motherboard. Installing and Removing Memory Intel NUC Kit DN2820FYKH has one 204-pin DDR3L SO-DIMM socket. Memory requirements: 1.35V low voltage memory ... - Page 5 For more information on wireless adapters, go to: http://www.intel.com/support/wireless/wlan. CAUTION When installing a Mini-PCIe wireless adapter on the Intel NUC, ensure that the adapter is fully seated in the connector before you power on the system. If the adapter is not fully seated in the connector, an electrical short may result across the connector pins.
- Page 6 Intel NUC Kit DN2820FYKH User Guide Install a Mini-PCIe Wireless Adapter Follow these instructions to install a Mini-PCIe wireless adapter: 1. Observe the precautions in "Before You Begin" on page 2. 2. Remove the small sil v er screw from the met al standoff on the mot herboard (A) .
- Page 7 Intel NUC Kit DN2820FYKH User Guide 6. Remove the black tape holding the two wireless antennas. 7. Slide the clear plastic protective sleeve down onto the antenna wires, away from the connectors at the ends of the antennas (D). CAUTION Do not attempt to pull the plastic protectors off the ends of the antennas.
- Page 8 Intel NUC Kit DN2820FYKH User Guide 2. Slide the 2.5” drive into the drive bay, ensuring the SATA connectors are fully seated into the connectors of the SATA daughter card (A). 3. Secure the drive into the drive bay with the two small silver screws that were included in the box (B).
-
Page 9: Close The Chassis
Intel NUC Kit DN2820FYKH User Guide Close the Chassis After all components have been installed, close the Intel NUC chassis. Intel recommends this be done by hand with a screwdriver to avoid over-tightening and possibly damaging the screws. Attach and Use the VESA Bracket (Optional) Follow these instructions to attach and use the VESA mount bracket: 1. -
Page 10: Install An Operating System
Intel NUC Kit DN2820FYKH User Guide 2. Attach the two slightly larger black screws to the bottom chassis cover of the Intel NUC. 3. Slide the Intel NUC onto the VESA mount bracket. Install an Operating System Refer to Supported Operating Systems for a list of Intel-validated Windows* operating systems, as well as versions of Linux that have been reported as compatible by Intel NUC owners. - Page 11 Intel NUC Kit DN2820FYKH User Guide Install Intel NUC Drivers To download the latest Microsoft* Windows* drivers and BIOS updates for the Intel NUC Kit DN2820FYKH, go to Download Center. Drivers are available for the following features: Audio ...


Need help?
Do you have a question about the NUC DN2820FYKH and is the answer not in the manual?
Questions and answers