Sign In
Upload
Download
Table of Contents
Contents
Add to my manuals
Delete from my manuals
Share
URL of this page:
HTML Link:
Bookmark this page
Add
Manual will be automatically added to "My Manuals"
Print this page
×
Bookmark added
×
Added to my manuals
Manuals
Brands
HIKVISION Manuals
Switch
DS-3E0109P-E
User manual
HIKVISION DS-3E0109P-E User Manual
Hide thumbs
1
2
3
4
5
6
Table Of Contents
7
8
9
10
11
12
13
14
15
16
17
18
19
page
of
19
Go
/
19
Contents
Table of Contents
Bookmarks
Table of Contents
Table of Contents
Chapter 1 Product Overview
Introduction
Packages Content
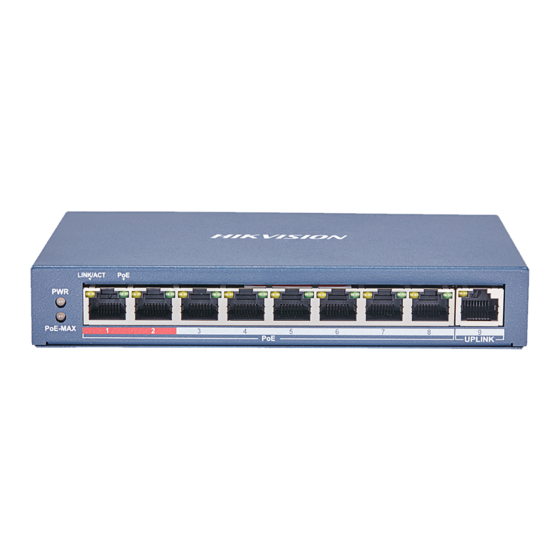
Front Panel
Rear Panel
Chapter 2 Device Installation
Installation Notes
Safety Alert
Environmental Requests
Installation
Desktop-Mounting
Wall-Mounting
Grounding
With Grounding Bar
Without Grounding Bar
Chapter 3 Physical Connection
Connect to RJ45 Ports
Check the Cabling
Connect to Power Supply
Appendix Technical Specifications
Advertisement
Quick Links
1
Installation Notes
2
Installation
3
Connect to Rj45 Ports
Download this manual
DS-3E0105P-E/DS-3E0109P-E
User Manual
UD.6L0202D2008A01
Table of
Contents
Previous
Page
Next
Page
1
2
3
4
5
Advertisement
Table of Contents
Need help?
Do you have a question about the DS-3E0109P-E and is the answer not in the manual?
Ask a question
Questions and answers
Related Manuals for HIKVISION DS-3E0109P-E
Switch HIKVISION DS-3E0105P-E User Manual
(20 pages)
Switch HIKVISION DS-3E05 Series Installation Manual
Gigabit ethernet switch (16 pages)
Switch Hikvision DS-3E0108P-E User Manual
(25 pages)
Switch Hikvision DS-3E0109P-E/M User Manual
(25 pages)
Switch HIKVISION DS-3E0106P-E/M Series Quick Start Manual
4-port or 8-port unmanaged poe switch (12 pages)
Switch HIKVISION DS-3E0105P-M User Manual
(20 pages)
Switch HIKVISION DS-3E0109P-M User Manual
(19 pages)
Switch HIKVISION DS-3E0318P Quick Start Manual
16/24-port 100m long-range poe switch (16 pages)
Switch HIKVISION DS-3E03 P Series Quick Start Manual
16/24-port 100m long-range poe switch (16 pages)
Switch HIKVISION DS-3E0524-E Quick Start Manual
16/24-port gigabit ethernet switch (16 pages)
Switch HIKVISION DS-3E0318P-E User Manual
(21 pages)
Switch HIKVISION DS-3E0326P-E User Manual
(21 pages)
Switch HIKVISION DS-3E0516 Series Quick Start Manual
16/24-port gigabit ethernet switch (16 pages)
Switch HIKVISION DS-3E0526P Series Quick Start Manual
16/24-port gigabit poe switch (17 pages)
Switch HIKVISION DS-3E0516-E Installation Manual
Gigabit ethernet switch (16 pages)
Switch HIKVISION DS-3E0508-E Installation Manual
Gigabit ethernet switch (16 pages)
This manual is also suitable for:
Ds-3e0105p-e
Ds-3e0109p-m
Table of Contents
Print
Rename the bookmark
Delete bookmark?
Delete from my manuals?
Login
Sign In
OR
Sign in with Facebook
Sign in with Google
Upload manual
Upload from disk
Upload from URL


Need help?
Do you have a question about the DS-3E0109P-E and is the answer not in the manual?
Questions and answers