
Subscribe to Our Youtube Channel
Related Manuals for Forever Redwood DIY Wood Gazebo


Summary of Contents for Forever Redwood DIY Wood Gazebo
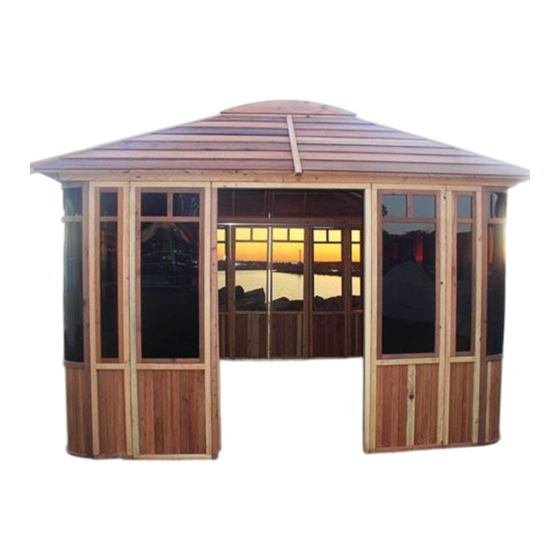
- Page 1 866.332.2403 (Toll Free); 7am-7pm Pacific Time, Monday-Saturday Assembly instructions for: 360 GAZEBOS 360 Gazebos www.foreverredwood.com...
- Page 2 Quantity Description Drawing Front wall panels – Quantity will vary depending on panels size Quantity will Rear wall window vary depending on size Quantity will Left side & right side vary depending on size Doors 360 Gazebos www.foreverredwood.com...
- Page 3 Angled Corner Panels Door frame Roof timbers Roof panels Rafters Roof trim Skylight Quantity will Snow Load boards vary depending on size Quantity Description Bolts 4” x 5/16”, washers & nuts Bolts 6 ½” x 3/8”, washers & nuts Bolts 3 ½” x 5/16”, washers & nuts Bolts 4 ½”...
- Page 4 The parts that go together have the same numbers written next to the predrilled holes they attach to. Align the parts with the numbers as shown for ease of reference. Step 1: Attach corner panel to wall panel with six deckscrews (3”X 8”). (Match up the numbers to attach the two parts together).
- Page 5 Step 3: Attach the rest of the base of the roof with 8 bolts (4 ½”x 5/16”) washers & nuts. Take the timbers from step 3 and add the other roof timbers as shown.(Match up the numbers to attach the two parts together).
- Page 6 Step 6: Attach the rafters to base of the roof with 10 bolts (6 ½”x 3/8”) washers & nuts. (Match up the numbers to attach the two parts together). Tap the bolt all the way into the wood to set it. Then add a washer and nut and lightly tighten.
- Page 7 Step 10: Attach the roof trim between each roof panel with three deckscrews (3”x 8”). And repeat the process for each space between the installed roof panels and fill between gaps with silicone. Step 11: Attach the doors to the metal hardware installed in the door panels. Use deckscrews (3”...
Need help?
Do you have a question about the DIY Wood Gazebo and is the answer not in the manual?
Questions and answers