Sign In
Upload
Download
Table of Contents
Contents
Add to my manuals
Delete from my manuals
Share
URL of this page:
HTML Link:
Bookmark this page
Add
Manual will be automatically added to "My Manuals"
Print this page
×
Bookmark added
×
Added to my manuals
Manuals
Brands
Makita Manuals
Vacuum Cleaner
DVC261ZX8
Instruction manual
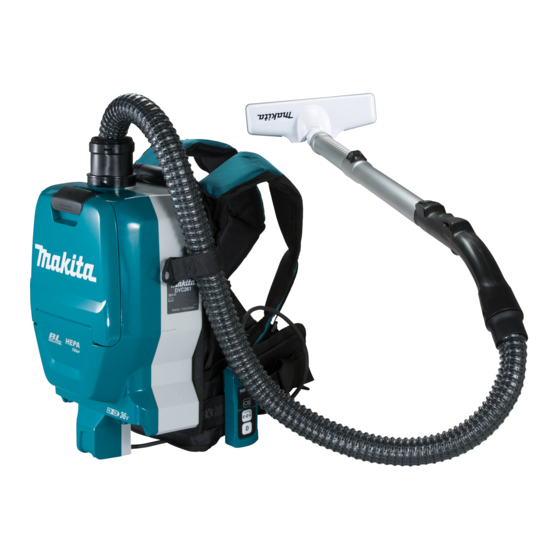
Makita DVC261ZX8 Instruction Manual
Cordless backpack vacuum cleaner
Hide thumbs
1
2
3
4
5
6
7
8
9
10
11
12
13
14
15
16
17
18
19
20
Table Of Contents
21
page
of
21
Go
/
21
Contents
Table of Contents
Bookmarks
Table of Contents
Specifications
Safety Warnings
Functional Description
Installing or Removing Battery Cartridge
Overload Protection
Overheat Protection
Overdischarge Protection
Adjusting Belts
Led Light
Connecting the Tool
Operation
Maintenance
Cleaning the HEPA Filter
Cleaning the Dust Bag
Optional Accessories
Advertisement
Quick Links
Download this manual
INSTRUCTION MANUAL
Cordless Backpack Vacuum
Cleaner
DVC261
Read before use.
Table of
Contents
Previous
Page
Next
Page
1
2
3
4
5
Advertisement
Table of Contents
Need help?
Do you have a question about the DVC261ZX8 and is the answer not in the manual?
Ask a question
Questions and answers
Related Manuals for Makita DVC261ZX8
Vacuum Cleaner makita DVC261 Instruction Manual
Cordless backpack vacuum cleaner (76 pages)
Vacuum Cleaner Makita DVC261 Instruction Manual
Cordless backpack vacuum cleaner (17 pages)
Vacuum Cleaner Makita DVC261 Instruction Manual
Cordless backpack vacuum cleaner (96 pages)
Vacuum Cleaner Makita DVC261 Instruction Manual
Cordless backpack vacuum cleaner (105 pages)
Vacuum Cleaner Makita DVC261ZX4 Instruction Manual
Cordless backpack vacuum cleaner (81 pages)
Vacuum Cleaner Makita DVC261Z Instruction Manual
Cordless backpack vacuum cleaner (17 pages)
Vacuum Cleaner Makita DVC261 Instruction Manual
Cordless backpack vacuum cleaner (76 pages)
Vacuum Cleaner Makita DVC261 Instruction Manual
Cordless backpack vacuum cleaner (116 pages)
Vacuum Cleaner Makita DVC261 Instruction Manual
Cordless backpack vacuum cleaner (57 pages)
Vacuum Cleaner Makita DVC261 Instruction Manual
Cordless backpack vacuum cleaner (109 pages)
Vacuum Cleaner Makita DVC261TX25 Instruction Manual
Cordless backpack vacuum cleaner (77 pages)
Vacuum Cleaner Makita DVC261ZX15 Instruction Manual
Cordless backpack vacuum cleaner (108 pages)
Vacuum Cleaner Makita DVC261ZX13 Instruction Manual
Cordless backpack vacuum cleaner (21 pages)
Vacuum Cleaner Makita DVC261ZX12 Instruction Manual
Cordless backpack vacuum cleaner (21 pages)
Vacuum Cleaner Makita DVC260 Technical Information
Cordless backpack vacuum cleaner (11 pages)
Vacuum Cleaner Makita DVC265 Instruction Manual
Cordless backpack vacuum cleaner (136 pages)
This manual is also suitable for:
Dvc261zx13
Dvc261zx12
Table of Contents
Print
Rename the bookmark
Delete bookmark?
Delete from my manuals?
Login
Sign In
OR
Sign in with Facebook
Sign in with Google
Upload manual
Upload from disk
Upload from URL


Need help?
Do you have a question about the DVC261ZX8 and is the answer not in the manual?
Questions and answers