Advertisement
Quick Links
For technical assistance or troubleshooting please call
1-855-994-3832 or visit www.sibrandssupport.com
This product is intended for use only with Audio/Video components (Not for use with any type of TV). The maximum weight
capacity per shelf is 22 lbs. See apparatus instructions. Using with an apparatus heavier than the maximum shelf support
weight indicated may result in instability and cause personal injury.
READ THIS FIRST
Read this entire manual! Do not attempt to install this product if you do not understand the instructions. Contact a qualified
mount installer if you have any doubts about a safe and secure mount installation, or if you are not sure what specific wall
materials you are attaching this mount to. Check all the parts carefully to make sure there are no missing or damaged parts.
Improper installation may result in damage to your Components, TV, property, and personal injury.
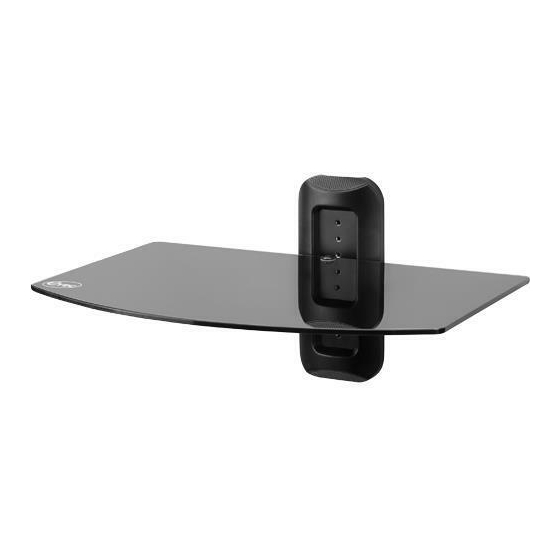
One Shelf, Wall Mounted
A/V Component Stand
Installation Guide
Model: EXSS117
Advertisement

Related Manuals for Etec EXSS117


Summary of Contents for Etec EXSS117
- Page 1 One Shelf, Wall Mounted A/V Component Stand Installation Guide Model: EXSS117 For technical assistance or troubleshooting please call 1-855-994-3832 or visit www.sibrandssupport.com This product is intended for use only with Audio/Video components (Not for use with any type of TV). The maximum weight capacity per shelf is 22 lbs.
-
Page 2: Child Safety
Use with components heavier than the maximum shelf weight capacity can damage equipment and cause personal injury. Schoenfeld International Inc. and ETEC are not responsible for personal injury or product damage due to mishandling, incorrect mounting, incorrect assembly, or incorrect use of this product. - Page 3 Glass Shelf Shelf Support Plastic Cover Wall Plate Long Bolts Concrete Anchors Long Bolt Washers M6x12mm Shelf Security Bolt Glass Shelf Cable Management Allen Wrench M6x8mm Washer Bolts Suction Pads Clips with Phillips End Wall Plate Long Bolt Washers Plastic Cover Shelf Security Bolt Shelf Support M6x8mm Bolts...
- Page 4 Step 1: Install the Wall Plate Read the instructions. Determine the proper location for your wall type. Make sure the mounting location has enough space for the Glass Shelf (4) and the Wall Plate (1). Follow the mounting instructions for wood studs or concrete wall installation.
- Page 5 1. Place the Wall Plate (1) flat against the wall in the desired mounting location. Use the Wall Plate (1) as a template to mark the mounting holes on the wall. Make sure that the mounting holes are level and are parallel.
- Page 6 Step 2: Install the Plastic Cover Align the four tabs on the Plastic Cover (2) with the 4 cut-outs on the Wall Plate (1) as shown in Fig. 5. Gently apply pressure unitil the Plastic Cover (2) snaps into position on the Wall Plate (1). Fig.
- Page 7 Step 4: Install the Shelf Support Attach the Shelf Support (3) to the Wall Plate (1) using the two M6x8mm Bolts (E) and Allen Wrench (H) as shown in Fig. 7. Do not overtighten the bolts. Fig. 7 Step 5: Install the Glass Shelf Carefully place the Glass Shelf (4) on the Shelf Support (3) as shown in Fig.
- Page 8 Step 6: Secure the Glass Shelf Secure the Glass Shelf (4) by inserting the Washer (I) and Shelf Security Bolt (D) into the hole in the Glass Shelf (4) as shown in Fig. 9. Tighten the Shelf Security Bolt (D) using the Allen Wrench (H). Do not overtighten or the glass shelf will break.
- Page 9 Step 7: Using the Cable Management System This A/V Component Stand includes a cable management system which allows cables or cords to be neatly routed along the sides of the Wall Plate (1). Insert the Cable Management Clips (G) into the holes near the sides on the Plastic Cover (2) as shown in Fig.
- Page 10 This page is intentionally left blank...
- Page 11 We warrant this product to you, the original purchaser at the time of purchase printed on a dated store receipt from an authorized ETEC retailer and for a period of six-years thereafter that our wall mount product and all it’s parts and components are free of defects in material and workmanship under normal use.
- Page 12 Schoenfeld International Inc. and ETEC 5001 American Boulevard West Suite 275 Bloomington, MN 55437 © Schoenfeld International Inc. 2017 PN: EXSS117 Rev 1.0 May 2017...
Need help?
Do you have a question about the EXSS117 and is the answer not in the manual?
Questions and answers