
Related Manuals for progressive automations TY-05-50

Summary of Contents for progressive automations TY-05-50
- Page 1 TY-05-30 / TY-05-40 / TY-05-50 User Manual Contents Page 2 Caution/Liability Page 3 Dimensions in Inches Page 3 Specifications Electronics Hardware Page 4 Page 5-7 Assembly Instructions...
- Page 2 Caution Make sure no obstacles are in the lift's path. Make sure the lift is not touching any walls. Make sure all cords are appropriate length to accommodate the change in height. Keep children away from electric TV lift, control units and remotes. There is a risk of injury and electric shock Keep all electrical components away from liquids.
- Page 3 + Stroke Length 35" for a 30" stroke 45" for a 40" stroke Specifications Model: TY-05-30 TY-05-40 TY-05-50 40" Stroke = 40" Tall 50" Stroke = 50" Tall TV Maximum Height: 30" Stroke = 30" Tall Wall Mount Measurements: 700mm x 500mm...
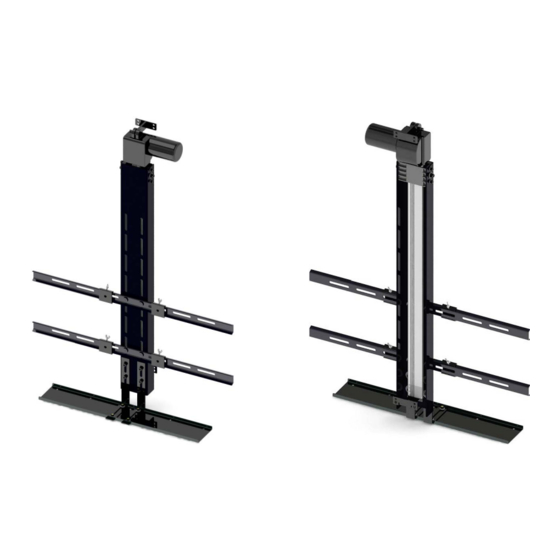
- Page 4 Electronics Rocker Switch (Wire 35") External Limit Switch (Wire 60") Control Box Wireless Remote Hardware Ceiling Cover Actuator Mounting Bracket Ceiling Cover Brackets TV Support Arms 30" TV Mounting Brackets TV Support Arms 36" Track Linear Actuator Support Column Purpose Name Quantity Hex Bolt M8x18...
- Page 5 Assembly Instructions Tools needed: philips screwdriver, 5mm allen key, 6mm allen key, 8mm allen key, 8mm socket, 13mm socket Use the four M8x12 Phillips Countersunk Screws Use the four M5x12 screws, nuts and washers from bag P4 to mount the TV Mounting Brackets to from bag P2 to attach the Ceiling Cover to the the back of your television.
- Page 6 Assembly Instructions Use the Actuator Mount Bracket, Clevis Pin and Cotter Pin Now that your Drop Down TV Lift is assembled you can attach from bag P6 to mount the top portion of the Track Linear your TV Mounting Brackets to the TV Support Arms using the Actuator to your installation.
- Page 7 Assembly Instructions Pairing the Wireless Remote Pairing the wireless remote is required before use. • Press and hold the UP and DOWN buttons on the wireless remote while simultaneously pressing the button on the side of the control box for 10 seconds. The TV lift will raise after the remote pairing has been completed.
Need help?
Do you have a question about the TY-05-50 and is the answer not in the manual?
Questions and answers
Wall mounting instructions