
Related Manuals for Ribimex RBAT20 PRBAT20/PPSB


Summary of Contents for Ribimex RBAT20 PRBAT20/PPSB
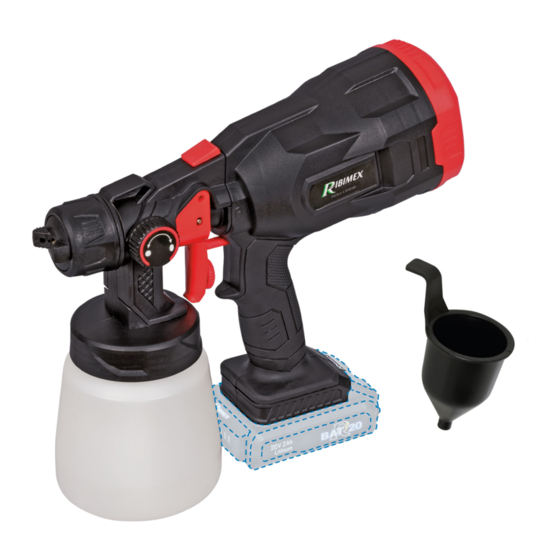
- Page 1 PRBAT20/PPSB INSTRUCTIONS FOR HVLP ELECTRIC SPRAY GUN(Q0P-CX33-380) Before using the gun, read this manual thoroughly.
- Page 2 Any improper use can cause damage or a serious hurt, even lead to death . Explosive view:...
- Page 3 ST2.9*10SCRE O-ring Lock catch Rear cover 22 Needle spring microswitch Cotton filter Needle set Battery pack Right cover Battery pack pin Switch plunger spring Pipette Left cover Switch plunger Cup-ring Gun-ring Right side cover Suction pipe splint Stopper ST3.5*10SCRE Motor cover Φ3 flat gasket Big nut 550 motor...
-
Page 4: Suction Tube
Before use the electric spray gun, material preparation is the first stage. Please refer to the thinning chart and picture. Material Run Out Time (Sec) 1) Unscrew the paint container from the spray gun. 2) Adjust the suction tube. Suction Tube a) If spray in an upward direction,the angled end of the suction tube should be pointing toward the rear of the gun. - Page 5 Suction Tube b) If spray in a downward direction, the angled end of the suction tube should be pointing towards the front of the gun. 3) Pour material into container, make sure not to exceed 800ml 4) Remove the motor a) Hold the gun with your hand and press the latch in the direction of the arrow.
- Page 6 a) Hold the gun with your hand to align the slot on the gun with the slot on the motor and insert it (as shown in the figure). b) Hold the motor handle with your hand, rotate the right hand clockwise 90°. c) When the gun and host are parallel, it is locked.
- Page 7 Adjust the required length according to the spraying environment, reduce waste and save material. a) The counterclockwise rotation shortens the length, and when it rotates to the stop position, it is sprayed with the largest circle. b) Adjust the screw to right to increase paint volume, increase paint thickness 8) Adjusting spray patterns...
- Page 8 a) The gun spray patterns can be changed from a horizontal oval fan pattern to a round b) detailed pattern to a vertical fan pattern by adjusting the nozzle. VERTICAL HORIZONTAL 9) Open the power switch, pull trigger, the paint will spray from the nozzle. V How To Spray Properly: EVEN COAT THROUGHOUT Correct:...
-
Page 9: Troubleshooting
When disassembling the nozzle, please pull the trigger first, then press and remove the nozzle. a) As shown in the figure, rotate to remove the needle b) As shown in the figure, rotate to set up the needle VII Troubleshooting:... - Page 10 Problem Cause Solution Problem Cause Solution A.little or no material flow 1.nozzle clogged 1.clean 2.suction tube clogged 2.clean 3.material volume setting 3.turn to the left turn too far to the right 4.suction tube loose 4.insert 5.material is too thick 5.check viscosity 6.inconsistent paint 6.strain paint 7.container is loose...
Need help?
Do you have a question about the RBAT20 PRBAT20/PPSB and is the answer not in the manual?
Questions and answers