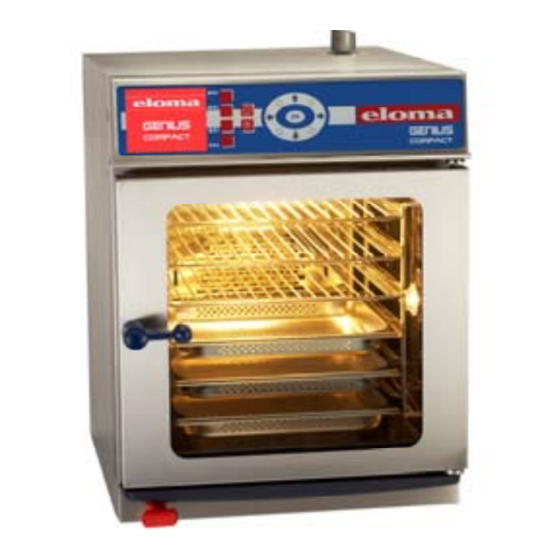
Eloma Joker B Installation And Technical Connections
Combi steamer
Hide thumbs
Also See for Joker B:
- Brochure & specs (8 pages) ,
- Operation manual (28 pages) ,
- Operation manual (32 pages)

Related Manuals for Eloma Joker B


Summary of Contents for Eloma Joker B
- Page 1 Eloma Combi Steamer Joker B, Genius compact, Joker T Joker B Genius compact Joker T Installation and Technical Connections...
- Page 2 Dear Customer, These installation instructions apply to Eloma’s Joker B, Genius compact and Joker T electrical appliances. Please read the installation and operating instructions in full before starting up the appliance and make sure to pay particular attention to the safety information.
-
Page 3: Table Of Contents
Table of contents Safety information ........................4 Equipment set up ........................6 Installation instructions: ...................... 6 Recommended minimum clearance .................. 6 Noise level ......................... 6 Exhaust air ........................6 Heat emission into the area ....................7 Water supplay ..........................7 In coming water supply quality ................... - Page 4 Pictograms/symbols used Warning Caution Danger! Indicates a situation presenting an Indicates a potentially dangerous Indicates a potentially dangerous immediate danger, which, if situation, which, if situation, which, if if not avoided, will result in not avoided, could result in not avoided, could result in minor or serious injury or death.
-
Page 5: Safety Information
The combi steamer is ideal for steaming, stewing, roasting, baking, grilling, gratinating, poaching, regenerating, defrosting and much more. Combi-steamer Joker B works with steam, combi-steam (combining the two media hot air and steam) or convection (hot circulating air) depending on the cooking mode selected with steam. - Page 6 Only authorised customer service personnel may open the side wall and carry out repairs and maintenance work. Risk of injury Installation Only authorised customer service personnel may install appliances, put them into operation and perform maintenance work on them. If using the marine version, attach the additional fastening elements supplied. Risk of burns! The functional surfaces of the appliance become hot during operation.
-
Page 7: Equipment Set Up
Recommended minimum clearance The machine may only be set up in a location with adequate lighting for users. We recommend to install the ovens on top of original Eloma lower racks/supports or wall brackets. In case of installations on top of worktables, ensure sufficient stability and load capacity. -
Page 8: Heat Emission Into The Area
Heat emission into the area Typ 6-23 Connected load latent MJ/h 2,33 3,82 sensible MJ/h 1,56 2,55 Water supplay Local water and regulation should be adhered to at all times. For UK inlet supply shall be fed via fluid backflow prevention category 3 arrangements such as a double check valve. -
Page 9: In Coming Water Supply Quality
Regular maintenance on every type of water treatment unit is vitally necessary. Damages to Eloma machines resulting from neglect of maintenance will void warranty claims. -
Page 10: Connections
Connections 1. Drain 2. Tap (raw) water 3. Softened water 4. Power supply 5. Energy optimisation 6. Connection cleaner 7. Connection rinse 8. Potential equalisation 9. Adjustment + / -10 mm Diagrams for connection Water connection for fresh water with water softener ... -
Page 11: Water Pressure
Other cleaning products can possibly cause irreparable rust damages in the cooking chamber, as well as damage pumps and seals. Eloma GmbH cannot assume liability for any damages resulting from the use of alternative products. This will void the Eloma warranty. -
Page 12: Drain Connection
Waste water connection Waste water connection versions Fixed connection with siphon in the combi-steamer Application: if there is no on-site siphon, as a siphon is integrated in the device. Combi-steamers Fixed connection Support stand Fixed connection with air exhaust pipe; waste pipe with external siphon Application: when an external siphon is present. - Page 13 Waste water drain into vent tundish Application: when an external siphon is present or the diameter of the external waste water pipe is too small. Combi-steamers Waste water pipe Vent tundish Siphon min. 500 Support stand Distance: 500 mm or 20 inches Installing the waste water connection 1.
-
Page 14: Electrical Connection
We recommend installation of a residual current circuit breaker with 30 mA. Model Joker B: Upon request the possibility of connection to energy optimising systems is provided for. Model Genius compact, Joker T: The possibility of connection to energy optimising systems is standard. -
Page 15: Dimensioned Sketch
Dimensioned sketch Housing dimensions and technical connections of models Joker B / Joker T / Genius compact are identical Exhaust pipe Drain Ø 40 mm EWk Softened water G 3/4A Tap (raw) water G 3/4A Power supply EZEo Connection power optimisation... - Page 16 Englisch Art. Nr.: ins_EL0510672_jb_jt_gc_ 08 _enu s...
Need help?
Do you have a question about the Joker B and is the answer not in the manual?
Questions and answers