Chapters
Table of Contents

Subscribe to Our Youtube Channel
Related Manuals for HOMEDEPOT MONTGOMERY DB91-WH


Summary of Contents for HOMEDEPOT MONTGOMERY DB91-WH
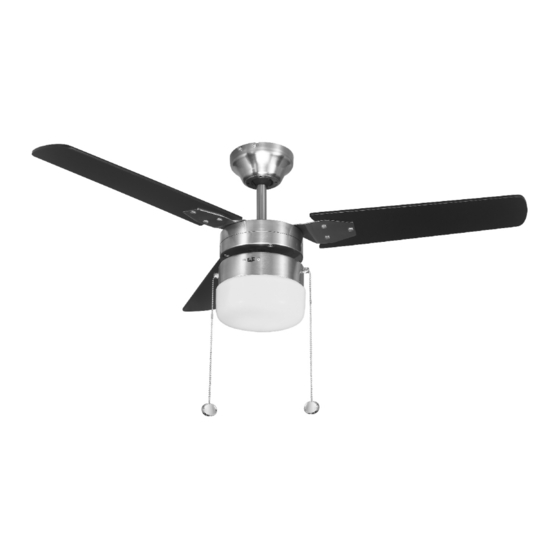
- Page 1 Núm. de modelo RDB91-WH/BN/ORB GUÍA DE USO Y CUIDADO VENTILADOR DE TECHO MONTGOMERY DE 42 PULG. Puede obtener también una copia electrónica de este manual del usuario en línea en homedepot.com.
-
Page 2: Table Of Contents
Tabla de contenido ........Herrajes incluidos Tabla de contenido . -
Page 3: Garantía
Garantía GARANTÍA LIMITADA LO QUE ESTÁ CUBIERTO El distribuidor garantiza que el motor del ventilador está libre de defectos en materiales y mano de obra presentes en el momento del envío de la fábrica por un periodo de quince años después de la fecha de compra por el comprador original. El distribuidor también garantiza que todas las otras piezas del ventilador, excluyendo cualquier aspa de vidrio o acrílico, están libres de defectos en materiales y mano de obra en el momento del envío de la fábrica por un periodo de un año después de la compra por el comprador original. -
Page 4: Contenido Del Paquete
Pre-instalación (continuación) CONTENIDO DEL PAQUETE NOTA : Desempaque su ventilador y compruebe el contenido. Debe tener los siguientes artículos listados a continuación. Pieza Descripción Cantidad Placa de montaje Cubierta del techo Motor del ventilador con carcasa de interruptor Conjunto de soportes de las aspas (con tornillos de soportes de las aspas preinstalados) Conjunto de aspas Pantalla de la lámpara Halador colgante de cadena... -
Page 5: Instalación
Instalación Instalación del cuerpo del ventilador Determinación del método de montaje Extraiga el pasador de chaveta (1), la arandela (2) y el pasador (3) de la unidad de la vara (H) y sepárelos para volver a ADVERTENCIA : Para evitar el riesgo de incendio, colocarlos luego. - Page 6 Instalación (continuación) Instalación de la placa de montaje NOTA : Puede necesitar un vástago de extensión para mantener un espacio libre de aspa adecuado cuando instale sobre un techo inclinado. El ángulo máximo permisible es de 18° a partir de la horizontal. RECUERDE desconectar el suministro de electricidad.
- Page 7 Instalación (continuación) Cómo hacer las conexiones eléctricas Si desea instalar otro juego de lámparas, debe ser un ADVERTENCIA : Para evitar un posible choque eléctrico, accesorio de juego de lámparas Listado UL marcado como asegúrese de que la electricidad esté desconectada en adecuado para ser usado con este ventilador.
- Page 8 Instalación (continuación) Instalación de las aspas del Finalización de la instalación ventilador Una vez realizadas las conexiones eléctricas, quite el ventilador del gancho. Deslice la cubierta del techo NOTA : Las aspas de su ventilador son reversibles. hacia arriba de la vara, asegurándose de que la ranura Seleccione el acabado lateral del aspa que mejor acentúe de la junta de rótula se enganche con la lengüeta de su decoración.
- Page 9 Instalación (continuación) Cómo equilibrar las aspas Instalación del juego de lámparas Todas las aspas están agrupadas por peso. Debido a que las ADVERTENCIA : Para reducir el riesgo de choque maderas naturales varían en densidad, el ventilador puede eléctrico, desconecte el circuito de suministro eléctrico al bambolear incluso si las aspas concuerdan en peso.
-
Page 10: Operación
Operación Cómo operarla NOTA : Espere a que el ventilador se detenga antes de cambiar el ajuste del interruptor corredizo. La cadena controla la velocidad del ventilador como sigue : 1 tirón - El interruptor corredizo controla la dirección : hacia adelante Alta, 2 tirones - Media, 3 tirones - Baja, y 4 tirones - Apagado. -
Page 11: Cuidado Y Limpieza
Cuidado y limpieza ADVERTENCIA : Asegúrese de que la energía esté desconectada en la caja del panel eléctrico antes de intentar cualquier reparación. Consulte la sección Cómo Hacer Conexiones Eléctricas. tiene algunas sugerencias para ayudarle a mantener su ventilador í Debido al movimiento natural del ventilador, algunas conexiones se pueden aflojar. - Page 12 Puede obtener también una copia electrónica de este manual del usuario en línea en homedepot.com. Conserve este manual para uso futuro.
- Page 13 Model# RDB91-WH/BN/ORB USE AND CARE GUIDE MONTGOMERY 42 IN. CEILING FAN An electronic copy of this user manual can also be obtained online at homedepot.com...
- Page 14 Table of Contents ........Table of Contents .
-
Page 15: Warranty
Warranty LIMITED WARRANTY WHAT IS COVERED The retailer warrants the fan motor to be free from defects in workmanship and material present at time of shipment from the factory for a period of fifteen years after the date of purchase by the original purchaser. The retailer also warrants that all other fan parts, excluding any glass or acrylic blades, to be free from defects in workmanship and material at the time of shipment from the factory for a period of one year after the date of purchase by the original purchaser. -
Page 16: Package Contents
Pre-installation (continued) PACKAGE CONTENTS NOTE: Unpack your fan and check the contents . You should have the following items listed below. Part Description Quantity Mounting plate Ceiling canopy Fan motor with switch housing Set of blade holders (with blade holder screws pre-installed) Set of blades Glass shade Pull chain pendant... -
Page 17: Installation
Installation Determining mounting method Installing the fan body WARNING: To reduce the risk of fire, electric shock, or Remove the split pin (1), washer (2) and pivot pin (3) from the personal injury, mount to outlet box marked acceptable for downrod assembly (H) and set them aside for later restoration. - Page 18 Installation (continued) Installing the mounting plate NOTE: Y ou may need a longer downrod to maintain proper blade clearance when installing on a steep, sloped ceiling. The maximum angle allowable is 18° away from horizontal. REMEMBER to turn off the power. Follow the steps below to hang your fan properly.
- Page 19 Installation (continued) Making the electrical connections If you choose to install another light kit, it must be a UL WARNING: To avoid possible electrical shock, be sure Listed light kit accessory marked suitable for use with this electricity is turned off at the main fuse box before wiring. fan.
- Page 20 Installation (continued) Attaching the fan blades Finishing the installation When the electrical connections have been NOTE: Your fan blades are reversible. Select the blade side made take the fan off the hook Slide the ceiling finish which best accentuates your decor. Failure to follow below procedure could result in fan wobble.
- Page 21 Installation (continued) Balancing the blades Installing the light kit All blades are grouped by weight. Because natural woods vary in WARNING: To reduce the risk of electric shock , density, the fan may wobble even though the blades are weight disconnect the electrical supply circuit to the fan before matched.
-
Page 22: Operation
Operation Operating *NOTE: Wait for the fan to stop before changing the setting of the slide switch. The pull chain controls the fan speed as follows: 1 pull – High, 2 The slide switch controls direction: forward (switch down) or pulls - Medium, 3 pulls –... -
Page 23: Care And Cleaning
Care and Cleaning WARNING: Make sure the power is off at the electrical panel box before you attempt any repairs. Refer to the section Making Electrical Connections Section. Here are some suggestions to help you maintain your fan. Because of the fan's natural movement, some connections may become loose. Check the support connections, brackets, and blade attachments twice a year. - Page 24 An electronic copy of this user manual can also be obtained online at homedepot.com Retain this manual for future use.
Need help?
Do you have a question about the MONTGOMERY DB91-WH and is the answer not in the manual?
Questions and answers