Table of Contents
Advertisement
Quick Links
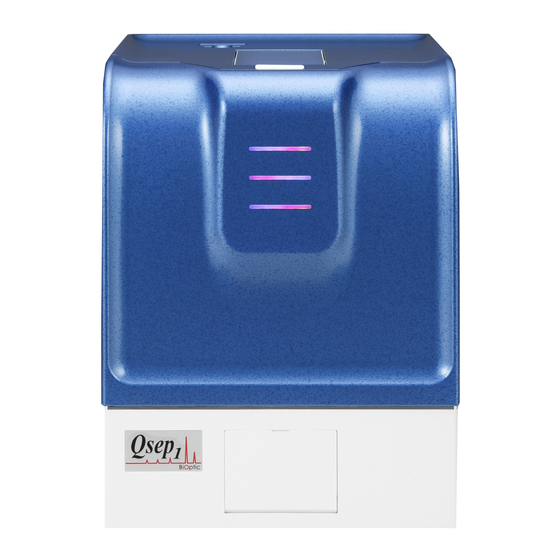
Qsep
Bio-Fragment Analyzer:
1
Page: 1/3
1. Ensure the SD card is properly plugged in the
socket (Fig. 1 and 2).
*SD card needs to be plugged-in before power on.
The SD card CAN NOT be initialized with hot plugging.
Fig. 1
Fig. 2
2. Connect the air tube.
Qsep
3. Plug the power cord (labeled
Qsep
4. Switch on
, the LED lights (multiple color light)
1
(Fig. 3). Wait 25 seconds for the instrument and Wi-
Fi initialization, and the green LED will start flashing
(Fig. 4).
*DO NOT switch on the instrument immediately
after powering off. Wait at least 5 seconds
blue
green
Fig. 3
Fig. 4
*The green flashing LED shows the instrument is
successfully ready for connection. If not, please
repeat the step 4.
Operation Quick Start
Ethernet cable connection:
Ethernet cable
)
1
Wi-Fi connection: follow the steps below to
connect with
-
Check if the AP source is available from your Wi-Fi
network in the computer (Fig. 5).
Fig. 5
refer to step 5 on Page 2
Qsep
1
Document No.: F0016
Ver.: C-20190726
-
Find the SSID named with
"Qsep1+instrument ID
(16 digits) "
and click "Connect" (Fig. 6)
-
Enter the password:
The password will show in the sticker which is
behind the instrument. It is the same as the
8 digits
of instrument serial number (same as SSID
name) by blinding the prefixal "Qsep1" (Fig. 7).
00923718
Fig. 7
*If your computer can't find the SSID of
please keep the distance between
computer within 10 meterS and try again from the
step 4.
Qsep
*If you can not connect with
1
-
Please check the wi-fi IP assignment is "Automatic
(DHCP)"
-
Allow Q-Analyzer pass through firewall or turn off
the firewall
Fig. 6
middle
Qsep
,
1
Qsep
and the
1
Advertisement
Table of Contents

Related Manuals for BiOptic Qsep 1


Summary of Contents for BiOptic Qsep 1
- Page 1 Qsep Operation Quick Start Document No.: F0016 Bio-Fragment Analyzer: Ver.: C-20190726 Page: 1/3 1. Ensure the SD card is properly plugged in the Find the SSID named with “Qsep1+instrument ID socket (Fig. 1 and 2). Ethernet cable connection: (16 digits) ” and click “Connect”...
- Page 2 Qsep Operation Quick Start Document No.: F0016 Bio-Fragment Analyzer: Ver.: C-20190726 Page: 2/3 5. Check the LED status. Packing List of Cartridge Kit (Cat. C105200) 11. Click “Park”, the sample tray move into instrument blue Cartridges Q-Analyzer 6. Double click the 12.
- Page 3 Qsep Operation Quick Start Document No.: F0016 Bio-Fragment Analyzer: Ver.: C-20190726 Page: 3/3 15. To analyze samples, click on the blank column and designate 14. Cartridge Calibration: the sample locations, test method, runs and result name New cartridge needS to be calibrated before using. followed steps 15-1 to 15-4 Please proceed with the following steps.
Need help?
Do you have a question about the Qsep 1 and is the answer not in the manual?
Questions and answers