Advertisement
Quick Links
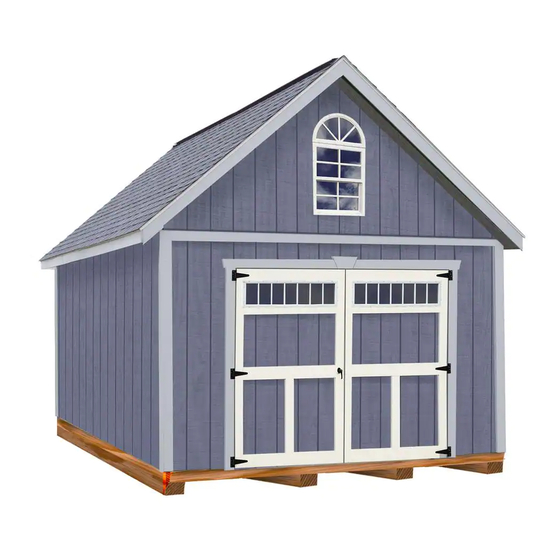
Best Barns USA
Assembly Book
Revised July 30, 2019
Building Size
the Geneva
12' x 16'
Manufactured by Reynolds Building Systems, Inc.
205 Arlington Drive
Greenville, PA 16125
This manual is copyrighted. Under the copyright laws, this manual
may not be copied, in whole or in part, without consent from Reynolds
Building Systems, Inc.
© Copyright 2018
Advertisement


Need help?
Do you have a question about the Geneva and is the answer not in the manual?
Questions and answers