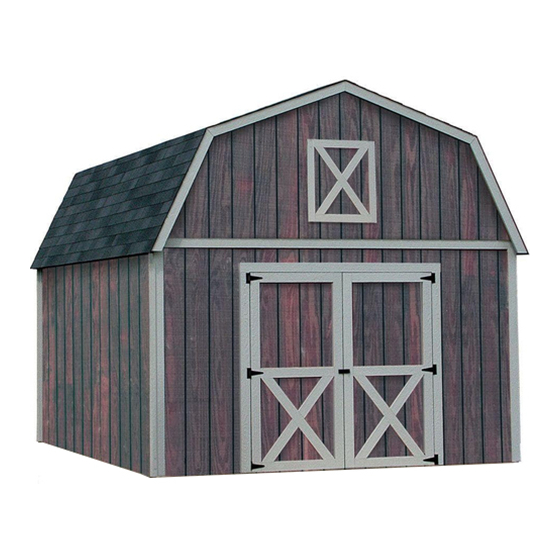
Best Barns Denver Assembly Book
12'x 12' or 12'x16'
Hide thumbs
Also See for Denver:
- Assembly book (20 pages) ,
- Assembly book (20 pages) ,
- Assembly book (20 pages)
Advertisement
Quick Links
Best Barns USA
Assembly Book
Revised November 29, 2010
SAMPLE
INSTRUCTIONS
the Denver
12'x 12' or 12'x16'
Manufactured by Reynolds Building Systems, Inc.
205 Arlington Drive
Greenville, PA 16125
724-646-3775
This manual is copyrighted. Under the copyright laws, this manual
may not be copied, in whole or in part, without consent from Reynolds
Building Systems, Inc.
© Copyright 2010
Advertisement

Subscribe to Our Youtube Channel
Summary of Contents for Best Barns Denver
- Page 1 Best Barns USA Assembly Book Revised November 29, 2010 SAMPLE INSTRUCTIONS the Denver 12'x 12' or 12'x16' Manufactured by Reynolds Building Systems, Inc. 205 Arlington Drive Greenville, PA 16125 724-646-3775 This manual is copyrighted. Under the copyright laws, this manual may not be copied, in whole or in part, without consent from Reynolds Building Systems, Inc.
-
Page 2: Read Me First
Read Me First Thank you for purchasing our Denver kit. These instructions will construct a 12'x12' or a 12'x16' building If you received two books, use the one with the latest revision date. The material that is included in our kit is listed on the back page. The optional floor package, siding, roof sheathing and longer wall plates will be supplied by a local lumber supplier. - Page 3 Typical Wood Floor System Shown below is a typical wood floor. Depending on your area, the construction may have to be changed to meet local codes. Use the measurement below for the outside dimensions. 1. Cut (2) two 2x4 joist headers to length. Cut 2x4s to 11'-9" for a 12' long building, 15'-9" for a 16' long building.
- Page 4 Step 1 Assemble Trusses It is important that all the trusses are assembled the same. Installing 2x4 blocks around the perimeter insures that all the trusses will be assembled the same. You can use 2x4 packing blocks, from our kit, to hold truss parts in place. Use 2-1/2" screws. 1.
- Page 5 Step 4 Assemble Back Wall 1. Cut (2) two 2x4-12' boards to a length of 137". These boards will be used as wall plates. Position boards together, and indicate with 'X' marks, where the wall studs will be located. 2. Install (7) seven 84" long wall studs between the wall plates. Use 10d sinkers. 2x4-137"...
- Page 6 Step 6 Assemble Sidewalls for 12' Long Building If you are constructing a 16' long building, go to Step 7 1. Cut (2) two 2x4-12' boards to a length of 11'-9". These boards will be used as wall plates. Position boards together, and indicate with 'X' marks, where the wall studs will be located. 11' - 9"...
- Page 7 Step 8 Set Walls and Install 1x4 Trim 1. Erect wall panels on the floor. Nail walls together at the corners and to the floor with 10d sinkers. 2. Install a 2x4-12' board, under the 2x4 wall plate, in the center of the building.
- Page 8 Step 11 Install Roof Sheathing 1. Install roof sheathing flush with the face of the gable siding. Use 7d sinkers, spaced 12" apart. Insert (2) two plyclips into the roof sheathing between each truss at the top row. 2. Apply roof sheathing across the top of the roof. Cut the sheathing below the peak of the trusses to allow for ventilation through the roof peak.
- Page 9 Step 14 Assemble Lower Barn Doors Tip: It will be easier to paint the door frame before the siding is applied. Seal the bottom edges of the siding and door frames. If the bottom of the doors are in close vicinity to the ground or ramp, they will absorbed moisture and rot. 1.


Need help?
Do you have a question about the Denver and is the answer not in the manual?
Questions and answers