Advertisement
Quick Links
Advertisement

Related Manuals for Ovela OVWESLEYWWA


Summary of Contents for Ovela OVWESLEYWWA
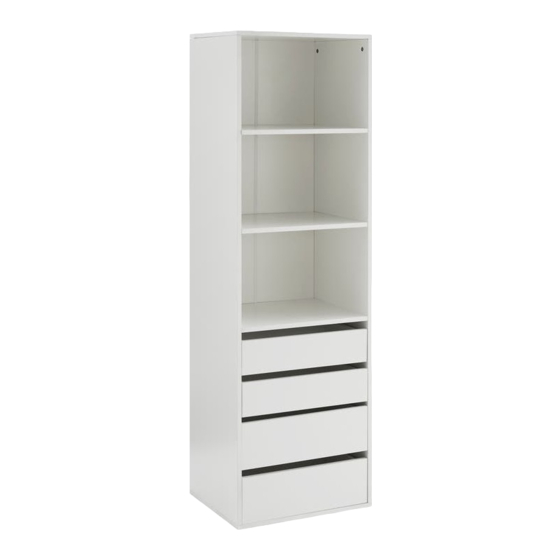
- Page 1 WESLEY WARDROBE OVWESLEYWWA & OVWESLEYWNA...
-
Page 3: Safety And Warnings
SAFETY & WARNINGS TOPPLING FURNITURE WARNING: • Furniture with included restraints must be permanently fixed to the wall to prevent accidental toppling, serious injury or death. • Please seek professional advice if you are in doubt of what fixing hardware to use. •... - Page 4 COMPONENTS Parts Hardware A Fasteners (x52 Sets) B Drawer slides (x8 Sets) C Screws (x32)
- Page 5 OVERVIEW (A) Fasteners Eccentric wheel Connecting rod (B) Drawer slides: The Drawer sidles (B) are comprised of two parts: • (a) Internal runner • (b) Housing Internal runner (a) Housing (b)
- Page 6 ASSEMBLY Step 1: Use 4 sets of the fasteners (A) to secure the drawer left panel (9), drawer right panel (10) and drawer back panel (11) together. Step 2: Insert the drawer bottom (12) into the drawer frame.
- Page 7 Step 3: Use 4 sets of the fasteners (A) to secure drawer front panel (8) to the drawer frame. Step 4: • Use the 4 screws (C) to attach the internal runners (a) to each side of the drawer frame. •...
- Page 8 Step 5: Use 12 sets of the fasteners (A) to secure the 3 shelves (4) to the wardrobe left and right panels (1)(2).
- Page 9 Step 6: Use 4 sets of the fasteners (A) to secure the wardrobe base (5) to the assembled frame.
- Page 10 Step 7: • Use item (7) to join the 2 wardrobe rear panels (6) together. • Slide the connected rear panels (6) into the assembled wardrobe frame. Note: If only one side of the rear panels has a finish/colour, ensure that side is facing inwards.
- Page 11 Step 8: • Use 4 sets of the fasteners (A) to attach the wardrobe top (3) to the assembled wardrobe frame. • Use 16 screws (C) to attach 8 of the drawer housings (b) to the wardrobe frame.
- Page 12 Step 9: Install the drawers assembled in step 4 into the wardrobe. The wardrobe is complete.
- Page 13 ANTI-TOPPLING KIT WARNING: Furniture with included restraints must be permanently fixed to the wall to prevent accidental toppling, serious injury or death. Wall brackets (x2) Screws (x2) Flat washers (x4) Wall screws (x2) Wall anchors (x2)
-
Page 14: Installation
INSTALLATION Step 1: • Move furniture into its final position to mark the location of the wall brackets. • Move the furniture away from the wall so the wall brackets can be attached using the supplied x2 wall anchors, x2 wall screws and x2 flat washers. Step 2: Attach the wall brackets to the wardrobe using the x2 screws and x2 flat washers. - Page 15 NOTES...
- Page 16 Need more information? We hope that this user guide has given you the assistance needed for a simple set-up. For the most up-to-date guide for your product, as well as any additional assistance you may require, head online to help.kogan.com.
Need help?
Do you have a question about the OVWESLEYWWA and is the answer not in the manual?
Questions and answers