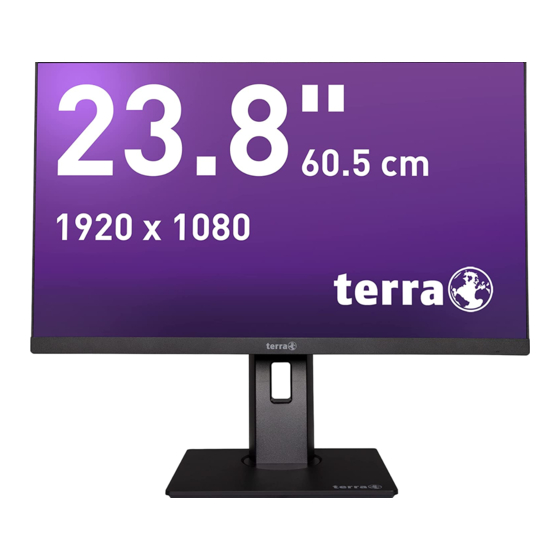
Summary of Contents for Wortmann terra LCD/LED 2463W
- Page 1 LCD/LED 2463W USER MANUAL + GERMAN + ENGLISH + FRENCH + SPANISH + ITALIAN + RUSSIAN + P O L I S H...
- Page 2 Operation Instructions Thank you for purchasing this monitor, a high-resolution multi-scan color monitor. Please read this guide thoroughly before installation. This monitor has been tested and found compliant with the CE mark. These limits are designed to provide proper protection against harmful interference to a residential installation.
-
Page 3: Table Of Contents
Content Safety Precautions ....................... 1 First Setup ........................... 2 Quick Installation ......................... 3 Installing the LCD Monitor ....................4 Front View of the Product ....................5 Rear View of the Product ..................... 6 Using On Screen Display (OSD) Functions ................. 7 Supporting Timing Modes .................... -
Page 4: Safety Precautions
Pay attention to all cables connected to the monitor against stumble hazards. According to WEEE regulation, this monitor can't be handled as normal trash in Europe when it is out of usage. Please refer to the recycle information from our website to handle it. www.wortmann.de... -
Page 5: First Setup
First Setup Congratulation for purchasing this monitor of high performance! This monitor comes with the following accessories: AC Power cord ● HDMI cable Warranty card ● Quick start guide ... -
Page 6: Quick Installation
Quick Installation 1. Connect Video cable (HDMI cable) Make sure both monitor and computer are powered OFF. Connect the HDMI cable from HDMI output of computer to the HDMI input of the monitor. Or connect DisplayPort cable *Optional Connect the DisplayPort cable from DisplayPort output of computer to the DisplayPort input of the monitor. -
Page 7: Installing The Lcd Monitor
Installing the LCD Monitor Installing the Stand Base 1. Place the monitor face down on a soft cloth or cushion on a table. 2. Install the stand base to the monitor. Disconnecting the Stand Base 1. Place the monitor face down on a soft cloth or cushion on a table. 2. -
Page 8: Front View Of The Product
Front View of the Product ❶ ❷ ❸ ❹ ❺ ❻ OSD Menu On/Off ❶ Scroll Up/ Increase ❷ Scroll Down/ Decrease ❸ Confirm Select ❹ Power ON/OFF ❺ LED Indicator ❻... -
Page 9: Rear View Of The Product
Rear View of the Product ❶ ❷ ❸ ❹ Power input ❶ DisplayPort input ❷ HDMI input ❸ Earphone output Note: Adjustment of the volume control to other settings than the ❹ center position may increase the ear-/ headphones output voltage and therefore the sound pressure level. -
Page 10: Using On Screen Display (Osd) Functions
Using On Screen Display (OSD) Functions Display main menu/ Exit from OSD menu Press【 1 】key long-term: OSD LOCKED Then press【 1 】key long-term: OSD UNLOCKED Select the desired item when in OSD menu ˄ When not in OSD menu, directly enters the ANTI BLUE LIGHT menu Select the desired item when in OSD menu ˅... - Page 11 OD (Over Drive): Allows the user to change the OD strength. Improve the quality of the motion pictures. Press 2 key to adjust the OD On or Off. ECO: Allows the user to turn the ECO On or Off. BRIGHTNESS, CONTRAST and ...
- Page 12 COLOR TEMP.: To select the color for improving brightness and color saturation between COLOR TEMP. and ANTI BLUE LIGHT. COLOR TEMP.: To adjust the default picture color. It contains 4 user-selectable presets. NORMAL: Adds red to screen image for warmer white and richer red. COOL: Adds blue to screen image for cooler white.
- Page 13 RESET RESET :EXIT :SELECT RESET: To recall factory settings for Video & Audio controls. RESET: Press button 2 to select the Reset menu option. MISC SIGNAL SOURCE HDMI VOLUME 1920 x 1080 60Hz :EXIT :SELECT MISC: To manually adjust the SIGNAL SOURCE and VOLUME. SIGNAL SOURCE: When Input Source is pressed, change Input signal to HDMI or ...
-
Page 14: Supporting Timing Modes
Supporting Timing Modes 720 x 400 @ 70Hz 640 x 480 @ 60Hz 640 x 480 @ 67Hz VESA 640 x 480 @ 72Hz VESA 640 x 480 @ 75Hz VESA 800 x 600 @ 56Hz VESA 800 x 600 @ 60Hz VESA 800 x 600 @ 72Hz VESA... -
Page 15: Technical Information
Technical Information Technical Specification 60.5 cm (23.8") LCD Panel VESA DPMS compatible Power Management Off Mode, ≤ 0.3 W Full HD 1920 x 1080 max. Displayable Resolution Vertical Frequency 60Hz max. Pixel Dimension 0.2745 x 0.2745 mm LCD Display Color 16.7M Active Display Area 527.04 mm x 296.46 mm... -
Page 16: Care And Maintenance
Care and Maintenance Care Place your monitor away from the sun to reduce glare. Put your monitor in a well ventilated area. Do not place any heavy things on top of your monitor. Make certain your monitor is installed in a clean and moisture-free area. ... - Page 17 Pour plus d'information sur le recyclage, veuillez contacter votre centre de recyclage agréé. Votre attitude quand au recyclage améliorera l'avenir de la planète et créera un environnement de vie de qualité pour les générations futures. Wortmann AG Bredenhop 20 D-32609 Hüllhorst Tel.
- Page 18 License and to the absence of any warranty; and give any other recipients of the Program a copy of this WORTMANN AG License along with the Program.
- Page 19 with a work based on the Program) on a volume of a storage or distribution medium does not 10. If you wish to incorporate parts of the Program into other free programs whose distribution bring the other work under the scope of this License. conditions are different, write to the author to ask for permission.


Need help?
Do you have a question about the terra LCD/LED 2463W and is the answer not in the manual?
Questions and answers