Do you have a question about the RM-8900 and is the answer not in the manual?
Questions and answers
Andrea Zimmerman
May 22, 2025
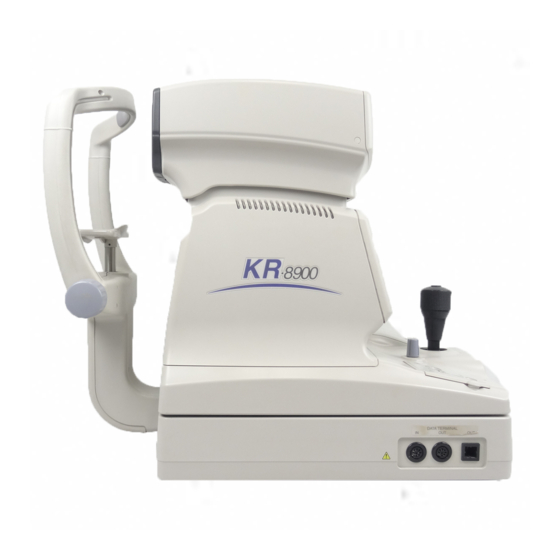
Hi My Topcon A/R KR 8900 does not print any longer. Is there a way to replace the ink?
1 comments:
Mr. Anderson
May 25, 2025
The Topcon A/R KR 8900 uses thermal printer paper and does not require ink replacement. Instead, ensure that the correct 58mm wide thermal paper roll is used (e.g., TF50KS-E2C). When the red line appears on the paper or “PAPER END” is displayed, replace the paper roll following the instructions in the "PRINTER PAPER SETTING" section.


Need help?
Do you have a question about the RM-8900 and is the answer not in the manual?
Questions and answers
Hi My Topcon A/R KR 8900 does not print any longer. Is there a way to replace the ink?
The Topcon A/R KR 8900 uses thermal printer paper and does not require ink replacement. Instead, ensure that the correct 58mm wide thermal paper roll is used (e.g., TF50KS-E2C). When the red line appears on the paper or “PAPER END” is displayed, replace the paper roll following the instructions in the "PRINTER PAPER SETTING" section.
This answer is automatically generated