
Related Manuals for Empava EMPV-30RH08


Summary of Contents for Empava EMPV-30RH08
- Page 1 RANGE HOOD Installation and Operation Manual EMPAVA APPLIANCE INC. Add: 15253 Don Julian Rd, City of Industry, CA 91745 Tel: 888-682-8882 www.empava.com...
-
Page 2: Table Of Contents
TABLE OF CONTENTS * Warnings............P1-2 1. Features............P3 2. Main parts............P4 3. Cleaning............P4 4. Cleaning Maintenance........P5 5. Installation Maintenance.......P6 6. Dismantling, Cleaning and Reassembly..P9-10 7. Specification..........P11 8. Body size and Duct opening......P11 9. Operating Instruction........P12-13 10. Replacement of LED light......P13 11. -
Page 3: Warnings
WARNING 1. Neither the importer nor the manufacturer is liable for any damage or injury caused directly or indirectly by improper installation, misuse or mis-hanging of the range hood. 2. The range hood is for general residential kitchen ventilation use only. Do not use the expel hazardous or explosive materials or vapors. - Page 4 WARNING 13. Never leave any pot unattended at high heat setting on the stove. Boli-over may cause smoking and greasy spillovers may ignite fire. 14. Heat oils slowly, on low or medium heat settings. 15. Do not let children, elderly or handicapped persons use this appliance without supervision.
-
Page 5: Features
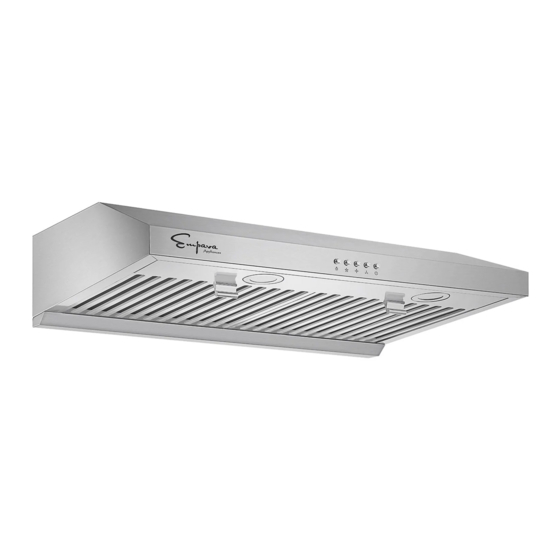
1. Features EMPAVA range hoods are highly efficient and high-quality engineered - a new concept in the design of range hoods. They help keep your kitchen clean and fresh with powerful and quiet air exhaust. The fan blades are coated with Teflon that allows for the external removable stainless steel tray. -
Page 6: Main Parts
2. Main parts EMPV-30RH08 Hood Body Baffle filter EMPV-30RH07 Hood Body Baffle filter 3. Cleaning One does not need to dismantle the range hood. Directly spray degreaser into the dual vane guards and vanes, let stand 3-4 minutes, and then turn on. The centrifugal force of the turbo fans will drain the grease into the oil container. -
Page 7: Cleaning Maintenance
4. Cleaning maintenance Always disconnect the power before cleaning. 1. Always use a neutral detergent to clean the surface of the hood after each use. 2. Clean both the exterior and the interior of the hood regularly, so as to keep the hood in better condition. Do not use an abrasive cleaner. - Page 8 Installation Height 3. The distance between the stove surface and the underside of the range hood must be in the range of 26"-30" Fig(2-A). The duct opening size is in Fig 2(B) Vent duct length 4. The length of the vent duct should be minimized to avoid air turbulence inside the...
- Page 9 5. Installation instructions 1. Turn off the electricity on the circuit panel, use a voltmeter in order to confirm that the power source has been shut off, so as to prevent electrocution. 2. If you have to move the range to install the hood, turn off the power for the electric range, or shut off...
- Page 10 5. Installation instructions Preparing the range hood: 1. Open the electrical knockout that is best for your wiring. 2. Fix the shutter to the range hood’s vent; prevent the leakage of oil by taping the connection with aluminum metal adhesive tape, or duct tape. 3.
-
Page 11: Dismantling, Cleaning And Reassembly
4. Reinstall the range hood’s bottom cover and stainless steel baffle filters. 5. Reinstall the oil container. 6. Turn on the power and check the operation of the fans and light. 6. Dismantling, Cleaning and Re-assembly NOTE 1. Whenever dismantling, re-installing or maintaining the range hood, always make sure that the power ir off. - Page 12 Dismantling 1. First, take off the oil container and the stainless baffle filters 2. Unscrew then remove the bottom cover of the hood. 3. Turn counter-clockwise to loosen the three screws in the front right and left sides of the black base plate (oil pan), in order to remove the base plate (oil pan).
-
Page 13: Specification
Specifications Code EMPV-30RH07 EMPV-30RH08 Voltage 110V-120V/60Hz 110V-120V/60Hz Rotating method Single motor Twin Motors Outlet diameter Round Vent: 6" Round Vent: 6" Illumination Led light 2x2W Led light 2x2W Motor Single motor Left Right Power Consumption 200W Filter Steel baffle filter Steel baffle filter... -
Page 14: Operating Instruction
9. Operating Instruction 1. Touch control A. Time B. Speed C. Light D. On/Off A. Timer setting: touch and hold this button 3 seconds to set time, B for hour and C for minute. B. Touch once to get high speed, touch again for middle speed and low speed. -
Page 15: Replacement Of Led Light
2). Push Button Press to turn on /off the light. Press to select the high speed. Press to select the medium speed. Press to select the low speed. Press to select on/off. 10. Replacement of light Caution: 1. Make sure all control switches are off ad the range hood unplugged. -
Page 16: Trouble Shooting
11. Trouble shooting CAUTION: Disconnect the power supply before servicing. Cause and Method of Repairing Tools required Status Check circuit breakers Philips If the power supply is damaged, No power Screwdriver please call for a qualified person a).The motor is broken, replace motor. The motor Philips b).
Need help?
Do you have a question about the EMPV-30RH08 and is the answer not in the manual?
Questions and answers