
Related Manuals for Empava EMPV-36RH09


Summary of Contents for Empava EMPV-36RH09
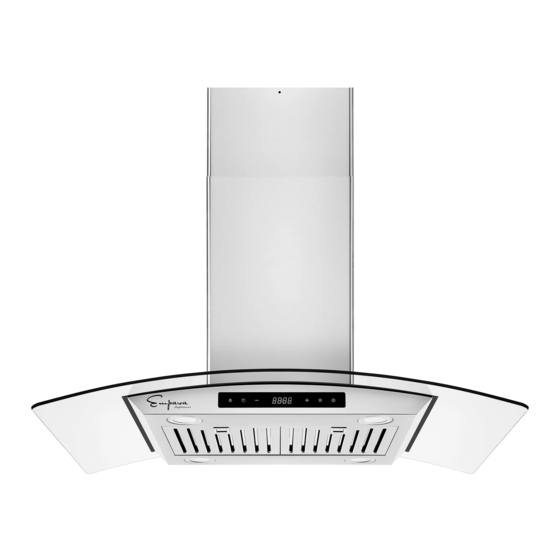
- Page 1 RANGE HOOD Installation and Operation Manual EMPAVA APPLIANCE INC. Add: 15253 Don Julian Rd, City of Industry, CA 91745 Tel: 888-682-8882 www.empava.com...
-
Page 2: Table Of Contents
READ AND SAVE THESE INSTRUCTIONS MANUAL CONTENTS TECHNICAL CHARACTERISTICS ........1 IMPORTANT SAFETY INSTRUCTIONS ......2-3 INSTALLATION REQUIREMENT........4 INSTALLATION PROCEDURES........5-7 OPERATING INSTRUCTION...........7-8 MAINTENANCE..............9 TO REPLACE LIGHT ............9 TROUBLE SHOOTINGS............10 MAIN PARTS NAME .............11-13 Please note that this product is marked with this symbol: According to Wsate of Electrical and Electronic Equipment (WEEE) directive, WEEE should be separately collected and treated. -
Page 3: Technical Characteristics
Thanks for your purchase of our range hood and we hope we can fully satisfy all of your needs. Please read the entire instructions carefully before proceeding to obtain the best results of operation the range hood. TECHNICAL CHARACTERISTICS Model number: EMPV-36RH09 EMPV-36RH10 Total power: 208W Motor power: 200W... -
Page 4: Important Safety Instructions
Dimentions EMPV-36RH09 EMPV-36RH10 IMPORTANT SAFETY INSTRUCTIONS: Do not connect the air outlet to chimney flues or combustion gas ducts Do not leave naked flames under the hood... - Page 5 In case of any damage to power cable, replace the broken cable with a new one by qualified person. Do clean the hood correctly in accordance with instruction stated or it might cause the possibility of fire accident To replace the light should be undertaken by a qualified electrician or a competent person.
-
Page 6: Installation Requirement
electrical shock. range INSTALLATION: USE ONLY WITH RANGE HOOD CORD CONNECTION KITS THAT HAVE BEEN INVESTIGATED AND FOUND ACCEPTABLE FOR USE WITH THIS MODEL RANGE HOOD. A UTILISER SEULEMENT AVEC UNE TROUSSE DE RACCORDEMENT DE CORDON DE HOTTE VERIFIEE ET APPROUVEE POUR EMPLOI AVEC CE MODELE DE HOTTE. -
Page 7: Installation Procedures
NOT LEVEL NOT LEVEL NOT CORRECT CORRECT INSTALLATION PROCEDURES SAFETY WARNING HOOD MAY HAVE VERY SHARP EDGES; PLEASE WEAR PROTECTIVE GLOVES IF IT IS NECESSARY TO REMOVE ANY PARTS FOR INSTALLING, CLEANING OR SERVICING. Step 1: Fix the position of the range hood in accordance with the recommended height between 27.56"-31.5"... - Page 8 Expansion hanger Step 3 Match the 8pcs expansion hanger with the hoods assembly. Step 4: 16pcs screws Use 16pcs M4 screws to fix the hangers. 16pcs nuts Step 5: Put the inner duct cover and outer duct cover on the blower box. The pull out the exhaust pipe to the level of the inner duct cover.
-
Page 9: Operating Instruction
Step 8: Pull the inner cover to the ceiling, aiming the upper support frame, fix it with M4*12 screws provided. Step 9: Install grease filter. Match the fix pin to the fix hole and button the filter gently as the direction of arrow A. -
Page 10: Maintenance
MAINTENANCE CAUTION: NEVER PUT YOUR HAND INTO THE AREA HOUSING WHILE THE FAN IS OPERATING. FOR THE OPTIMAL LEVEL FO OPERATION, CLEAN THE RANGE HOOD SURFACE, AN AND ALUMINUM FILTER REGULARLY. 1. Use only mild soap or detergent solutions to clean the range hood surface. - Page 11 WARNING – TO REDUCE THE RISK OF A RANGE TOP GREASE FIRE: a) Never leave surface units unattended at high settings. Boilovers cause smoking and greasy spillovers that may ignite. Heat oils slowly on low or medium settings. b) Always turn hood ON when cooking at high heat or when flambeing food (i.e.Crepes Suzette, Cherries Jubilee, Peppercorn Beef Flambe’).
-
Page 12: Trouble Shootings
TROUBLE SHOOTING CAUTION: Disconnect the power supply before servicing. Cause and Method of Repairing Tools required Status Check circuit breakers Philips If the power supply is damaged, No power Screwdriver please call for a qualified person a).The motor is broken, replace motor. The motor Philips b).
Need help?
Do you have a question about the EMPV-36RH09 and is the answer not in the manual?
Questions and answers