Table of Contents
Advertisement
Advertisement
Table of Contents

Related Manuals for GIT GBS-101


Summary of Contents for GIT GBS-101
- Page 1 Borescope GBS-101 User Manual...
-
Page 2: Table Of Contents
Patents, trademarks, copyrights, copyrights, and intellectual property rights of this user manual are owned by GIT. No part or all of this manual may be reproduced or used in any form without written permission of GIT. Purchase of this user manual does not imply a transfer of patent, trademark, copyright, copyright, or intellectual property rights. -
Page 3: Warning And Cautions For Safety Before Use
Please note that if the product is arbitrarily disassembled, modified or altered, normal service cannot be provided. Use only genuine cables manufactured by GIT for cables, chargers, and all other parts and accessories used together. Use the specified device and program. -
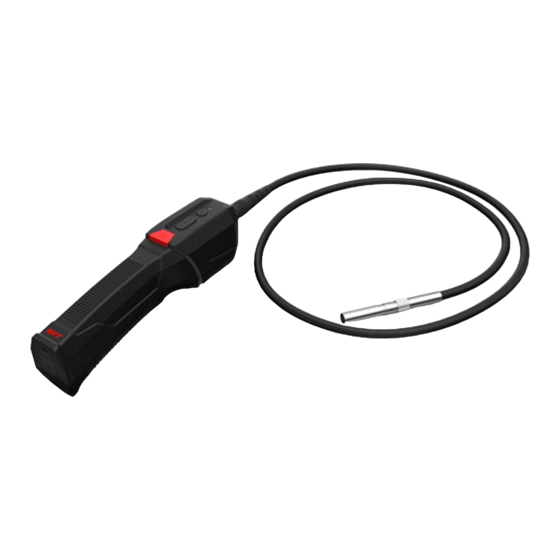
Page 4: Basic Components
B. Basic components 품 목 외 형 설 명 The main body connects the camera and the Main body flexible tube Perform the endoscope function. 0 ˚ Camera 0 degree camera used for frontal shooting. 90 degree camera used for side shooting. 90 ˚... -
Page 5: C1. Name Of Each Part
C1. Name of each part Wi-Fi mode power button UP button: LED Brightness button (0~3step) DOWN button: Preview Rotation Button(90degrees) Capture button Long press: Start / stop movie recording Short press: Take a picture Indicator LED Connection method Status At boot Blinking blue When booting up / Blue/green flashing... -
Page 6: C2. Product Assembly
C2. Product assembly Insert the flexible tube into the body and screw it to fix it. Make sure the groove or arrow is pointing up when inserting the tube. Check the direction of the arrow and groove Insert the camera on the other side of the flexible tube and turn it to fix it. Make sure the red circle is aligned when inserting the camera. -
Page 7: C3. Product Charge
C3. Product charge This product requires charging because it consumes its own battery when wirelessly used. USB connection is available without charging. Connect the DC cable to the 5V 2A charger. DC cable Remove the waterproof cover on the back of the main unit and connect the DC cable to the DC input terminal. -
Page 8: D1. Usb Connection
D1. USB connection If the Wi-Fi power is on, press the power button to turn it off. Wi-Fi power must be off to enter USB mode. Wi-Fi mode power LED Micro USB cable Wi-Fi mode power button Connect the micro USB cable. Connect the other end of the cable to your tablet. - Page 9 Run the GDSM / KDS app on your tablet. Automatically try to connect to USB. When USB is connected, it moves to the shooting screen. KA981121312449231 12/08/2019 상단에 USB 접속 중임을 표시하고 있습니다. If the USB connection fails, reconnect Start shooting with the button.
-
Page 10: D2. Wi-Fi Connection
D2. Wi-Fi connection Press the button for 3 seconds. Stand by until the boot is complete. When booting is complete, the LED blinks blue and green( Wi-Fi mode power button Wi-Fi mode power LED Run the app, enter the 4 digit code and Look for the four-digit code on the label press the device search button. -
Page 11: E1. Main Screen
E1. Main screen Battery level LED brightness Connection Microphone volume Settings Note mode Editing mode Camera preview Photo shooting Video recording KA981121312449231 Date 12/08/2019 Preview screen rotation Key operation during shooting LED brightness adjustment Preview screen rotation Long press: Start / stop video recording Short press: Take a picture... -
Page 12: E2. Taken Image
E2. Taken image Record the vehicle's VIN and date when taking photos and videos. KA981121312449231 12/08/2019 ※ File storage location: Internal storage/mvci/GDSCAM/Record Date E3. Video recording screen Note mode Editing mode Recording screen Photo shoot Stop recording Date Pause Recording Time... -
Page 13: F1. Note Mode
F1. Note Mode Select button on the shooting screen. Once the Mode at the bottom is activated, you can draw on the photo. KA981121312449231 KA981121312449231 12/08/2019 12/08/2019 Text box Delete all Pen color Pen mode Redo Pen thickness Undo When mode is activated as below, you Long press on the photo to enter can display the text on the photo text in the textbox. -
Page 14: F2. Image Editing
F2. Image editing To edit the photo, select button The recorded picture is displayed. on the screen. Select the picture you want to edit. Press the ‘SAVE’ button to save. Edit the photo using the pen or text box. When saving, you can save it with a different name. F3. -
Page 15: G1. Resolution Setting
G1. Resolution setting This product supports three resolutions. You can adjust the resolution by selecting the Settings button on the shooting screen. (640X480,800X600,1280X960) KA981121312449231 12/08/2019 G2. Sleep mode setting You can turn sleep mode off or on by If there is no operation for a certain tapping the tab in the Settings pop-up. -
Page 16: Internal Battery Replacement
H. Internal battery replacement Turn the rear screw counterclockwise with a screwdriver. Remove the screw and detach the battery cover on the handle part downward. Remove the rechargeable battery and replace it with a new one. Close the cover in the reverse order and secure it with the screw. -
Page 17: Product Specification
I. Product specification Item The details Camera 2EA [Front(0° ), Side(90° )] C-MOS Resolution [640X480,800X600,1280X960] Angle of view: 67°/ Iris: F2.8 Lens None AF/Anti-fog coating Focal length 9.5~300 mm White Chip LED 6EA Camera Head Ø8.2 Outer diameter Camera Joint Wire Ø8.0 Product length 2 EA [Front(0°... -
Page 18: J1. Certification
J1. Certification ※ This wireless device is likely to be radio wave involved during operation. This device complies with part 15 of FCC Rules. Operation is subject to the following two condition: (1)This Device may not cause harmful, and (2)This device must accept any interface received, including interface that may cause undesired operation. -
Page 19: J2. Product Warranty
GBS-101 item classification Item subject Main body GBS-101 Main Module (Main body) 0/90 degree camera, Flexible tube, 0/90 degree magnetic holder, Accessories Micro USB cable, DC cable, Charger and plug, C type gender Expendables Battery, User manual, Clinic fabric, Carrying bag... - Page 20 www.gitauto.com...
Need help?
Do you have a question about the GBS-101 and is the answer not in the manual?
Questions and answers