Advertisement
Quick Links
Advertisement

Subscribe to Our Youtube Channel
Related Manuals for Caple C2217SS


Summary of Contents for Caple C2217SS
- Page 2 Thank you for choosing a Caple oven. With minimal care, as outlined in this guide, your Caple oven is designed to provide you with years of reliable service. This guide will provide you with the information you need to become familiar with your oven’s care and operation, and to get the best results.
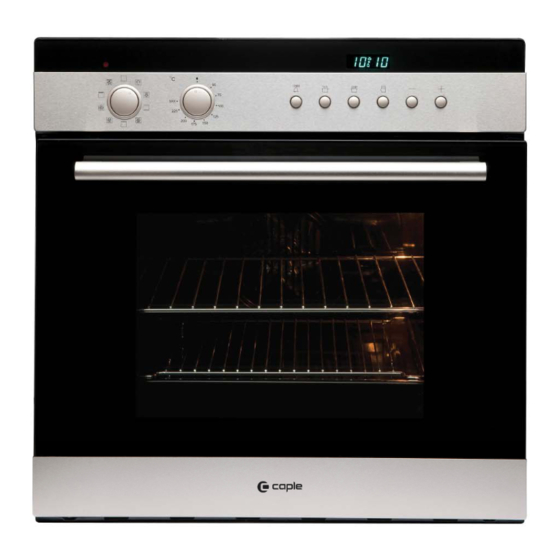
- Page 3 Close up View TI M ER STO P A. Control panel B. Cooking mode selection knob C. Cooking temperature selection knob D. Push buttons E. Oven indicator light (when lit, it indicates the ovens is heating up to the temperature set.) F.
- Page 4 Clock & cooking mode adjustment When using the oven for the first time, or after a power failure, the display flashes regularly and indicates To stop flashing, press key on the display. By pressing keys each single press changes the time by 1 minute either up or down. Press one of the two keys until the right time appears.
-
Page 5: How To Use Your Oven
TI M ER By pressing key , the display shows the bell symbol ; then press keys . About 5 seconds, the TI M ER programmed count starts and the symbols appear on the display. Notice :After programming the minute-counter, the display will sh TI M ER ow the right time. - Page 6 Defrost The fan runs without heat to reduce the defrosting time of frozen foods. The time required to defrost the food will depend on the room temperature, the quantity and type of food. Conventional mode Position of the thermostat knob “C”: between 50 and Max.
- Page 7 Fan assisted Grill Position of thermostat knob “C”: between 50 and 200 . The top central heating element and fan com on. This combination of features increases the effectiveness of the unidirectional thermal radiation of the heating elements through forced circulation of the air throughout the oven.
- Page 8 To extend the life of your oven, it must be cleaned frequently, keeping in mind that: Do not use steam equipment to clean the appliance. The inside of the oven and stainless stell parts should preferably be cleaned after use, when it is slowly cooled to room temperature, with damp soft cloth containing soap;...
- Page 9 Replacing the oven lamp Warning: Ensure that the appliance is switched off before replaceing the lamp to avoid the possibility of electric shock Remove the glass cover of the lamp-holder; Remove the lamp and replace with a lamp resistant to high temperature (300 C) with the following characteristics: --Voltage:220-240V --Wattage 25W...
-
Page 10: Practical Cooking Advice
Practical cooking advice The oven offers a wide range of alternatives which allow you to cook any type of food in the best possible way. With time you will learn to make the best use of this versatile cooking appliance and the following directions are only a guideline which may be varied according to your own personal experience. - Page 11 Using the grill This multi-function oven offers you 2 different grilling modes only and exclusively with oven door shut. Use the “grill” mode , placing the food under the centre of the grill (situated on the 3rd or 4th rack from the bottom) because only the central part of the top heating element is turned on.
- Page 12 Cooked well on the inside but sticky on the outside Use less liquid, lower the temperature, and increase the cooking time. The pastry sticks to the pan. Grease the pan well and sprinkle it with a dusting of flour or use greaseproof paper. I used more than one level (in the function “ventilated oven”) and they are not all at the same cooking point.
- Page 13 Roast chicken +potatoes 60-75 Mackerel 30-35 Plum-cake Cream puffs 40-50 (on 2 racks) Biscuits(on 2 racks) 10-15 Sponge cake(on 1 rack) 15-20 Sponge cake(on 2 racks) 20-25 Savory pies 25-30 3. Top oven Browning food to perfect cooking 4. Pizza function Pizza 15-20 Roast veal or beef...
- Page 14 To maintain the efficiency and safety of this appliance, we recommend that you do the following: To maintain the efficiency and safety of this appliance, we recommend that you do the following: For any problem, use Caple service; Always use original spare parts;...
- Page 15 -attempting to install or repair the appliance without the assistance of qualified personnel To maintain the efficiency and safety of this appliance, we recommend that you do the following: 11 For any problem, use Caple service. 12 Always use original spare parts.
-
Page 16: Installation
-only use the appliance to cook food and nothing else; -check the soundness of the appliance after it has been unpacked. -disconnect the appliance from the electrical mains if it is not functioning properly and before cleaning or performing maintenance. -when left unused, unplug the appliance from the electricity mains;... - Page 17 N.B.: Installation in compliance with the consumption declaration...
- Page 18 45mm min. 45mm min. Vent required In order to ensure adequate ventilation, the back panel of the cabinet unit must be removed. Installing the oven so that it rests on two strips of wood is preferable. If the oven rests on a continuous, flat surface, there must be an aperture of at least 45x560mm.
- Page 19 is 18mm thick: use the first groove, which is factory-set (Fig B) is 16mm thick: use the second groove (Fig.C) <Fig A> <Fig B> <Fig C> To fasten the oven to the cabinet, open the door of the oven and attach it by inserting the 4 metal screws into the 4 holes located on the perimeter of the frame.
- Page 20 Technical specifications. Inner dimensions of the oven: Width 43.5cm Depth 40cm Height 32cm Inner volum of the oven 56Liters Voltage and frequency of power supply: 220-240V~ 50Hz 2800W (see data plate) This appliance conforms to the following European Economic Community directives: -2006/95/EC (Low Voltage) and subsequent modifications;...
Need help?
Do you have a question about the C2217SS and is the answer not in the manual?
Questions and answers