Advertisement
Quick Links
infants and babies must not sleep on this bed for safety reasons. To prevent injury and damage to this unit, PROHIBIT jumping on it.
IMPORTANT SAFETY INFORMATION. PLEASE READ AND KEEP FOR FUTURE REFERENCE.
4038439
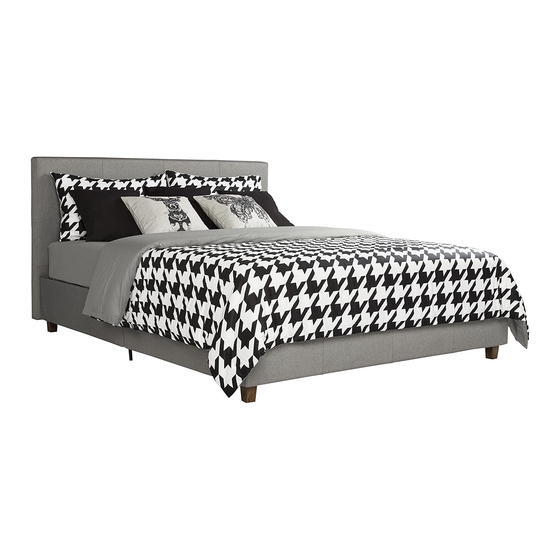
Maddie Upholstered Bed, Full Size
DO NOT RETURN PRODUCT TO THE
STORE
STOP
Individual stores do not stock parts.
If a part is missing or damaged, call our
toll-free customer service line. We will
gladly ship your replacement parts FREE
of charge.
1-800-267-1739
Need Parts or Assistance?
or access our website
www.dhpfurniture.com
For prompt, reliable service, please have your assembly
manual ready.
Date of Purchase
___ / ___ / ___
Lot Number
_________
B34403843900 -10125-M
Grey Linen
Advertisement

Related Manuals for DHP 4038439


Summary of Contents for DHP 4038439
- Page 1 4038439 Maddie Upholstered Bed, Full Size Grey Linen DO NOT RETURN PRODUCT TO THE STORE STOP Individual stores do not stock parts. If a part is missing or damaged, call our toll-free customer service line. We will gladly ship your replacement parts FREE of charge.
- Page 4 PARTS SINGLE SLAT CAP DOUBLE SLAT CAP LEFT BRACKET RIGHT BRACKET T926370 T926380 T926650 T393080 T393090 x 24 x 12 END CAP 02 END CAP 03 END CAP 04 END CAP 01 T920510 T393120 T392520 T393100 x 16 Note: "U""V" "W""W1"have been pre-assembled on "F/G/H""K""L""M", they are available for replacement.
- Page 5 HARDWARE PACK 5/16" BOLT 1/4"X 3/4" x 44 BOLT BOLT 1/4" X 1 3/8" BOLT 1/4" X 1 9/16" 1/4" X 1 3/4" x 28 BOLT 5/16" X 2 1/4 NOTE: Please do not completely tighten all the hardware, until the entire assembly is complete, unless indicated otherwise in the step-by-step instructions 5 / 29...
- Page 6 Attach (F,H) to (C,D) with BOLT (3). NOTE: Holes on part (F) should be facing upward.
- Page 7 Attach (G) to (C,D) with BOLT (3).
- Page 13 Please ensure that NUT (6) have been pushed into the end of the hole.
- Page 14 9.1 Attach (Z) to (N) with BOLT (5); 9.2 Attach (L) to (H) with BOLT (2).
- Page 15 Slide (I,J) into (M) and attach with BOLT (1).
- Page 16 NOTE: Holes on part (I) should be facing upward.
- Page 17 Attach (K) to (F,J) with BOLT (4) and NUT (9).
Need help?
Do you have a question about the 4038439 and is the answer not in the manual?
Questions and answers