Table of Contents
Advertisement
DIGITAL FULL COLOUR MULTIFUNCTIONAL SYSTEM
DIGITAL FULL COLOUR MULTIFUNCTIONAL SYSTEM
DIGITAL FULL COLOUR MULTIFUNCTIONAL SYSTEM
Quick Start Manual
Quick Start Manual
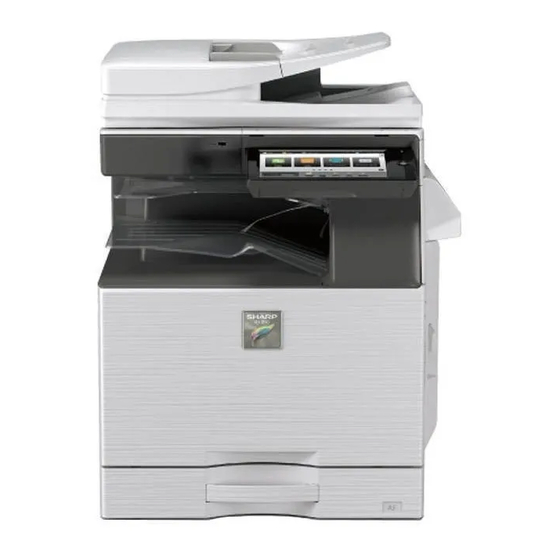
MX-C303
MX-C303
MODEL:
MODEL:
MX-C303W
MX-C303W
MX-C303WH
MX-C303WH
MX-C304
MX-C304
MX-C304W
MX-C304W
MX-C304WH
MX-C304WH
BEFORE USING THE MACHINE
Functions of the machine and procedures
for placing originals and loading paper
COPIER
Using the copy function
PRINTER
Using the printer function
FACSIMILE
Using the fax function
SCANNER
Using the scan function
DOCUMENT FILING
Storing jobs as files on the hard
drive
SETTING MODE
Configuring settings to make the
machine easier to use
Advertisement
Table of Contents


Need help?
Do you have a question about the MX-C303 and is the answer not in the manual?
Questions and answers
how do I connect to my laptop
To connect a Sharp MX-C303 to a laptop, follow these steps:
1. Ensure Network Connection:
- Make sure both the Sharp MX-C303 and the laptop are connected to the same network (LAN).
- Verify all LAN cables are securely connected to the machine, laptop, and network hub.
2. Check IP Address:
- Confirm the machine has a correct IP address.
- If using DHCP, ensure the IP address has not changed. A static IP is recommended for stable connections.
3. Share a Folder (if scanning to laptop):
- Create a folder (e.g., named “sample”) on the laptop desktop.
- Right-click the folder > Properties > Sharing > Advanced Sharing.
- Check “Share this folder”, click Permissions, select “Everyone”, allow “Change” and “Read”, click OK and close.
4. Access Shared Folder from MFP:
- On the MFP, tap [Network Folder] mode.
- Tap "Touch to input Address", then tap [Browse].
- Select the correct workgroup and shared folder from the list.
This allows printing and scanning between the Sharp MX-C303 and the laptop via the network.
This answer is automatically generated