Advertisement
Quick Links
Specifications
•
Tweeter: 1" Silk Dome
•
Woofer: 6.5" Kevlar Cone Rubber Surround
•
Impedance: 8Ω
•
Sensitivity: 85±3dB
•
Power Handing RMS: 40W
•
Frequency Range: 100Hz~20KHz
•
Includes: Wall/Landscape/Pendant Mount
•
Transformer: 70V Taps 5W-10W-20W-40W
•
IPX66: Weatherproof Certified
•
Black ABS Housing
5-Year Limited Warranty
Rave Technology products are warranted to be free from
defects in workmanship and materials for a period of
Five (5) years from the date of purchase without charge
for parts or labor.
This warranty does not apply to units that have been
subject to misuse, abuse, neglect or improper
installation, and does not apply to repairs or alterations
made by unauthorized professional. This warranty
specifically excludes responsibility for consequential
damage.Retention of your original bill of sale is required
to obtain service under the terms of this warranty.
© 2020 Rave Technology. All rights reserved. All
trademarks are the property of their respective owners.
Specifications are subject to change without notice.
Rave Technology
4100 East Baldwin Road Holly,
Michigan, 48442 USA
Tel: 866-303-2629
contact@ravetechnology.com
WWW.RAVETECHNOLOGY.COM
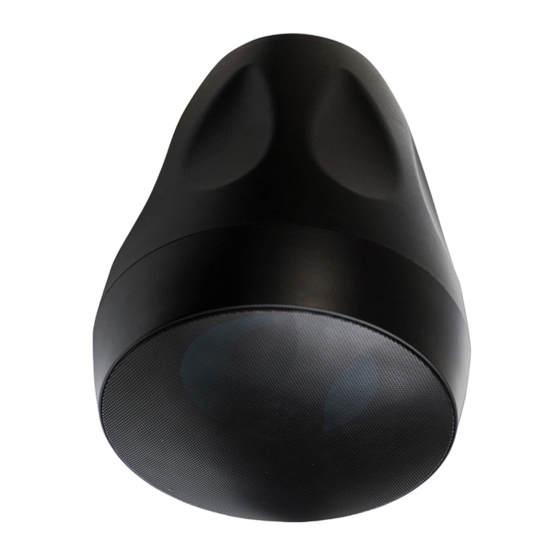
Pendant Speaker
RKIO-P650PBT
WWW.RAVETECHNOLOGY.COM
Advertisement

Related Manuals for Rave RKIO-P650PBT


Summary of Contents for Rave RKIO-P650PBT
- Page 1 IPX66: Weatherproof Certified • Black ABS Housing 5-Year Limited Warranty Rave Technology products are warranted to be free from defects in workmanship and materials for a period of Five (5) years from the date of purchase without charge for parts or labor.
- Page 2 (under an for seated listener. overhang) and to remove them in the winter. • Rave RK Series speakers require a run-in period before they deliver their best performance. They must get adapted to the temperature and Speakers spacing...
- Page 3 Wire Gauge and Quality Speaker connection and lack bar The total wire resistance should be less than 10% of the speaker First remove the block style speaker connector, then connect the impedance. If using an 8 ohm speaker, your total wire resistance should be speaker wires to the correct terminals according to the application.
- Page 4 Wall Installation locate the wall mount installation hardware, remove the ball socket from the mount. Install mounting base on the wall, connect the ball socket to the speaker and then to the base as shown in fig 1. Pendant Installation Locate the landscape/ground installation hardware, assemble as shown in fig 2.
Need help?
Do you have a question about the RKIO-P650PBT and is the answer not in the manual?
Questions and answers