Advertisement
Available languages
Available languages
Quick Links
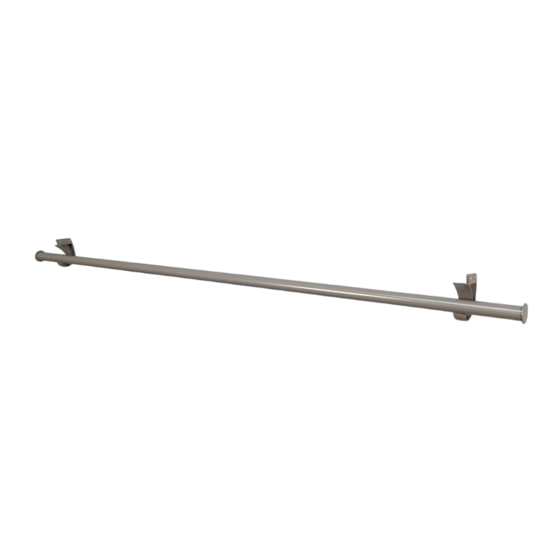
6FT. BAR KIT ASSEMBLY INSTRUCTIONS
For use with JLH646 / JLH649
INSTRUCCIONES PARA EL ARMADO DEL JUEGO DE BARRAS DE 1.82M.
INSTRUCTIONS DE MONTAGE DU NÉCESSAIRE DE TRINGLES DE 1.82M
IMPORTANT: DO NOT RETURN TO STORE!
For missing or damaged parts, technical or assembly questions, please call John Louis Customer
Service at 1-800-480-6985
IMPORTANTE: ¡NO LO DEVUELVA A LA TIENDA!
Llame al servicio al cliente local de John Louis al 1-800-480-6985
para aclarar sus dudas sobre pérdidas, daños, asuntos écnicos y ensamblaje.
IMPORTANT: NE PAS RENVOYER OU RAPPORTER AU MAGASIN
Si vous avez une question concernant l'assemblage, des piéces manquantes ou endommagées ou
un probléme technique, appelez le Service á la clientéle de John Louis au 1-800-480-6985.
PARTS LIST
Lista De Piezas
Quantity: 1
Quantity: 2
72 in. or 48 in. Metal Bar
Bar End Hardware
Quantity: 4
#8 1 in. screw
!
Liste Des Piéces
Quantity: 2
J-Hook Hardware
Quantity: 2
#6 1 1/4 Self Tapping Screw
STEP 1 - Attaching J-Hook To Angle
Bracket
If your shelf is already in place, remove angle brackets and proceed with follow-
ing steps.
16 IN. ANGLE BRACKET / J-HOOK ATTACHMENT
1.
Measure 3 in. back from front of angle bracket.
2.
Mark 3 in. location on bracket.
3.
Align the J-hook at the mark.
4.
Secure J-hook using #8 1 in. screws
5.
Repeat for remaining angle bracket.
12 IN. ANGLE BRACKET / J-HOOK ATTACHMENT
1.
Align J-hook flush with front of the angle bracket.
2.
Secure J-hook using #8 1 in. screws
3.
Repeat for remaining angle bracket.
STEP 2 - Attaching Angle Bracket To
Wall
If your shelf was already in place, replace angle bracket at prior location. For
new bracket installation proceed with following steps.
1.
Count over the number of slats for desired angle bracket position .
2.
Place angle bracket into position
1
Advertisement

Summary of Contents for John Louis Home JLH646
- Page 1 Secure J-hook using #8 1 in. screws Repeat for remaining angle bracket. 6FT. BAR KIT ASSEMBLY INSTRUCTIONS For use with JLH646 / JLH649 INSTRUCCIONES PARA EL ARMADO DEL JUEGO DE BARRAS DE 1.82M. INSTRUCTIONS DE MONTAGE DU NÉCESSAIRE DE TRINGLES DE 1.82M...
- Page 2 Ensure that the angle bracket is flush with the back wall and the underside STEP 3 - Attaching Garment Bar of the front shelf rail. Measure required distance & cut garment bar if necessary. Insert the bar end into the end of the garment bar. Turn clockwise to tighten &...
- Page 3 Asegúrese de que la escuadra esté alineada con la pared posterior y el PASO 1: Fijación del gancho en J a la lado inferior del riel del estante delantero. escuadra Si el estante ya está en su lugar, retire las escuadras y continúe con los siguien- tes pasos.
- Page 4 PASO 3: Fijación de la barra para ropa ÉTAPE 1 - Fixation du crochet au sup- port d’angle Mida la distancia requerida y corte la barra para ropa si es necesario. Si votre étagère est déjà en place, retirez les supports d’angle et suivez les étapes suivantes.
- Page 5 Mettez le support d’angle en position. ÉTAPE 3 - Fixation de la tringle Assurez-vous que le support d’angle soit aligné au mur du fond et au des- sous du rail avant de l’étagère. Mesurez la distance requise et coupez la tringle au besoin. Insérez l’embout de finition dans l’embout de la tringle.
- Page 6 For questions concerning missing or damaged parts, technical specs and / or assembly help, please contact John Louis Home Customer Service at: Si tiene preguntas sobre partes faltantes o dañadas, especificaciones técnicas o asistencia para el armado, comuníquese con el Servicio al Cliente de John Louis Home: Pour toute question relative à...


