Table of Contents
Advertisement
Quick Links
Installation Guide for the
OneLINK Bridge AV Interface
Overview
This guide covers the OneLINK™ Bridge AV interface, which is available in several kit configurations for
use with Vaddio or third-party cameras, with or without third-party codecs. It is also available as a
component of several Vaddio camera systems.
If the OneLINK device is sold for use with an HDMI camera, it is shipped with a OneLINK EZCamera
Interface Module (EZIM).
Note
OneLINK devices are not compatible with PoE+ powered HDMI cameras such as RoboSHOT
HDMI and RoboSHOT 30E HDMI. OneLINK devices are compatible with the discontinued RoboSHOT
12 HDMI and RoboSHOT 30 HDMI cameras.
What's in this Guide
This guide provides information about:
n
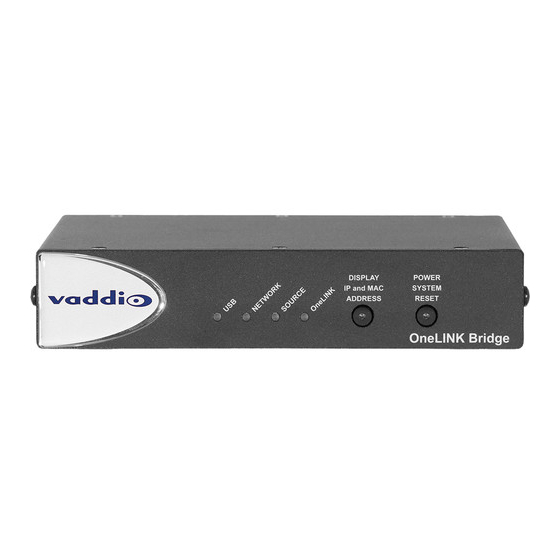
The OneLINK device's physical features
Installing the OneLINK device with Vaddio cameras
n
Initial power-on
n
Find complete product information and connection diagrams for all OneLINK Bridge kits in the Complete
Manual for the OneLINK Bridge AV Interface.
Document Number 411-0009-31 Rev F – August 2021
®
12E
Advertisement
Table of Contents

Subscribe to Our Youtube Channel
Related Manuals for LEGRAND VADDIO OneLINK Bridge AV


Summary of Contents for LEGRAND VADDIO OneLINK Bridge AV
- Page 1 Installation Guide for the OneLINK Bridge AV Interface Overview This guide covers the OneLINK™ Bridge AV interface, which is available in several kit configurations for use with Vaddio or third-party cameras, with or without third-party codecs. It is also available as a component of several Vaddio camera systems.
-
Page 2: A Quick Look At The Onelink Device
Installation Guide for the OneLINK Bridge AV Interface Features Simple, clutter-free camera installation – power, control, video, and streaming over one cable Extends installation distance for HDMI and HDBaseT™ cameras up to 100 m (328 ft.) using Cat-6 cable; 230 ft (70 m) using Cat-5e Administrative control via web interface;... -
Page 3: Connector Panel Of The Receiver
Installation Guide for the OneLINK Bridge AV Interface Connector Panel of the Receiver From the left: Power input jack – Connect the supplied 48 VDC, 1.36 A power supply. OneLINK interface port – Connection to the HDBaseT camera or to the EZIM. This bidirectional connection carries video, audio (if available), network connectivity including H.264 IP streaming from the camera (if available), RS-232 control, and 12 VDC camera power. -
Page 4: Installing The Onelink Device
Installation Guide for the OneLINK Bridge AV Interface Installing the OneLINK Device This section covers: Things to know before you start the installation Basic connection examples For information about using the OneLINK device with third-party cameras or codecs, see the Complete Manual for the OneLINK Bridge AV Interface. -
Page 5: Rs-232 Connector Pin-Outs
Installation Guide for the OneLINK Bridge AV Interface RS-232 Connector Pin-Outs The OneLINK device passes signals from a third-party device to the connected camera. OneLINK Receiver - RS-232 Control Port 1. Unused 2. Unused 3. Unused 4. Unused 5. Unused 6. -
Page 6: Connections For Hdbaset Cameras
Installation Guide for the OneLINK Bridge AV Interface Connections for HDBaseT Cameras The OneLINK Bridge extends network connectivity, power, and control to an HDBaseT camera, and sends HDMI video from the camera to a display. In addition, the OneLINK Bridge provides audio connections and originates a USB stream to bridge the equipment into a USB-based conferencing application. -
Page 7: Connections For Hdmi Cameras
Installation Guide for the OneLINK Bridge AV Interface Connections for HDMI Cameras The OneLINK Bridge extends network connectivity, power, and control to an HDMI camera via the EZ Camera Interface Module (EZIM), and sends HDMI video from the camera to a display. In addition, the OneLINK Bridge provides audio connections and originates a USB stream to bridge the equipment into a USB-based conferencing application. -
Page 8: Connecting A Roboshot Hdmi Camera
Installation Guide for the OneLINK Bridge AV Interface Connecting a RoboSHOT HDMI Camera This diagram shows a RoboSHOT HDMI camera. The RoboSHOT 12 HDMI and RoboSHOT 30 HDMI cameras are discontinued. OneLINK devices are not compatible with RoboSHOT 12E HDMI and RoboSHOT 30E HDMI cameras, as these cameras are PoE+ powered. -
Page 9: Powering Up The Equipment
· Phone 800.572.2011 / +1.763.971.4400 · Fax +1.763.971.4464 · Email av.vaddio.support@legrand.com· Vaddio is a registered trademark of Legrand AV Inc. All other brand names or marks are used for identification purposes and are trademarks of their respective owners. All patents are protected under existing designations.
Need help?
Do you have a question about the VADDIO OneLINK Bridge AV and is the answer not in the manual?
Questions and answers