Table of Contents
Advertisement
Quick Links
Advertisement
Table of Contents

Related Manuals for Dell SE2722H


Summary of Contents for Dell SE2722H
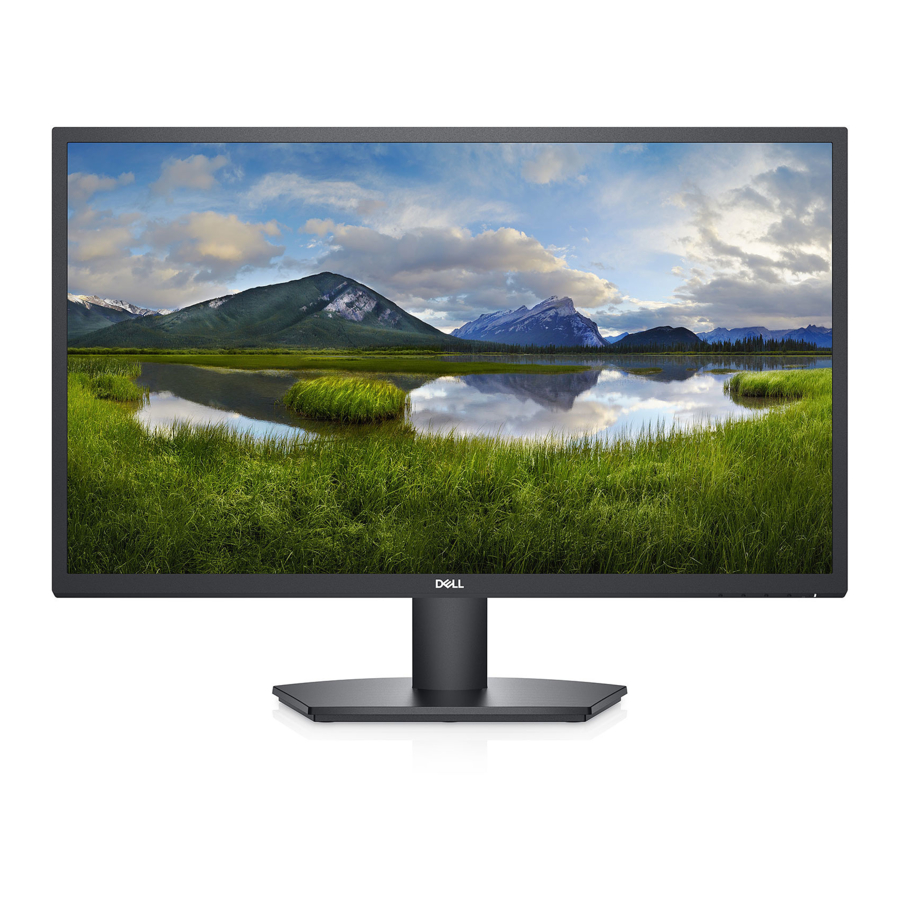
- Page 1 27" LED Monitor Dell SE2722H/HX Service Service Service Simplified...
-
Page 2: Important Safety Notice
Accordingly, a servicer who uses a service procedure or tool which is not recommended by DELL must first satisfy himself thoroughly that neither his safety nor the safe operation of the equipment will be jeopardized by the service method selected. - Page 3 1. Exploded view diagram with list of items Item Part NO. Description Quantity 1 Q34GA137 BEZEL KEY_BOARD 3 Q33G1921 KEY_POWER 4 Q33G1922 KEY_FUNCTION 5 Q23G3155700013 DELL_LOGO_F 6 Q16G00038310000A** SPONGE_RL 7 Q16G00038320000A** SPONGE_TB PANEL 9 Q52G1801G700000A** MYLAR POWER_BOARD MAIN_BOARD 12 Q15G4879 MAIN_FRAME 13 Q33G1923 STAND_BUTTON...
-
Page 4: Tools Required
S5 0M1G30302.5120 SCREW_BUTTON S6 0M1G30302.5120 SCREW_PANEL S7 0M1G2940-10-225 SCREW_VESA S8 0M1G3030-6-47-CR3 SCREW_REAR_COVER 2. Wiring connectivity diagram 3. Tools Required List the type and size of the tools that would typically can be used to disassemble the product to a point where components and materials requiring selective treatment can be removed. - Page 5 Use the tip of the screw driver press hidden button and pull out the stand. Note: Remove the Put the monitor on a Base ass’y. flat, soft and clean surface. Unscrew the 6 screws by the Philips-head Screwdriver. Torque=6±1kgf.cm Take scraper insert Remove the the bezel bottom Rear cover...
- Page 6 Disconnect the FFC cables and LVDS cabel. tear out all the tapes. Unscrew the 2 screws on the mainframe. Torque=6±1kgf.cm Tear out the wires and mylar. remove the screws on the board by the Philips-head. Torque=6±1kgf.cm Unscrew the screws Remove the by the hexagon mainboard screwdriver.
-
Page 7: Assembly Procedures
Remove the screws Remove the on the keyboard bezel Panel 3.2 Assembly Procedures: Assemble screw the screws on the keyboard keyboard Assemble Tighten the screws Mainboard by the Screwdriver. powerboard... - Page 8 Assemble the mylar Tighten the 2 Assemble screws on the mainframe. mainframe connect the Stick the tape and FFC cables foil and LVDS cabel. Tighten the 6 screws by the Assemble Philips-head the rear Screwdriver. cover Torque=6±1kgf.cm...
-
Page 9: Troubleshooting Instructions
Assemble the stand ass’y 4. Trouble shooting instructions...
Need help?
Do you have a question about the SE2722H and is the answer not in the manual?
Questions and answers