Table of Contents
Advertisement
REFRIGERATOR
RS27FDBTNSR/**
For the latest parts information, Please access to our service web site
( • North America : http://gspn3.samsungcsportal.com)
REFRIGERATOR
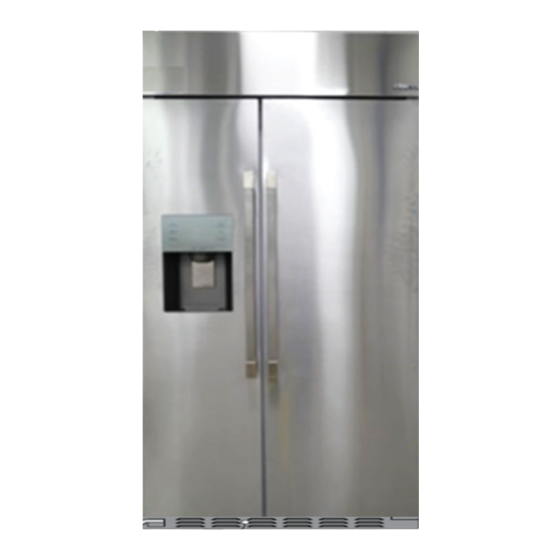
TRUE BULIT IN REFRIGERATOR
BASIC MODEL : RS757LHQESR/**
MODEL NAME : RS27FDBTNSR/AA
RS27FDBTNSR/AC
CONTENTS
1. PRECAUTIONS (SAFETY WARNINGS) ·······4
2. PRODUCT SPECIFICATIONS······················8
3. FULL DISASSEMBLY AND ASSEMBLY ···15
4. FUNCTION FOR FAILURE DIAGNOSIS ····31
5. DISASSEMBLY AND REASSEMBLY ········49
6. PCB DIAGRAM ···········································64
7. WIRING DIAGRAM ·····································69
8. BLOCK DIAGRAM ······································70
9. REFERENCE INFORMATION ····················71
Advertisement
Table of Contents


Need help?
Do you have a question about the RS757LHQESR/ Series and is the answer not in the manual?
Questions and answers