
Related Manuals for Fluance Serious Performance Ai61


Summary of Contents for Fluance Serious Performance Ai61
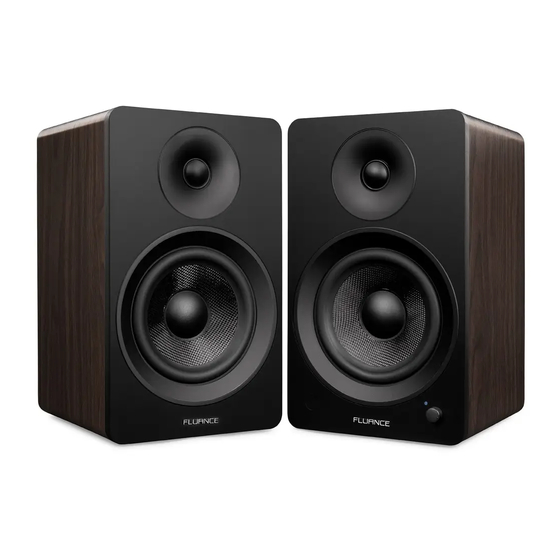
- Page 1 Ai61 - Powered 6.5″ Bookshelf Speakers Manual v1.0 Serious Performance Fluance.com ™...
-
Page 2: Table Of Contents
Table Of Contents Introduction ............. 3 Break-in Period ............3 Online Resources........... 3 What’s Included .............4 Front & Back Panel Layout ....... 5 Remote Control Layout ........6 Product Setup ............7 Turning On/Off Unit ..........8 Source Selection ............ 8 RCA Input .............. -
Page 3: Table Of Contents Introduction
Fluance Ai61 User Manual Introduction Thank you for your purchase of your Fluance product. We hope you enjoy your experience. If you have any questions please visit us at: Fluance.com/support Fluance believes everyone should experience audio in its truest form, recreating the per- formance the way the artist intended. -
Page 4: What's Included
Fluance Ai61 User Manual What’s Included VOL + VOL - TREBLE BASS Ai61 Passive Ai61 Active Remote 2 ‘AAA’ Power Speaker Speaker Control Batteries Cable (Left Channel) (Right Channel) LIFETIME Customer Support Speaker Quick Start Lifetime 2 Year Wire Guide... -
Page 5: Front & Back Panel Layout
Fluance Ai61 User Manual Front & Back Panel Layout Active Speaker - Front Control Knob • Volume • Input Selection • Power ON/OFF 2. Source LED • Blue (Solid) - Bluetooth® Paired • Blue (Flashing) - Bluetooth® Pairing Mode •... -
Page 6: Remote Control Layout
Fluance Ai61 User Manual Passive Speaker - Back 12. Speaker Input Remote Control Layout 1. Power ON/OFF 2. Volume UP/DOWN 3. Source VOL + 4. Treble UP/DOWN 5. Mute VOL - 6. Play/Pause & Bluetooth Pairing Reset* *To enable Bluetooth Pairing Reset, press + hold for 3 seconds. -
Page 7: Product Setup
Fluance Ai61 User Manual Product Setup 1. Position the speakers with the Active Speaker on the right and the Passive Speaker on the left. Passive Speaker Active Speaker NOTE: If placing the speakers in a cabinet or on a shelf, position the front of the speakers as close as possible to the front edge of the shelf for optimum audio performance. -
Page 8: Turning On/Off Unit
Fluance Ai61 User Manual Turning On/Off Unit Press the Control Knob to turn on Press on the Remote to turn the unit. Hold to turn off the unit. the unit on/off. VOL + VOL - TREBLE BASS Source Selection Press the Control Knob to cycle through... -
Page 9: Rca Input
Fluance Ai61 User Manual RCA Input 1. Connect the RCA cable to 2. Connect the other end of your source device (Turntable, the RCA cable to back of Smartphone, Computer…). the Active Speaker. *RCA to RCA cable not included 3. Press the Control Knob to select 4. -
Page 10: Bluetooth ® Pairing
Fluance Ai61 User Manual Bluetooth Pairing ® 1. Press the Control Knob to select 2. Pair to “Fluance Ai61” on your the Bluetooth input (Blue LED). source device. Settings Bluetooth MY DEVICES Fluance Ai61 NOTE: Unit will attempt to auto-pair to the last paired device. -
Page 11: Optical Input
Fluance Ai61 User Manual Optical Input 1. Connect the Optical cable to your 2. Connect the other end of the source device (TV, Computer, Game Optical cable to the back of the Console...). Ensure protective caps Active Speaker. are removed from the ends of the Optical cable. -
Page 12: Usb Input
Fluance Ai61 User Manual USB Input 1. Connect the USB cable to 2. Connect the other end of the USB your source device (Laptop, cable to USB-C port on the back Desktop…). of the Active Speaker. *USB cable not included IMPORTANT: The USB input on the Ai61 is for USB audio playback and not for USB charging. -
Page 13: Subwoofer Output
2. Connect the other end of the Subwoofer cable to the back of the Active Speaker. 3. Adjust the volume on the Subwoofer for the best listening experience. DB10 *Subwoofer cable not included Fluance offers matching subwoofers for the ultimate audio experience. For more information visit: Fluance.com/subwoofer... -
Page 14: Volume Adjustment
Fluance Ai61 User Manual Volume Adjustment Turn the Control Knob or use the Remote to increase or decrease volume. EQ Adjustment Use the Bass/Treble buttons on the Remote to adjust each from -5 to +5. LED Behavior: Red (Flash 2x) – Bass/Treble Set to -5 or +5 Bluetooth: Blue (Flash 2x) –... -
Page 15: Frequently Asked Questions
If turntable audio is too quiet you may need to add a preamplifier. Some turntables have built in preamps which can be turned on or off. The Fluance PA10 preamplifier is a great match for Fluance powered speakers and turntables. -
Page 16: Troubleshooting
Fluance Ai61 User Manual Troubleshooting No Power • Ensure the LED Brightness is not set to OFF • Check all connections on power adapter and ensure fully inserted No Audio • Check volume on Ai61 and ensure it is above 0 •... -
Page 17: Specifications
Fluance Ai61 User Manual Specifications 2 Way – 2 Driver Bookshelf Speaker SPEAKER CONFIGURATION System with Integrated Amplifier BLUETOOTH Yes; BT 5.0 INPUTS RCA L/R, Digital Toslink Optical, USB C TWEETER 1 inch Silk Soft Dome Ferrofluid Cooled 6.5 inch Woven, Glass Fiber Composite... -
Page 18: Certification Information
Fluance Ai61 User Manual Certification Information FCC Statement This equipment has been tested and found to comply with the limits for a Class B digital device, pursuant to Part 15 of the FCC Rules. These limits are designed to provide reasonable protection against harmful interference in a residential installation. -
Page 19: Warranty Information
Warranty Information Fluance gives the following warranty to the original customer of each new Fluance product purchased from a dealer authorized by Fluance. Fluance warrants that each new product, under normal use, is free from defects, subject to the terms and conditions set forth. If a... - Page 20 Should your Fluance product require warranty service, please contact your Fluance Authorized Dealer and send your product fully insured and freight prepaid to the nearest Fluance authorized service center. Before sending to Fluance, you will be required to get a Return Authorization Number from your dealer.
- Page 21 Thank you for your purchase of this Fluance product. ® We hope you enjoy your experience. Questions? Give us a chance to help, we’re just a click away. Fluance.com/resources Fluance.com/support Fluance.com/videos Fluance.com/contact Don’t forget to register your product with us!
Need help?
Do you have a question about the Serious Performance Ai61 and is the answer not in the manual?
Questions and answers