
Related Manuals for Ride1up Core-5 gen2


Summary of Contents for Ride1up Core-5 gen2
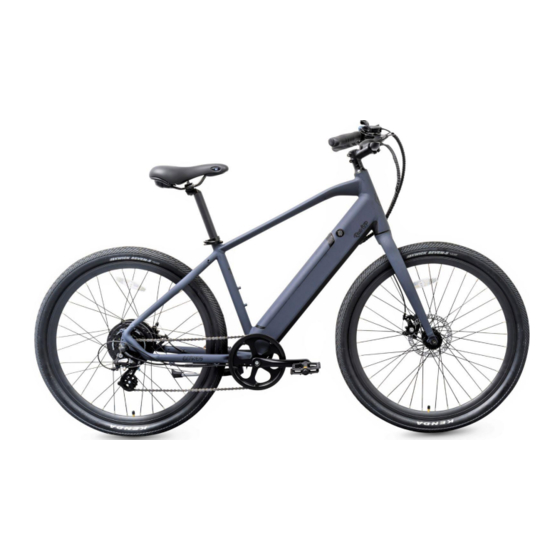
- Page 1 E-bike Owner’s Manual Model: Core-5 gen2 For the most up to date documents, bike models, additional information, instructional videos, and more, visit us at Ride1up.com...
- Page 2 NOTE: ◆ THIS IS FOR YOUR RECORDS ONLY. YOUR SERIAL NUMBER IS THE NUMBER STAMPED UNDER THE BOTTOM BRACKET. Thank you for purchasing a Ride1UP Core-5 e-bike! This manual contains important safety, performance & maintenance information. Please take a moment to read the manual and review our instructions before start riding &...
-
Page 3: Table Of Contents
Model: Core-5 gen2 Table of Contents 1. Safety Notes Personal Safety 1.1) E-bike Safety 1.2) Electrical Safety 1.3) Brake Safety 1.4) Maintenance 1.5) Additional Warnings 1.6) 2. Installation Steps: Assembling Your Bike 2.1) Fork/Headset Assembly 2.2) Front Wheel Assembly 2.3) Seat Post Assembly 2.4) -
Page 4: Safety Notes
1.3) Electrical Safety: Only use the charger supplied by Ride1UP. Do not store the bike or battery plugged into a wall outlet. Unplug the battery before leaving the bike alone. Never modify the charger in any way. The charger has been designed for a specific voltage, always check that the outlet’s voltage is the same as that stated on the rating... -
Page 5: Maintenance
Do not ride your bike at night without working front lights and rear tail lights. Failure to do so may result in serious injury and/or death. For the most up to date documents, bike models, additional information, instructional videos, And more visit us at Ride1UP.com... - Page 6 Be sure to follow all requirements of airlines and air couriers regarding lithium batteries if you take your e-bike with you during air travel, or if you ship your e-bike by air courier. For the most up to date documents, bike models, additional information, instructional videos, And more visit us at Ride1UP.com...
-
Page 7: Installation Steps: Assembling Your Bike
HANDLEBARS, AS WELL AS THE COMPRESSION CAP, ENSURING FORK IS INSTALLED CORRECTLY. THIS SHOULD BE COMPLETED BY SOMEONE FAMILIAR WITH BIKE MECHANICS. For the most up to date documents, bike models, additional information, instructional videos, And more visit us at Ride1UP.com... - Page 8 WARNING ◆ IT IS VITAL THAT THE AXLE NUTS HAVE BEEN TIGHTENED. IF THEY ARE NOT PROPERLY ALIGNED, THE WHEEL MAY COME OFF, CAUSING DAMAGE TO THE BIKE OR YOURSELF. For the most up to date documents, bike models, additional information, instructional videos, And more visit us at Ride1UP.com...
- Page 9 NOTE: ◆ SOME GENERATIONS COME WITH THE SEAT POST SEPARATE FROM THE SADDLE. IF ALREADY JOINED, CHECK THAT THE TORQUE ON THE BOLT IS TO 16-17 NM SPEC. For the most up to date documents, bike models, additional information, instructional videos, And more visit us at Ride1UP.com...
- Page 10 Compression Cap (bolt): 4-5nm Stem/Steerer Clamp: 8-9nm (unless otherwise marked) Handlebar Clamp: 8-9nm (unless otherwise marked), tighten evenly in a cross pattern For the most up to date documents, bike models, additional information, instructional videos, And more visit us at Ride1UP.com...
-
Page 11: Spoke Tension
The red LED lights on: The battery is being charged. ( A ) • The red LED light becomes green: The battery is fully charged, and you can unplug the charger. (Figure B) For the most up to date documents, bike models, additional information, instructional videos, And more visit us at Ride1UP.com... -
Page 12: Display Instructions
Pressing the MODE button displays the following in this order: RUNNING SPEED→TRIP DISTANCE→TRIP TIME→ MAXIMUM SPEED→AVERAGE SPEED→MOTOR POWER. 5.4 Backlight On/Off For the most up to date documents, bike models, additional information, instructional videos, And more visit us at Ride1UP.com... -
Page 13: Error Code Troubleshooting
At least one of the motor wires has been damaged or is disconnected. For the most up to date documents, bike models, additional information, instructional videos, And more visit us at Ride1UP.com... -
Page 14: Warranty Information
NOTE: (full warranty terms listed on website) All Ride1UP electric bikes come with a One-Year Limited Warranty from date of purchase. Defective items or parts will be replaced and shipped to the holder of the warranty only. Warranties are not transferable to parties other than the original purchaser. - Page 15 After the first 30-days Ride1UP will ship replacement parts of defective items within one year at no charge. The owner will be responsible for labor. Warranty parts will be shipped within the U.S. only at our cost. It will be necessary to send an email with a photo/and or as appropriate to support@ride1up.com...
Need help?
Do you have a question about the Core-5 gen2 and is the answer not in the manual?
Questions and answers