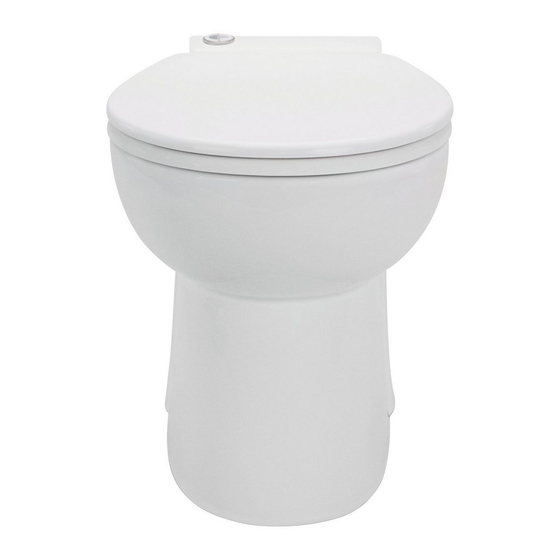
Setma waterGenie Compact Installation And Operating Instructions Manual
Hide thumbs
Also See for waterGenie Compact:
Table of Contents
Advertisement
Available languages
Available languages
Quick Links
Montage und Betriebsanleitung
Installation and operating instructions
SETMA (Deutschland) GmbH
Siemensstrasse 3
D-85716 Unterschleissheim
Tel. +49 (0)89 / 317 13 19
Fax +49 (0)89 / 317 57 66
Advertisement
Table of Contents

Summary of Contents for Setma waterGenie Compact
- Page 1 Montage und Betriebsanleitung Installation and operating instructions SETMA (Deutschland) GmbH Siemensstrasse 3 D-85716 Unterschleissheim Tel. +49 (0)89 / 317 13 19 Fax +49 (0)89 / 317 57 66...
- Page 2 Débit (l/min) / Flowrate (l/min) / Förderstrom (l/min) / Portata (l/min) / Afvoercapacitaet (l/min) / Caudal (l/min) / Vandforing (l/min) / Vattenmängd (l/min) SETMA (Deutschland) GmbH Siemensstrasse 3 D-85716 Unterschleissheim Tel. +49 (0)89 / 317 13 19 Fax +49 (0)89 /317 57 66...
- Page 3 Fußboden festschrauben. oder in Räumen ohne Abfluss. Tipp: Bei der Montage des waterGenie Compact empfiehlt es sich, das Gerät auf Die Herstellung dieses Kompakt-WCs in unserem ISO zertifi- eine leicht Silikonschicht zu montieren um Vibrationsgeräusche zu minimieren.
- Page 4 In den meisten Fällen haben Funktionsstörungen nur geringe Ursachen die Sie meist selbst beheben können. In der nachfolgenden Tabelle finden Sie waterGenie Compact ist wie ein "normales" WC zu mögliche Fehlerursachen und Tipps zu deren Behebung. Für alle weitere benutzen.
- Page 5 · Motorblock aus der Keramik nehmen Garantie erlischt automatisch, falls der Kunde ohne Zustimmung des Herstellers Reparaturen oder Änderungen an der Einheit vornimmt oder vornehmen lässt. SETMA (Deutschland) GmbH Siemensstrasse 3 D-85716 Unterschleissheim Tel. +49 (0)89 / 317 13 19...
- Page 6 Connection of a washbasin (fig. 7c) If you want to connect a washbasin to your waterGenie Compact unit, please refer on fig. 1 to 3 Technical data d) Connection to the water supply (Abb.
- Page 7 Compact can be used like a "normal" WC Fault finding / Remedies and does not require any special maintenance. For the most part any inconsistencies in the operation of the unit will be minor Warning: as a normal WC, waterGenie Compact should and easily rectified.
- Page 8 · Shut off water supply and disconnect. · Unscrew the bracket screws on the back of the toilet. Your waterGenie Compact has a two year warranty from its day of · Release the discharge pipe from discharge elbow (I) purchase, subject to correct installation and usage.


Need help?
Do you have a question about the waterGenie Compact and is the answer not in the manual?
Questions and answers