
Related Manuals for Concept Pro VUHDIPL-4


Summary of Contents for Concept Pro VUHDIPL-4
- Page 1 VUHDIPL-4 VUHDIPL-8 VUHDIPL-16 NETWORK VIDEO RECORDER QUICK START GUIDE Technical Documents NETWORK VIDEO RECORDER QUICK START GUIDE...
-
Page 2: What's In The Box
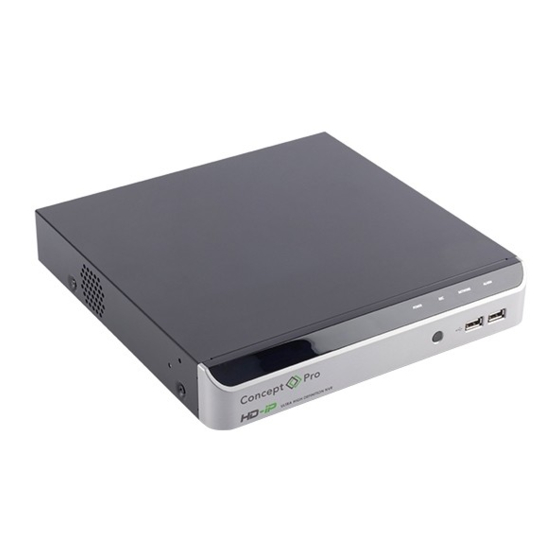
B - VUHDIPL-8 C - VUHDIPL-16 No Name Description CAM1 – CAM4 (VUHDIPL-4) Ethernet ports used for connecting and providing power to network video cameras CAM1 – CAM8 (VUHDIPL-8/16) through Power over Ethernet protocol (Max. 15W per channel). ETHERNET/WAN (UPLINK) Network port for connection to the Internet, router, or hub. - Page 3 IP Camera Internet W A N (U P L IN K A U D L A N (D O IO O L IN K V G A A U D IO IN S P O 48 V T O U M O N AL AR IT O R...
-
Page 4: Getting Started
3. GETTING STARTED Setup Wizard The Setup Wizard will help configure important system settings when the device is first booted up. Create a new, complex password to properly secure the device. This step is highly recommended for device security. This step is highly recommended for device security, however please be sure to remember the password in order to prevent becoming locked out of the NVR. - Page 5 1. The log-in screen will appear after the system boots up. 2. Select a user ID and enter the corresponding password. The default user ID is “ADMIN” and the default password is “1234”. 3. Click <OK>. For security purposes, please change the password to a more complex, secure password after logging in the first time.
- Page 6 4. AUTOMATIC RECORDING PROFILES 1. Press [MENU] on the remote control and use the direction buttons to select <RECORD SETUP>, then press [ENTER]. Alternatively, select <MENU> - <RECORD SETUP> from the status bar. 2. Set <RECORD SETUP MODE> to <AUTO CONFIGURATION> and select a desired recording profile: - CONTINUOUS RECORD: Always record video.
-
Page 7: Searching Recorded Video
5. SEARCHING RECORDED VIDEO 1. From the <SEARCH> menu, select <TIME SEARCH>. 2. Specify the date and time from the calendar. 3. Identify the type of recording data by the colour in the bar. - Light Green: Pre-Recording - Green: Continuous Recording - Blue: Motion Recording - Red: Alarm Recording - Yellow: Panic Recording... - Page 8 To use video analytics, you must first ensure the license is recognised by the recorder. To do this, first connect the camera to the Concept Pro recorder over the network or through its PoE ports. Then, through the recorder user interface, navigate to <MENU> - <SYSTEM SETUP>...
- Page 9 To configure VBR+ from the Concept Pro NVR, navigate to <MENU> - <SYSTEM SETUP> - <CAMERA> - <CAMERA SETUP> - <STREAM SETUP>. Select the desired channel and bit rate control scheme, then press <APPLY>.
- Page 10 Smart Storage Compression Concept Pro NVR products support Smart Storage Compression (SSC), a feature designed to limit the camera bit rate according to the recording FPS value. With Smart Storage Compression (SSC) off by default, the system will record video streams at higher bit rates, and preserve this bit rate no matter the record FPS.
- Page 11 8. Archiving Recorded Video Click <MENU> and select <ARCHIVING>. This can be selected from either the Live or Playback screens. From <ARCHIVING>, select <NEW ARCHIVING>. Select a date for the archive from the calendar to the left. Any dates containing recorded data will be coloured boxes.FIRST: Automatically select the first date with recorded video.LAST: Automatically select the last date with recorded video.Check the <START>...
- Page 12 9. ACCESSING FROM THE WEB 1. Note the device IP address and HTTP port number from the Network Status menu. From a PC connected to the network, open Internet Explorer and enter the device address in the address bar. Internet Explorer is recommended for the best web access experience, however other web browsers such as Firefox and Chrome are supported with reduced functionality.
-
Page 13: App Setup
Concept Pro Viewer SEQURINET REGISTER / LOGIN You will need to register your details with Sequrinet to set up any recording devices. You can login or set up your Securinet account with the Concept Pro App. Already registered? Complete the fields Click OK. -
Page 14: Nvr Setup
NVR SETUP Select Menu at the bottom left hand corner of the screen and select Sequrinet at the top of the list. A QR code will appear. Going back to your App on your smart phone, tap on the QR code icon and point the phone at the QR code on the DVR. - Page 15 NETWORK VIDEO RECORDER QUICK START GUIDE...
- Page 16 S1477AU01_Rev01 Design and specification are subject to change without notice.
Need help?
Do you have a question about the VUHDIPL-4 and is the answer not in the manual?
Questions and answers