
Subscribe to Our Youtube Channel
Related Manuals for Fanvil H3


Summary of Contents for Fanvil H3
-
Page 1: Table Of Contents
Home PBXware SERVERware TELCOware SIPmon SIPProt Desktop & Mobile UADs Appliances From Bicom Systems Wiki Contents 1 Introduction 2 Video Tutorial 3 Requirements 3.1 Identifying phone model 3.2 Phone firmware 3.3 DHCP server 3.4 PBXware version 4 Installation 4.1 Power adapter 4.2 Power over Ethernet (PoE) 4.3 Find the phone IP address 4.4 Reset to factory settings... -
Page 2: Video Tutorial
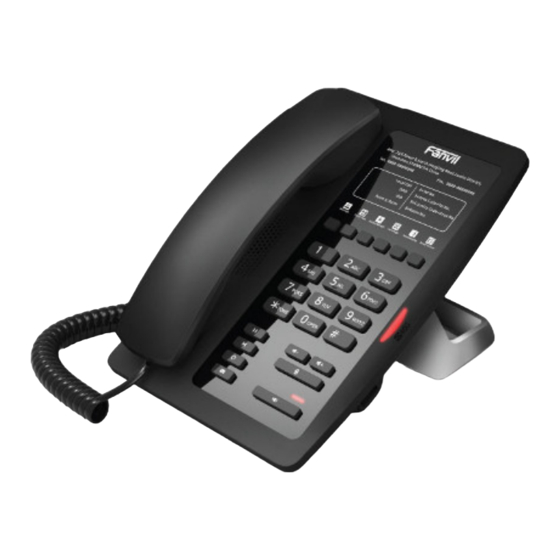
This Configuration Guide is written as general guide on how to configure the Fanvil phone model H3 to work with PBXware 4.1. Fanvil H3 supported features: Auto provision via TFTP/HTTP/HTTPS Call hold, mute, DND Call forward, call waiting, call transfer... -
Page 3: Phone Firmware
Make sure that your phone is loaded with appropriate firmware version, 2.0.2.2822. To find out the firmware version of your Fanvil phone model open a new browser window and enter your phone IP address in order to access the phone web administration interface login screen. -
Page 4: Power Over Ethernet (Poe)
Do not unplug or remove power to the phone while it is updating firmware and configurations. Registering phone This chapter describes how to identify Fanvil phone model, requirements that must be met and how to register the phone using manual configuration or auto provisioning. The following topics are covered:... -
Page 5: Manual Configuration
UAD settings Navigate to Settings:UAD. Make sure Fanvil UAD is enabled. To check the UAD status click on the edit icon corresponding to your Fanvil phone. Make sure Status is set to Active, Auto provisioning is set to No, and DHCP is set to Yes. - Page 6 Department to which extension will belong to. Example: Sales. Click on the Save button. Registering Phone This chapter describes how to register Fanvil phone using Hostname or IP Address. Hostname or IP Address Login to phone web administration interface Open a new browser window and enter your phone IP address in order to access the phone web administration interface login screen.
-
Page 7: Auto Provisioning
PBXware extension number. Example: 1003 Authentication Name Usually the same number as the Phone Number. Authentication Password The Secret of the extension as received in the e-mail associated with this extension. Example: _%Z4M3*Ts9y7. A password is generated automatically for each newly created extension. - Page 8 UAD settings. Navigate to Settings:UAD. Make sure Fanvil UAD is enabled. To check the UAD status click on the edit icon corresponding to your Fanvil phone. Make sure Status is set to Active, Auto provisioning is set to Yes, and DHCP is set to Yes.
- Page 9 Click on the Save button. Registering Phone This chapter describes how to register Fanvil phone using TFTP & HTTP & HTTPS. TFTP & HTTP & HTTPS Open a new browser window and enter your phone IP address, e.g. http://192.168.1.22.
- Page 10 Example for Hostname using HTTP: http://abc.bicomsystems.com/prov Example for Hostname using HTTPS: https://abc.bicomsystems.com/prov Example for IP Address using HTTP: http://192.168.1.10/prov Example for IP Address USING HTTPS: https://192.168.1.10/prov If you choose to use Protocol Type TFTP enter tftp:// followed by Hostname or IP Address Example for Hostname: https://voip.bicomsystems.com Example for IP Address: tftp://192.168.1.10...
- Page 11 Click on Reboot button. A pop up window will show up, click on OK button to confirm your action. NOTE: You'll have to wait couple of seconds for the configuration to be updated. Do not power off your phone. Auto provisioning process will start during phone reboot process, phone will pickup appropriate configuration file from PBXware.
Need help?
Do you have a question about the H3 and is the answer not in the manual?
Questions and answers