Yealink T2 Series Quick Start Manual
Hide thumbs
Also See for T2 Series:
- User manual (241 pages) ,
- User manual (143 pages) ,
- Registering and using (16 pages)
Advertisement
2/28/2019
How to configure Yealink T2 Series for 3CX
This guide applies to v15.5 only.
On this topic
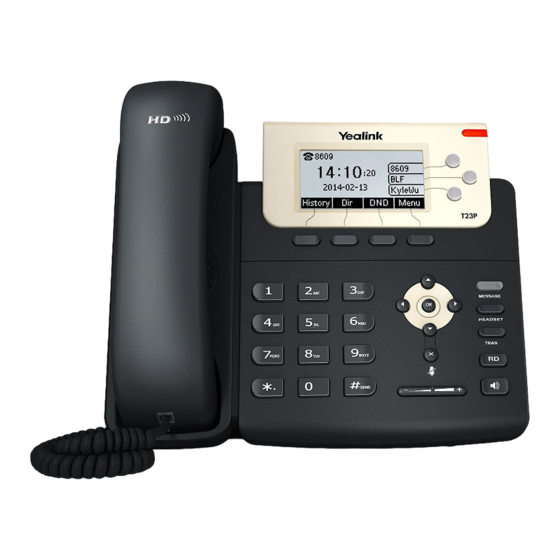
Supported Models: Yealink T2 Series
End Of Life
Step 1: Upgrade to the Required firmware
Local LAN or SBC: Provision via Plug'n'Play
Supported Models: Yealink T2 Series
● Yealink T21P/E2
● Yealink T23P/G
● Yealink T27P
● Yealink T27G
● Yealink T29G
End Of Life
● Yealink T20P **See Limitations
● Yealink T21P **See Limitations
● Yealink T22P **See Limitations
● Yealink T26P **See Limitations
● Yealink T28P **See Limitations
Step 1: Upgrade to the Required firmware
Ensure that the phone is running on the required firmware by 3CX. In case the device needs manual updating
download the latest distributed required firmware by 3CX here. Read how to check what firmware the phones
are running on and how to upgrade them in this guide:
https://www.3cx.com/sip-phones/yealink-t20p-t22p-t26p-t28p/
Provision your Yealink T2 series IP Phone for 3CX v15
How to manual upgrade Yealink IP
phones.
1/5
Advertisement
Table of Contents

Related Manuals for Yealink T2 Series


Summary of Contents for Yealink T2 Series
- Page 1 2/28/2019 Provision your Yealink T2 series IP Phone for 3CX v15 How to configure Yealink T2 Series for 3CX This guide applies to v15.5 only. On this topic Supported Models: Yealink T2 Series End Of Life Step 1: Upgrade to the Required firmware...
- Page 2 2/28/2019 Provision your Yealink T2 series IP Phone for 3CX v15 Step 2: Factory Reset the IP Phone Before provisioning the IP phone, the phone must be brought back to factory defaults in case the device has residual settings of a previous configuration. To reset the device read our...
- Page 3 2/28/2019 Provision your Yealink T2 series IP Phone for 3CX v15 4. All major provisioning settings are pre-populated. If your PBX has multiple network cards, select to which network this IP phone is connected. 5. Click “OK”. The phone will configure automatically and will reboot to finalize the setup.
- Page 4 2/28/2019 Provision your Yealink T2 series IP Phone for 3CX v15 6. You can make sure that the extension is ready to be configured via RPS by checking the “Event Log” from the dashboard: If the message appears as a “Warning” follow the instructions outlined in the message and use the Manual Link Provisioning method outlined here.
- Page 5 2/28/2019 Provision your Yealink T2 series IP Phone for 3CX v15 Note: Ensure that the input mode is set to digits (red box). Step 4: Extended Phone Configuration IP phones can be tweaked to match the user’s needs. Those might be skipped if they are not desired and the phone will be rolled out in a default configuration.
Need help?
Do you have a question about the T2 Series and is the answer not in the manual?
Questions and answers