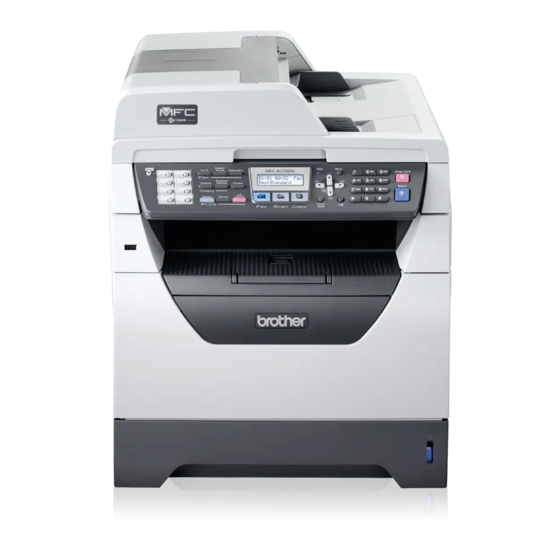
Brother MFC-8370DN Quick Start Manual
Mfc-8370dn; mfc-8380dn printer
Hide thumbs
Also See for MFC-8370DN:
- User manual (210 pages) ,
- Quick start manual (29 pages) ,
- Service manual (652 pages)
Table of Contents
Advertisement
Quick Links
Quick Setup Guide
Start Here
Before you can use the machine, read this Quick Setup Guide for the correct setup and installation.
For detailed information on how to use all the features, change the default settings, or to troubleshoot your
machine please refer to the User's Guide.
To view the Quick Setup Guide in other languages, please visit http://solutions.brother.com/.
IMPORTANT
DO NOT connect the interface cable yet.
1
Unpack the machine
WARNING
Plastic bags are used in the packaging of your machine. To avoid danger of suffocation, please keep
these bags away from babies and children.
Note
USB cable
Please make sure you use a USB 2.0 cable (Type A/B) that is no longer than 2 metres.
Network cable
Use a straight-through Category5 (or greater) twisted-pair cable for 10BASE-T or 100BASE-TX Fast Ethernet
Network.
Symbols used in this guide
WARNING
CAUTION
IMPORTANT
Note
User's Guide
Software User's Guide
Network User's Guide
WARNINGs tell you what to do to prevent possible personal injury.
CAUTIONs specify procedures you must follow or avoid to prevent possible
minor injuries.
IMPORTANT describes procedures you must follow or avoid to prevent
possible machine problems or machine damage, or damage to other objects.
Electrical Hazard icons alert you to a possible electrical shock.
Hot Surface icons warn you not to touch machine parts that are hot.
Notes tell you how you should respond to a situation that may arise or give tips
about how the current operation works with other features.
Indicates reference to the User's Guide, Software User's Guide or Network
User's Guide.
MFC-8370DN
MFC-8380DN
EEU-ENG Version 0
1
Advertisement
Table of Contents

Related Manuals for Brother MFC-8370DN


Summary of Contents for Brother MFC-8370DN
- Page 1 For detailed information on how to use all the features, change the default settings, or to troubleshoot your machine please refer to the User’s Guide. To view the Quick Setup Guide in other languages, please visit http://solutions.brother.com/. IMPORTANT DO NOT connect the interface cable yet.
-
Page 2: Install The Drum Unit And Toner Cartridge Assembly
Gently shake it from side to side several times Install the drum unit and to distribute the toner evenly inside the assembly. toner cartridge assembly IMPORTANT DO NOT connect the interface cable yet. Remove the protective tape and film covering the scanner glass. -
Page 3: Load Paper In The Paper Tray
Put paper in the tray, and make sure that the Load paper in the paper paper is below the maximum paper mark a. The side to be printed on must be face down. tray Pull the paper tray completely out of the machine. - Page 4 Connect the telephone line cord. Connect one Connect the power cord end of the telephone line cord to the socket on the machine marked LINE and the other end to and telephone line a modular wall socket. IMPORTANT DO NOT connect the interface cable yet. Make sure that the machine power switch is off.
-
Page 5: Set Your Country
Note Set your Country If you are sharing one telephone line with an external telephone, connect it as shown below. Before you connect the external telephone, remove the protective cap from the EXT. jack You must set your country so that the machine works on the machine. -
Page 6: Set The Date And Time
Choose a Receive Mode Set the LCD contrast (if needed) Press Menu. Do you want to use the telephone features of your machine (if available) or an external telephone or Press 1. external telephone answering device connected on the same line as the machine? Press 7. -
Page 7: Set Tone Or Pulse Dialling Mode
Enter personal Set tone or pulse dialling information (station ID) mode You should store your name and fax number to be Press Menu. printed on all fax pages that you send. Press 0. Press Menu. Press 4. Press 0. Press to choose Pulse (or Tone). -
Page 8: Automatic Daylight Savings Time
Press to choose On or Always and press OK. Note • If you choose On, pressing Tel/R (the screen displays “!”) will let you access an outside line. • If you choose Always, you can access an outside line without pressing Tel/R. Press Stop/Exit. - Page 9 Choose your connection type For USB Interface Users ® Windows , go to page 10 Macintosh, go to page 12 For Wired Network ® Windows , go to page 13 Macintosh, go to page 15 ® For Windows Server 2003/ 2008, see the Network User’s Guide on the CD-ROM.
-
Page 10: For Usb Interface Users
If the model name screen appears, choose your machine. If the language screen appears, choose your language. Note If the Brother screen does not appear automatically, go to My Computer (Computer), double-click the CD-ROM icon, and then double-click Start.exe. -
Page 11: Connect The Power Cord
Windows Connect the power cord Plug the AC power cord into an AC outlet. Turn the power switch on. The installation of the Brother drivers will automatically start. The screens appear one after another. IMPORTANT DO NOT cancel any of the screens during the installation. - Page 12 Macintosh is ON. You must be drive. logged on with Administrator rights. Double-click Start Here OSX to install. The Brother software will search for the Brother Connect the USB cable device. During this time the following screen will appear.
-
Page 13: Wired Network
If the language screen appears, choose your language. IMPORTANT Note Disable all personal firewall If the Brother screen does not appear automatically, go to My Computer (Computer), ® software (other than Windows double-click the CD-ROM icon, and then double-click Start.exe. - Page 14 If you do not want to monitor the machine status and error notifications from your computer, uncheck Enable Status Monitor and then click Next. The installation of the Brother drivers will automatically start. The installation screens appear one after another. IMPORTANT DO NOT cancel any of the screens during the installation.
- Page 15 Double-click Start Here OSX to install. machine’s LCD when you press choose a scan option (for more information, The Brother software will search for the Brother see Network Scanning in the Software User’s device. During this time the following screen Guide on the CD-ROM).
- Page 16 Wired Network Macintosh Install Presto! PageManager When Presto! PageManager is installed OCR capability is added to Brother ControlCenter2. You can easily scan, share and organize photos and documents using Presto! PageManager. Double-click Presto! PageManager and follow the on-screen instructions. The installation is now Finish complete.
-
Page 17: Other Information
Other Information To use the machine safely Please keep these instructions for later reference and read them before attempting any maintenance. WARNING There are high voltage electrodes inside the machine. Before you clean the inside of the machine, make sure you have unplugged the power cord from the electrical socket. - Page 18 Other Information CAUTION CAUTION After you have just used the machine, some internal parts of the machine will be extremely hot. When you open the front or back cover of the machine, DO NOT touch the shaded parts shown in the illustrations. To prevent injuries, be careful not to put your hands on the edge of the machine under the document cover or scanner cover as shown in the illustrations.
- Page 19 Other Information Regulations Disconnect device This product must be installed near an electrical socket that is easily accessible. In case of EC Declaration of Conformity emergencies, you must disconnect the power cord from the electrical socket to shut off power completely.
- Page 20 The purpose of the International ENERGY STAR Program is to promote the development and popularization of energy-efficient office equipment. ® As an ENERGY STAR Partner, Brother Industries, Ltd. has determined that this product meets the ® ENERGY STAR guidelines for energy efficiency.
-
Page 21: Options And Consumables
Guide or visit http://solutions.brother.com/. Replacement consumables When the time comes to replace consumable items, an error message will be indicated on the LCD. For more information about the consumables for your machine, visit http://www.brother.com/original/ or contact your local Brother re-seller. Toner cartridge... - Page 22 The contents of this manual and the specifications of this product are subject to change without notice. Brother reserves the right to make changes without notice in the specifications and materials contained herein and shall not be responsible for any damages (including consequential) caused by reliance on the materials presented, including but not limited to typographical and other errors relating to the publication.
Need help?
Do you have a question about the MFC-8370DN and is the answer not in the manual?
Questions and answers