Table of Contents
Advertisement
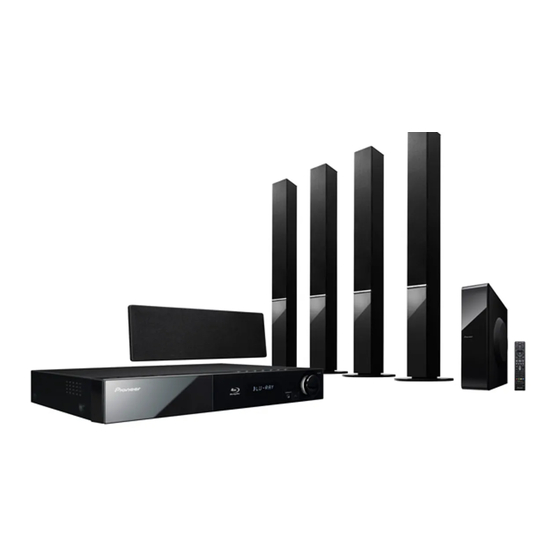
HTZ808BD
XV-BD707
S-BD808T
S-BD808SW
HTZ606BD
XV-BD707
S-BD606
操作手冊
Blu-ray Disc surround system | 藍光家庭影院組
Blu-ray Disc receiver | 藍光接收器
Speaker System | 揚聲器系統
Speaker System (only subwoofer) | 揚聲器系統
Blu-ray Disc surround system | 藍光家庭影院組
Blu-ray Disc receiver | 藍光接收器
Speaker System | 揚聲器系統
P/NO: MFL65220813
Advertisement
Table of Contents


Need help?
Do you have a question about the HTZ808BD and is the answer not in the manual?
Questions and answers