Advertisement
Quick Links
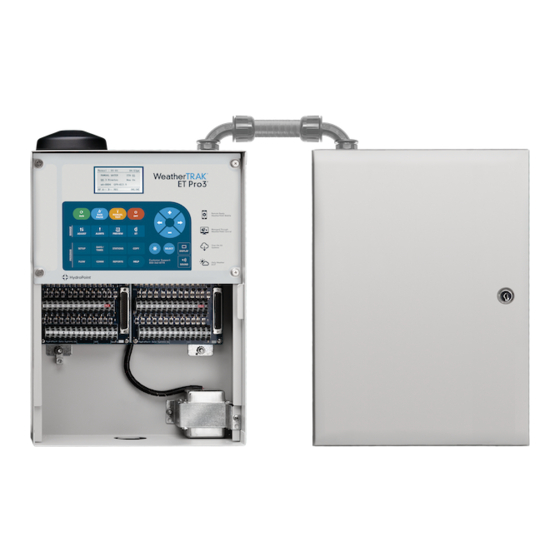
Installing the LTE Modem Module and Pancake Antenna
This LTE modem module and pancake antenna provides you with the latest standard for connectivity between your
WeatherTRAK controller and the cloud.
Materials Provided
Cloud Update Key
LTE Pancake Antenna with attached
star washer and nut
Modem Module
2 long screws
1 short screw with attached star washer
Part 1: Update the Controller Firmware
Open the controller enclosure so you can see the
control panel.
Loosen the 4 corner pop-up screws and lift the
1
control panel from the cabinet.
Locate the USB port on the back side of the control
panel.
If an OptiFlow key or Cloud Update Key is
2
installed, remove it and set it aside.
©2019 HydroPoint Data Systems Inc. All rights reserved.
Pro3 & OptiFlow XR Controllers
Equipment Needed
Phillips screwdriver
Flathead screwdriver
1" wrench or adjustable wrench
Silicone: 3M™ Clear Super Silicone 08661 or similar
Towel or something clean and dry to place the control panel
on while replacing the antenna and the modem module
Putty knife for cleaning off old silicone
Cleaning wipes, such as Lysol® Disinfecting Wipes or similar
to clean controller enclosure surfaces before applying
silicone
1
800.362.8774 hydropoint.com
Advertisement

Related Manuals for WeatherTRAK Pro3


Summary of Contents for WeatherTRAK Pro3
- Page 1 Pro3 & OptiFlow XR Controllers Installing the LTE Modem Module and Pancake Antenna This LTE modem module and pancake antenna provides you with the latest standard for connectivity between your WeatherTRAK controller and the cloud. Materials Provided Equipment Needed ...
- Page 2 LTE Modem Module and Flex Antenna Upgrade Instructions for the Pro3 & OptiFlow XR Controllers Insert the enclosed Cloud Update Key into the USB port as pictured. Turn the control panel back over and temporarily place it back onto the enclosure shelf.
- Page 3 LTE Modem Module and Flex Antenna Upgrade Instructions for the Pro3 & OptiFlow XR Controllers Part 2: Disconnect AC Power and Remove the Modem Module and SIM Card Lift the control panel up again and locate the AC power connector near the top of the mini-chassis board.
- Page 4 LTE Modem Module and Flex Antenna Upgrade Instructions for the Pro3 & OptiFlow XR Controllers Slide back the SIM card holder to unlock it, and then lift it open. Remove the existing SIM card and retain it for reuse in Part 2.
- Page 5 LTE Modem Module and Flex Antenna Upgrade Instructions for the Pro3 and OptiFlow XR Controllers Fasten the cover to the control panel using the two longer screws provided. Use the shorter star washer and screw to fasten the opposite side.
- Page 6 LTE Modem Module and Flex Antenna Upgrade Instructions for the Pro3 & OptiFlow XR Controllers Part 5: Install the New Antenna Remove the star washer and slot nut from the new antenna and set these pieces aside. Feed the antenna cable through the hole at the top of the enclosure.
- Page 7 LTE Modem Module and Flex Antenna Upgrade Instructions for the Pro3 & OptiFlow XR Controllers Part 6: Reconnect AC Power and Antenna and Check Communication Reconnect AC power on the mini-chassis. Secure any excess antenna cable with a twist tie to ensure that it does not snag on the chassis board.
Need help?
Do you have a question about the Pro3 and is the answer not in the manual?
Questions and answers