Wolverine MovieMaker PRO Manual
Hide thumbs
Also See for MovieMaker PRO:
- Instruction manual (22 pages) ,
- User manual (16 pages) ,
- Manual (7 pages)
Table of Contents
Advertisement
Quick Links
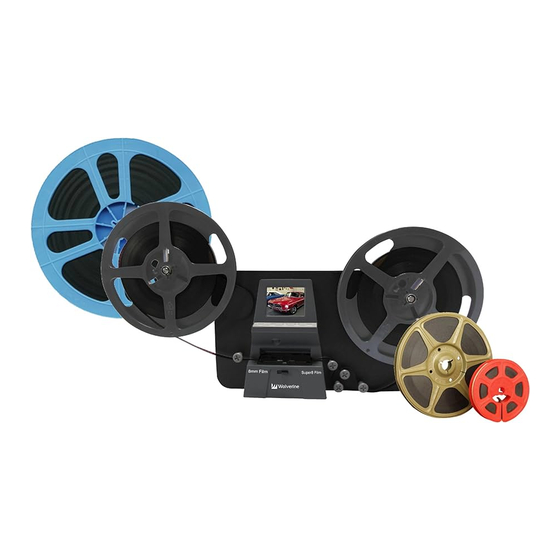
DIY Memory Lab – Converting 8mm and Super 8 (picture only)
The Wolverine Data MovieMaker PRO is a stand alone unit that you may plug into the power outlets at one of the
Memory Lab work tables.
Please Remember:
You will need to bring an SD Card (no larger than 32 GB) to save your video
This device does not capture sound (however, most home movies were shot without sound)
This device creates full HD 1080p in MP4 Format at 20 fps (frames per second)
It takes 10 minutes to scan 1 minute of film
Getting Started
Preparing Your Film
If your film is not in good condition (e.g. broken, sticky, smells like vinegar, has ruptured sprocket holes, misaligned,
bent, etc.),
please consult with a
stick on the film track,
damage/jam/stop the MovieMaker PRO, or
produce videos in poor quality
Some older films are wound too tightly. The MovieMaker PRO can be used to rewind these films back and forth to regain
the proper wounding tightness before conversion. Tightly wound film may cause the film to look jittery when
transferred.
It is strongly recommended before transferring your film to use a non-alcohol, lint-free cloth or an anti-static film
cleaner to remove and clean any dirt particles, chemical residue, or any scattered mildew on the film to prevent
damages to the MovieMaker PRO and to avoid poor quality video and stoppages in the recording process.
Swinging Arm Up/Down
Swing the arm up to mount the reel; push down on the arm for storage purposes.
Step 1. Attach Power Cord
Plug in the included DC 12V power adapter.
Step 2. Insert SD/SDHC Memory Card, 32 GB Max
conservator. Otherwise, the film will:
Advertisement
Table of Contents

Subscribe to Our Youtube Channel
Related Manuals for Wolverine MovieMaker PRO


Summary of Contents for Wolverine MovieMaker PRO
- Page 1 DIY Memory Lab – Converting 8mm and Super 8 (picture only) The Wolverine Data MovieMaker PRO is a stand alone unit that you may plug into the power outlets at one of the Memory Lab work tables. Please Remember: ...
- Page 2 Insert and push the SD/SDHC card inwards until it clicks. Improper insertion may damage your SD/SDHC card. To eject the card, first push the card in then release instead of pulling it out directly. The MovieMaker PRO will automatically turn off if the SD/SDHC card is being mounted/dismounted Step 3.
- Page 3 Step 6. Menu Selection Press the Menu button on the MovieMaker PRO. Use the Up or Down arrow buttons to highlight the Menu selection you want and then press Enter. o PLEASE NOTE: If non-default settings are needed, any adjustments or value changes need to be done before commencing record/convert.
- Page 4 If a reel adapter is needed, always place the gray adapter on the right side/take-up reel. Follow the film rewind routing diagram (the dotted lines) printed on the MovieMaker PRO and follow the instructions displayed on the screen of the device.
- Page 5 In cases like this, each frame of the film is anchored in slightly different spots on the Light Table of the MovieMaker PRO resulting in jittery video as a result. You can forward the film first and then record/convert the film while it is winding backwards (using the sprocket holes undamaged to advance the film and record in reverse).
Need help?
Do you have a question about the MovieMaker PRO and is the answer not in the manual?
Questions and answers