Wolverine MovieMaker Pro Manual
How to digitize an 8 mm or super 8 movie
Hide thumbs
Also See for MovieMaker Pro:
- Instruction manual (22 pages) ,
- User manual (16 pages) ,
- Manual (5 pages)
Table of Contents
Advertisement
Quick Links
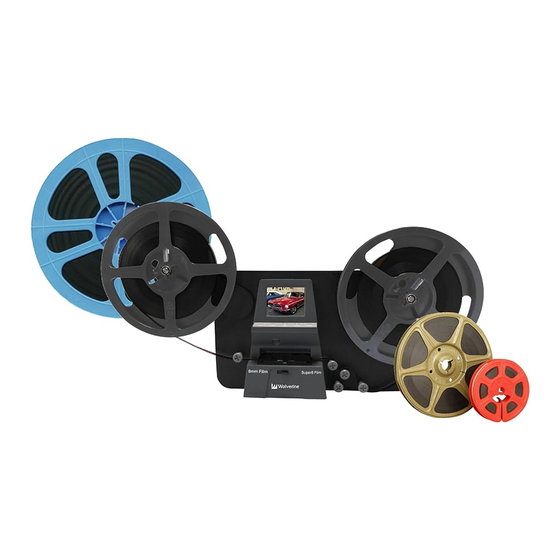
How to Digitize an 8 mm or Super 8 Movie
With the Wolverine MovieMaker Pro
For more information, visit www.eapl.org/8mm
1.
The MovieMaker Pro comes with an SD card inserted. Make sure it is securely in its slot; a properly
inserted SD card looks like this:
2.
Plug in the MovieMaker Pro.
3.
Put the appropriately sized empty reel on the right spindle. If you use the large reel place the
gray adaptor on the spindle first.
SD Card Slot
Gray Oversize Spindle
Adaptor on Right
Advertisement
Table of Contents

Related Manuals for Wolverine MovieMaker Pro


Summary of Contents for Wolverine MovieMaker Pro
- Page 1 How to Digitize an 8 mm or Super 8 Movie With the Wolverine MovieMaker Pro For more information, visit www.eapl.org/8mm The MovieMaker Pro comes with an SD card inserted. Make sure it is securely in its slot; a properly inserted SD card looks like this: SD Card Slot Plug in the MovieMaker Pro.
- Page 2 Carefully lift the left arm. It will make a soft click when it is fully raised. Raise Arm Put your reel on the left spindle so that the sprockets are at the back of the reel and the film is feeding off the left side.
- Page 3 Unwind enough leader to reach the take-up reel with plenty of slack and insert it in the take-up reel so that it is feeding from the right Feeding From Right Carefully load your film over the lamp so that it is held between the white tabs. You may need to twist your film slightly.
- Page 4 10. Gently close the film door by pressing it down. 11. Make sure the slider is set to the correct film type Slide Towards Film Type 12. Press the power button to turn on the MovieMaker. One cell of your movie will appear in the display.
- Page 5 13. Press the Menu Button Menu Button 14. Press the arrow keys until Record is highlighted Arrow Buttons Record 15. Press the Enter/Start/Stop button twice Enter Button (If you get the error message “Custer Size Wrong” you will need to format the SD card. NOTE: If you reformat the SD card everything on it will be permanently and irretrievably erased.
- Page 6 Enter/Start/Stop button. Rewind 19. Use the included USB cable to connect the MovieMaker Pro to your computer. It will show up on your computer as an external drive called NO_NAME. Copy your movie (MP4) files to the computer. Then, please delete the files from the SD card.
Need help?
Do you have a question about the MovieMaker Pro and is the answer not in the manual?
Questions and answers